Category: Shahi Cards
Easy Die Cutting Techniques
Hi there,
I hope you all are doing great. This post is on behalf of my lesson on Easy die Cutting Techniques learned at Altenew’s Educator certification program. Today’s card features Altenew’s Build-A-Flower: Camellia. Camellia–Queens of the winter flowers are highly prized for the beauty of their exquisite Blooms. The colors of the flowers vary, from white through pink colors to red; truly yellow flowers are found only in South China and Vietnam. Yellow Camellias are known as My Golden Dream. So here I’m planning to make a cute and simple card using My Golden Dream. I’m glad that this can suit the theme of the altenew inspiration challenge for the month of February too.
Check out their inspiration challenge at http://altenewblog.com/February-2020-Inspiration-Challenge

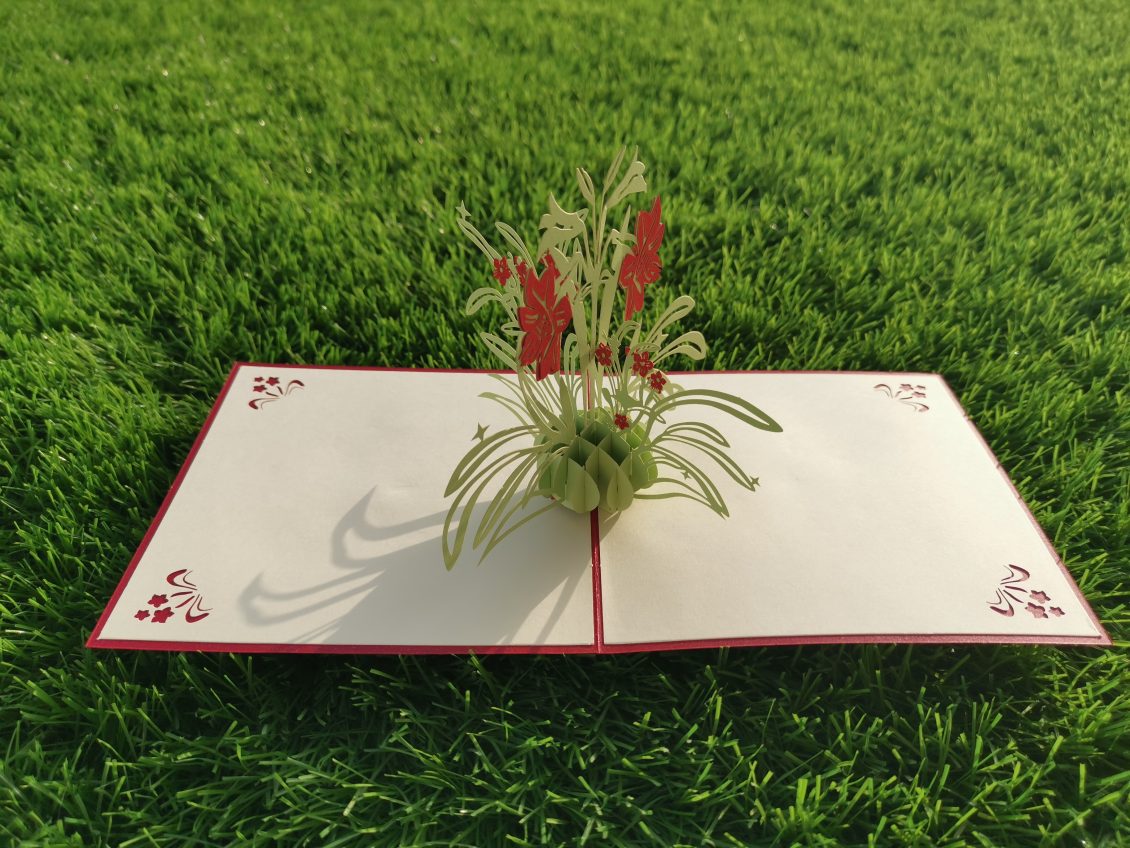
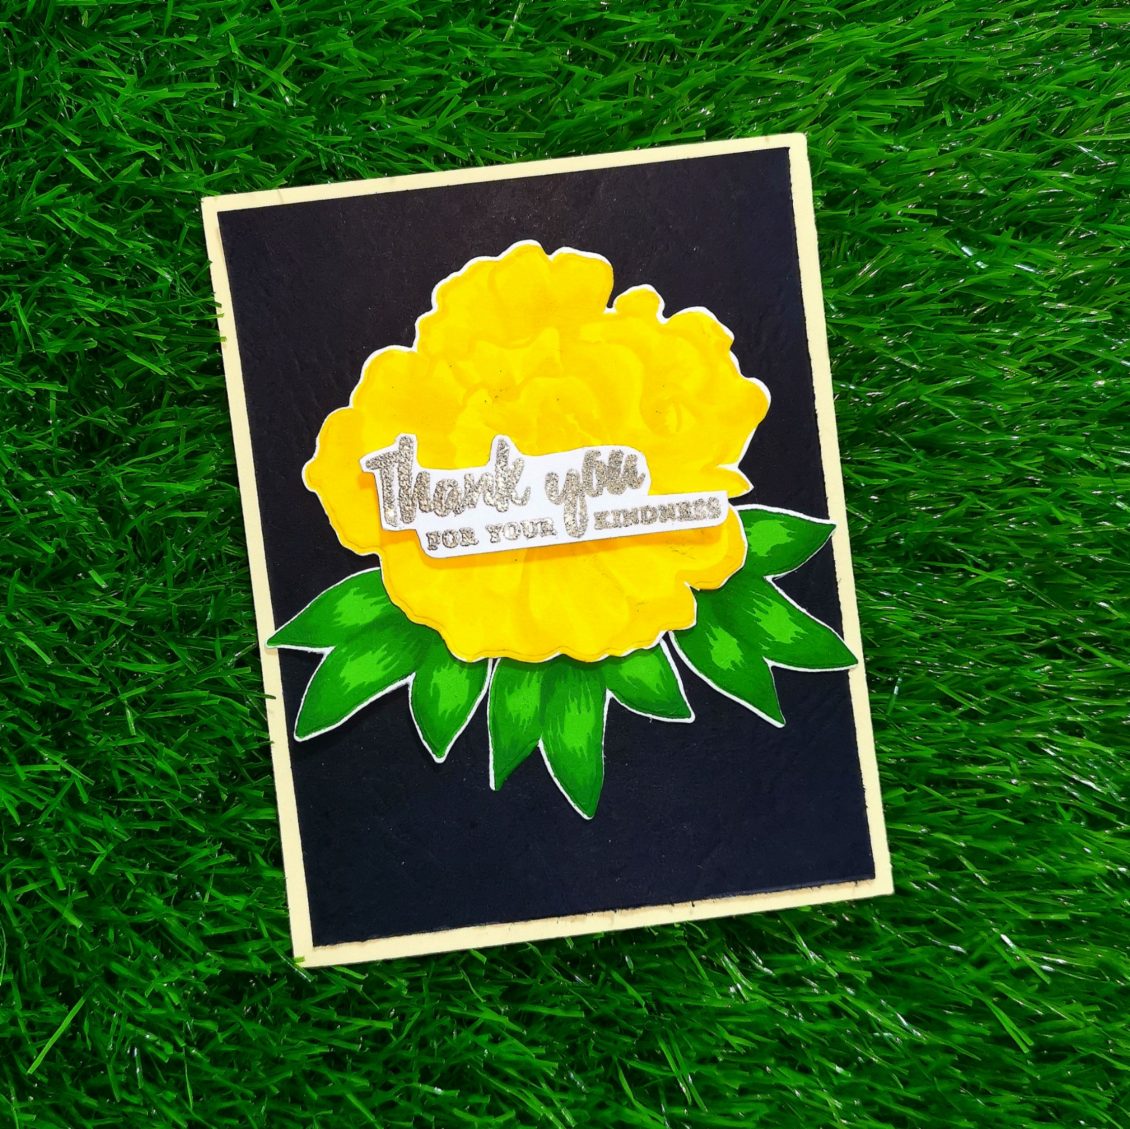
As I began my card, I stamped my camellias with Pocketful of Sunshine collection from the Altenew crisp die ink on Neenah classic crest solar white cardstock. I stamped my base layer with Fresh Lemon ink. The second one with Maple Yellow ink and the final layer with Honey Drizzle ink. Altenew’s crisp die inks are fast-drying dye inks which gives uniform coverage and a crisp impression every single time we use it. I made sure that each ink dries before stamping the next layer, this gives the crisper impression if each layer is dry before stamping the next.
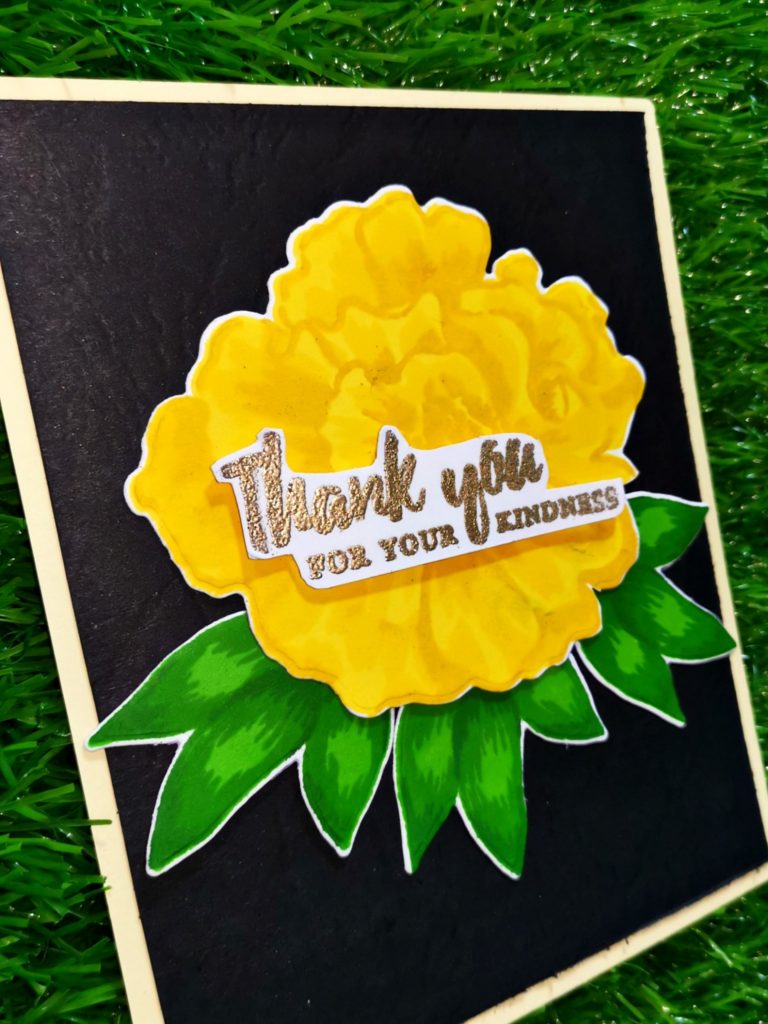
Similarly, I stamped the leaves too. i used Green Valley collection from Altenew crisp die inks. The first layer was stamped with Grass Field ink . The second one and third one with Shadow Creek ink and Mountain Pine ink respectively. I decided to stamp 3 of them for my card, which will help to give a greenery to the base of my flower. Once I completed my stamping, I ran them through my sizzix bigshot machine to die cut them.
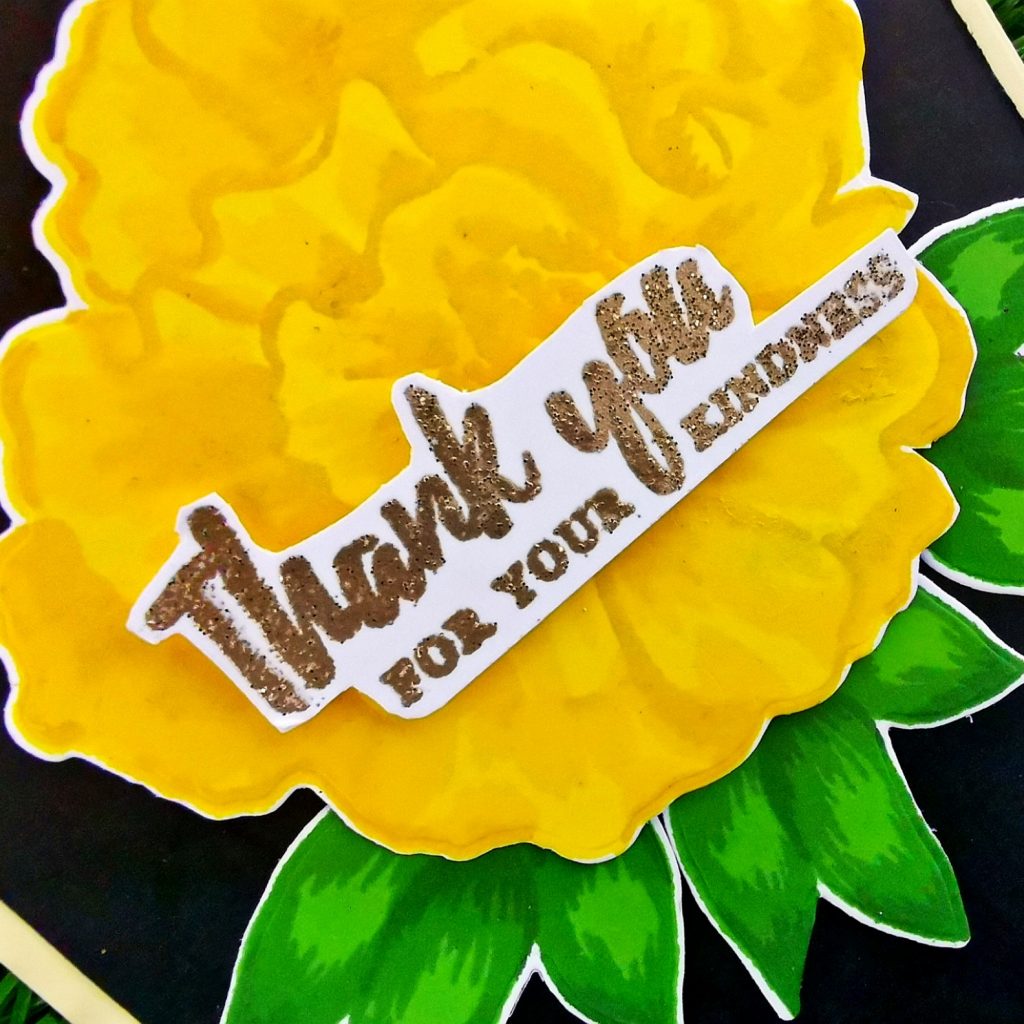
I then decided to stamp one of the sentiments from the set on white cardstock with gold embossing powder from the ranger. I took my stamp and dipped it in the versa mark stamp pad and stamped it on the paper. I dumped the embossing powder on its top and gave rid of the excess. Later on, heat it up with my heat gun. I then trimmed the cardstock with scissors along the edges of the sentiment. To add the dimensional look of the card, I stuck a piece of foam tape under the sentiment. A black leather paper measured 4* 5 1/4 was used as my card base. I stuck the flower with 3 leaves on the bottom. The sentiment was stuck in the middle of the card on top of the flower. To give a finishing touch I stuck a yellow craft cardstock brought from the local store below the black card base. which ended up giving a thin yellow border at its first look over the completed card. Thus creating a 4 1/4*5 1/2 card.
I hope to see you all soon with another project from AECP. Until then happy stamping and thanks for stopping by!
-shahi
Clean & Simple Boutique Cards
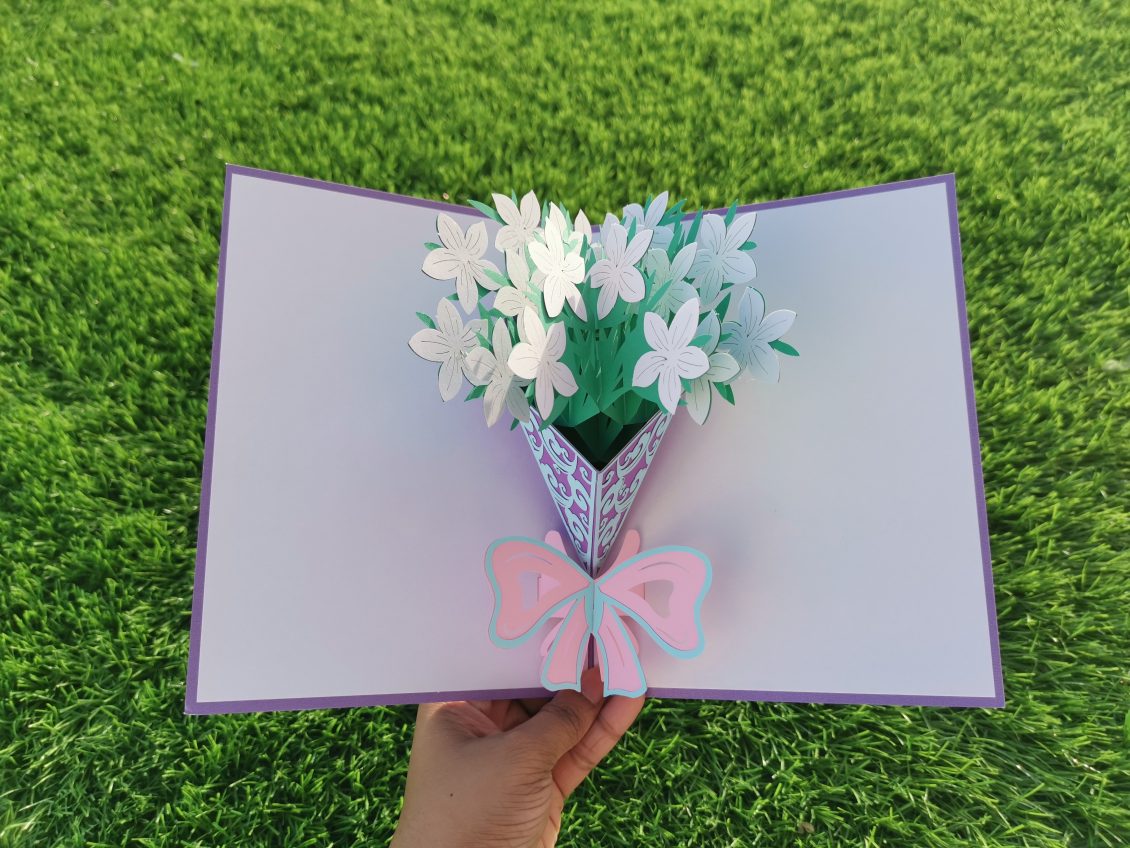
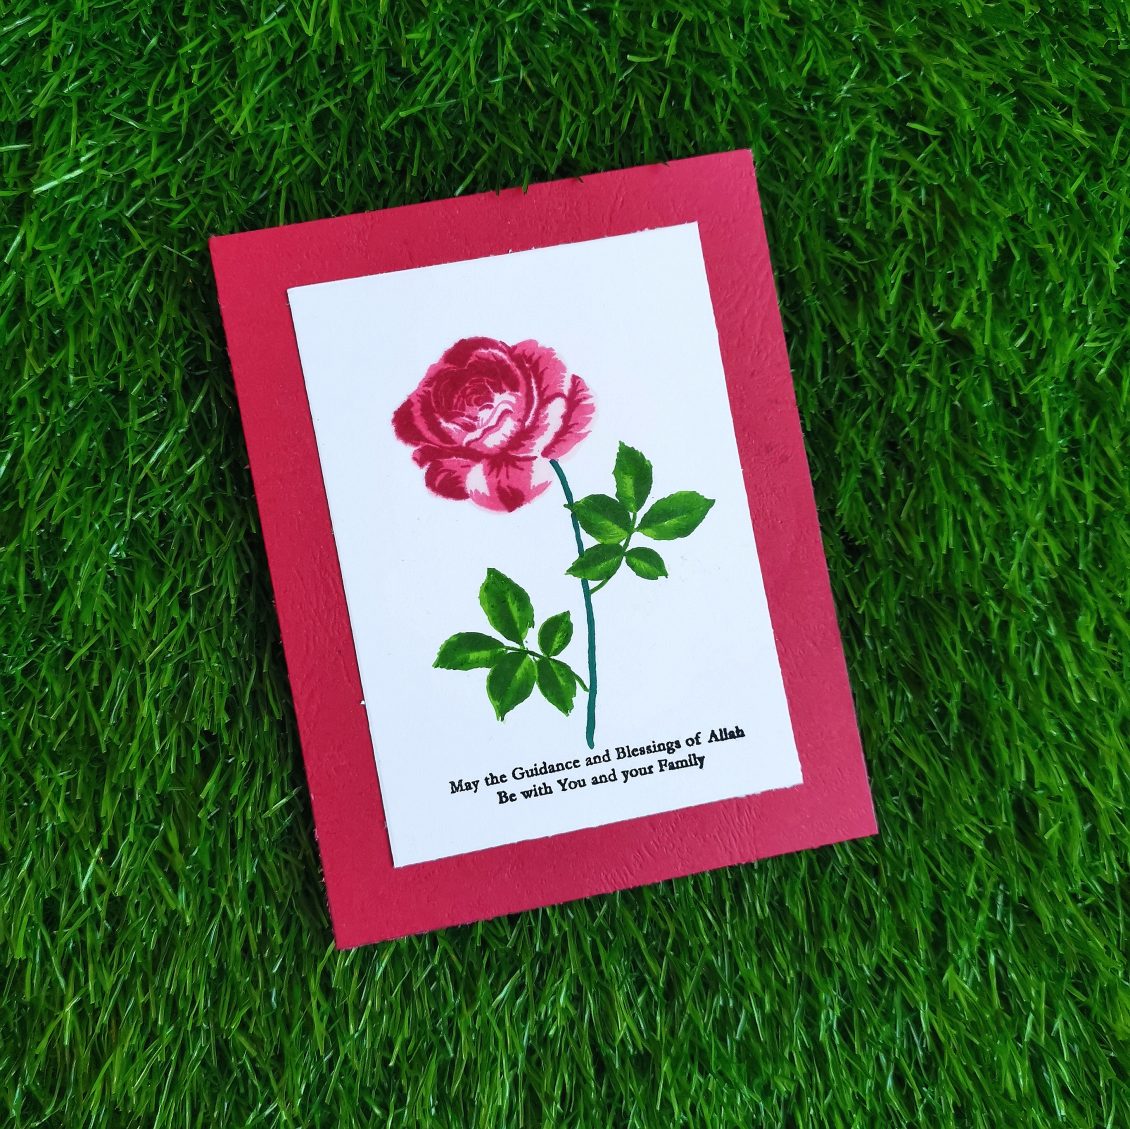
This is going to be my second project on the altenew educator certification program. Today’s task is to make a clean and simple card. I’m planning to stamp a rose with few leaves then add a sentiment to my card.
I stamped my rose using Layered stamp from studio light with the Red Cosmos Crisp Ink collection from Altenew. (Frosty Pink, Coral Berry, Ruby Red, Grapevine) The leaves were stamped with the Green Valley Crisp Ink collection. Mountain Pine, Shadow Creek, Grass Field, Firefly) from Altenew. These inks stamp solid with smooth coverage and great colors. What’s even better is that they are grouped into color families and this makes layered stamping much easier even for beginners!
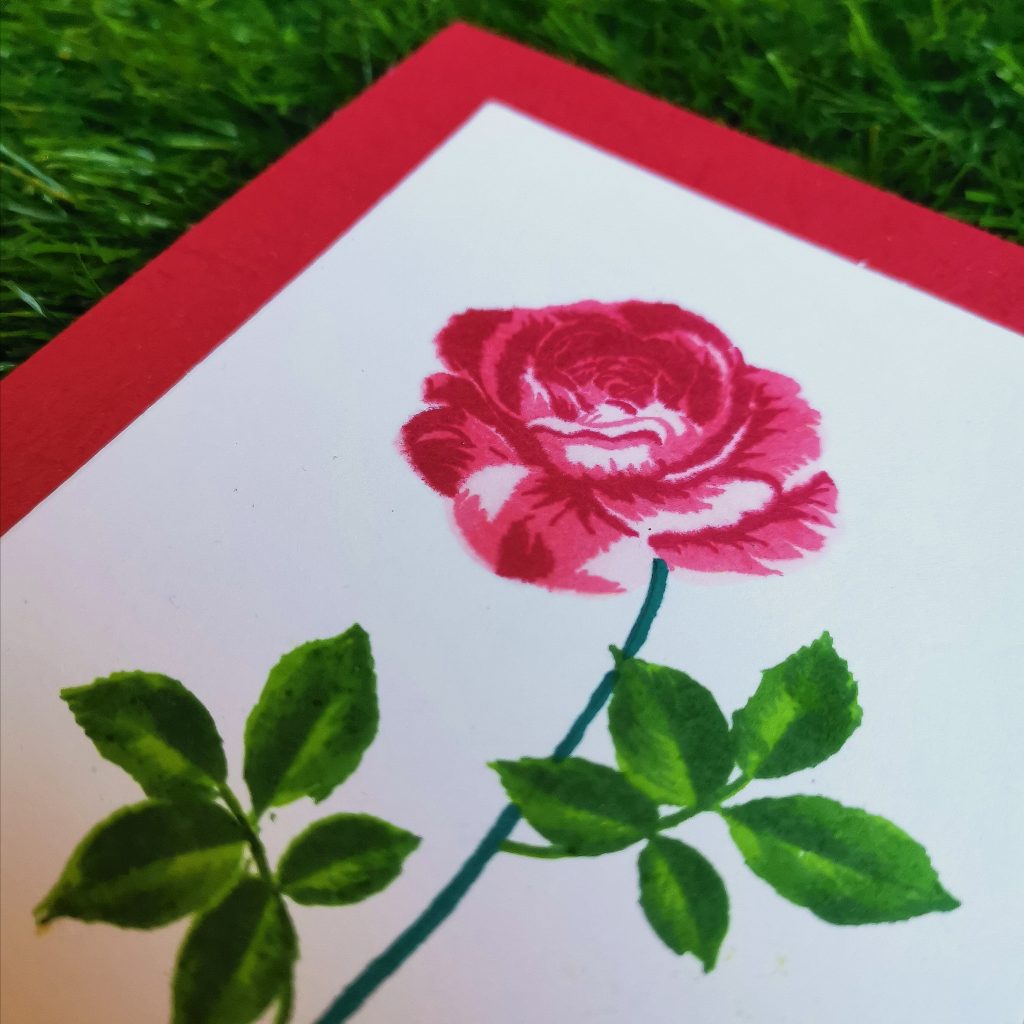
I decided to draw the stem of my rose by hand with a green sharpie marker. I choose a sentiment from Altenew Eid greetings which says ” May the guidance and blessings of Allah be with you and your family”. It’s one of my favorite sentiment from Altenew. I use them wherever possible while card making. Finally, the card is being trimmed to add space to the red cardstock at the base. The large area given to the red cardstock highlights the card and makes it even more beautiful. This is one of the easiest and simplest ways to make a CAS card. Make sure to give it a try.
By attending this section, I realised that card making isn’t a difficult task. Even a small flower and a sentiment can do a lot. I hope to see you at my next blog post. Until then happy stamping and thanks for stopping by!
-Shahi
All about Layering 1
Alhamdulilah.. (Praise be to God)
So this is officially my first blog post and I’m so thrilled and excited to be participating in the Altenew Educator Certification Program!! This is my first submission after completing All About Layering 1 & 2 hosted by Nicole Picadura.
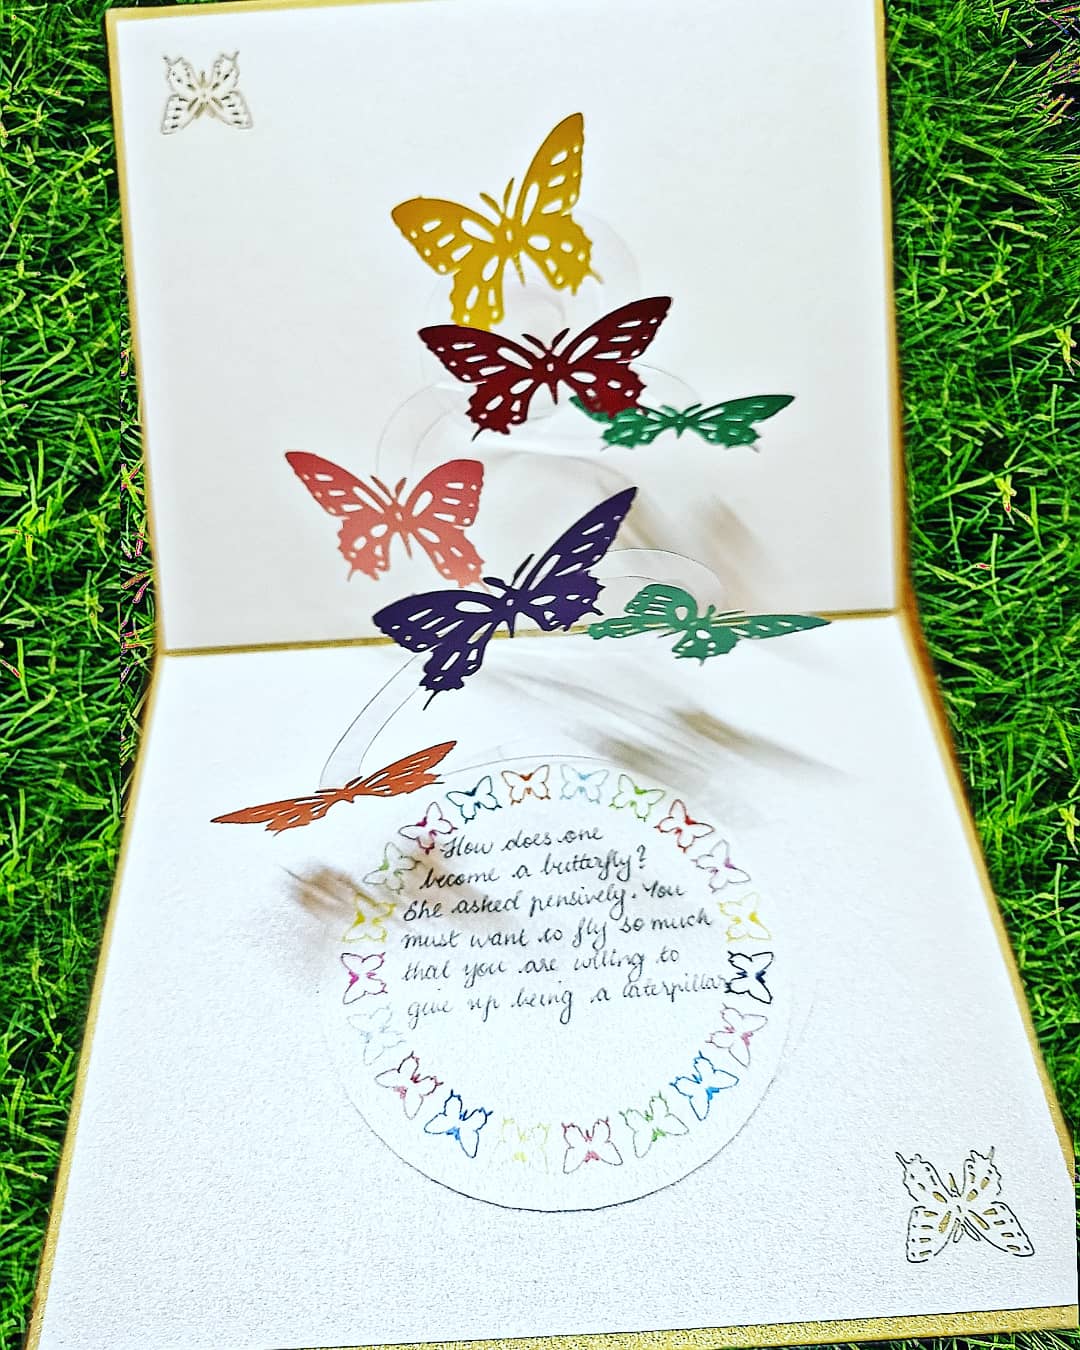
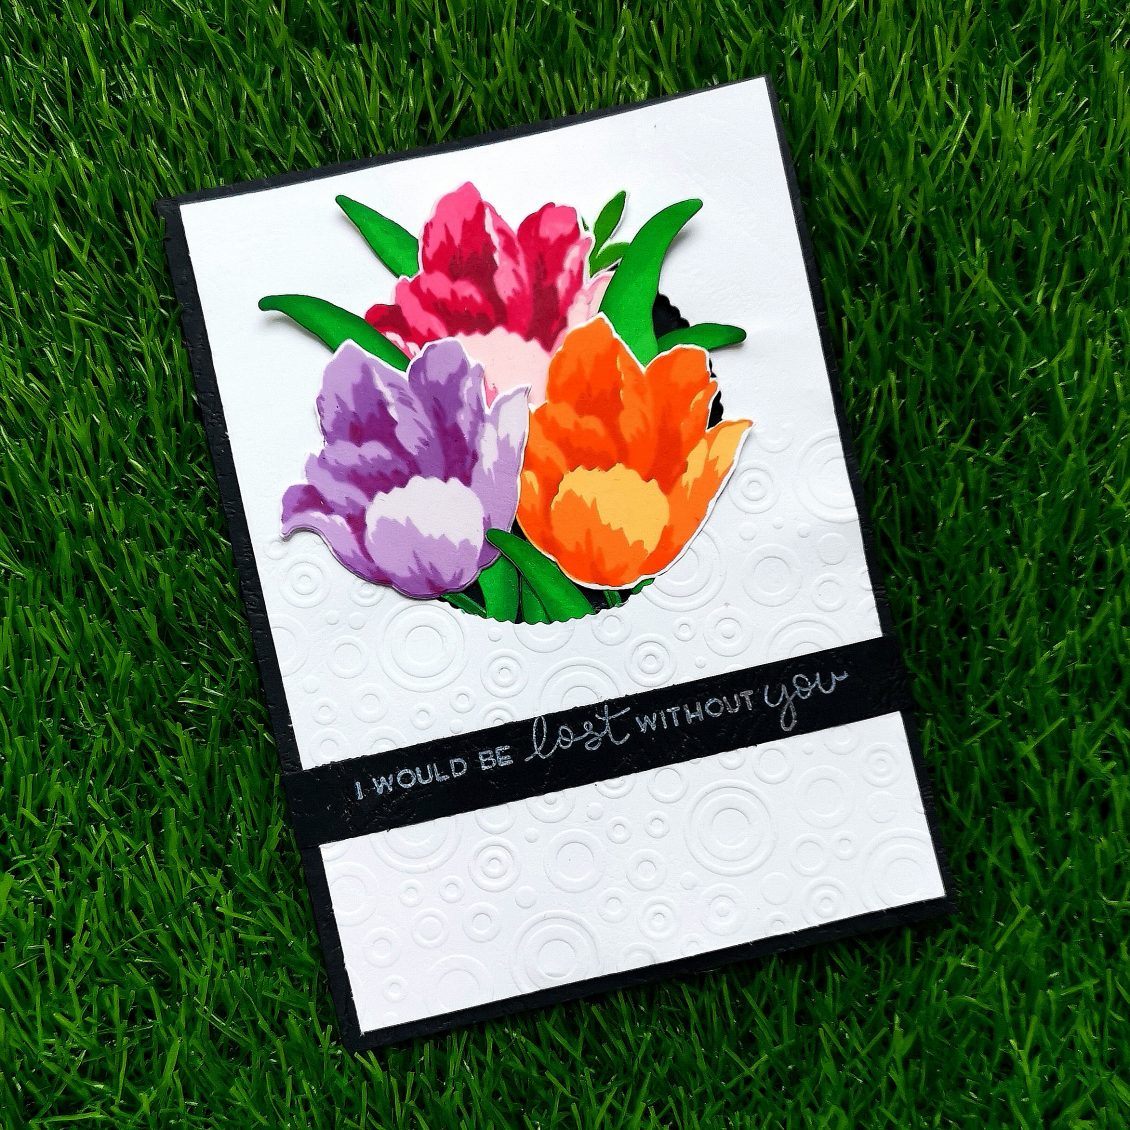
For this project, I have decided to stamp 3 flowers using the Triumph Tulip- Build a flower stamp set from Altenew. I varied the colours for my first tulip using the Red Cosmos Crisp Ink collection from Altenew. (Frosty Pink, Coral Berry, Ruby Red, Grapevine). The second triumph tulip was stamped using Warm & Cozy Crisp Ink collection from Altenew. (Sun-kissed, Orangecream, Autumn Blaze, Firebrick) For my third pair, I choose Shades of Purple Crisp Ink collection from Altenew. (Soft Lilac, Lavender Fields, Deep Iris, Midnight Violet)
Then I stamped my leaves with Grass field from Green Valley Crisp Ink collection from Altenew.I wanted to give my leaves a blended look so I coloured them with touch five green markers, 45, 55 and 59. Then I placed triumph tulip coordinating dies upon the stamped images and ran it through my sizzix big shot machine. I like to have elements popped on my card. So I stuck some foam tape at the back of my die-cut images. I wanted a bigger card as compared to the standard card, so I trimmed my white cardstock to a 5*7 inch card.
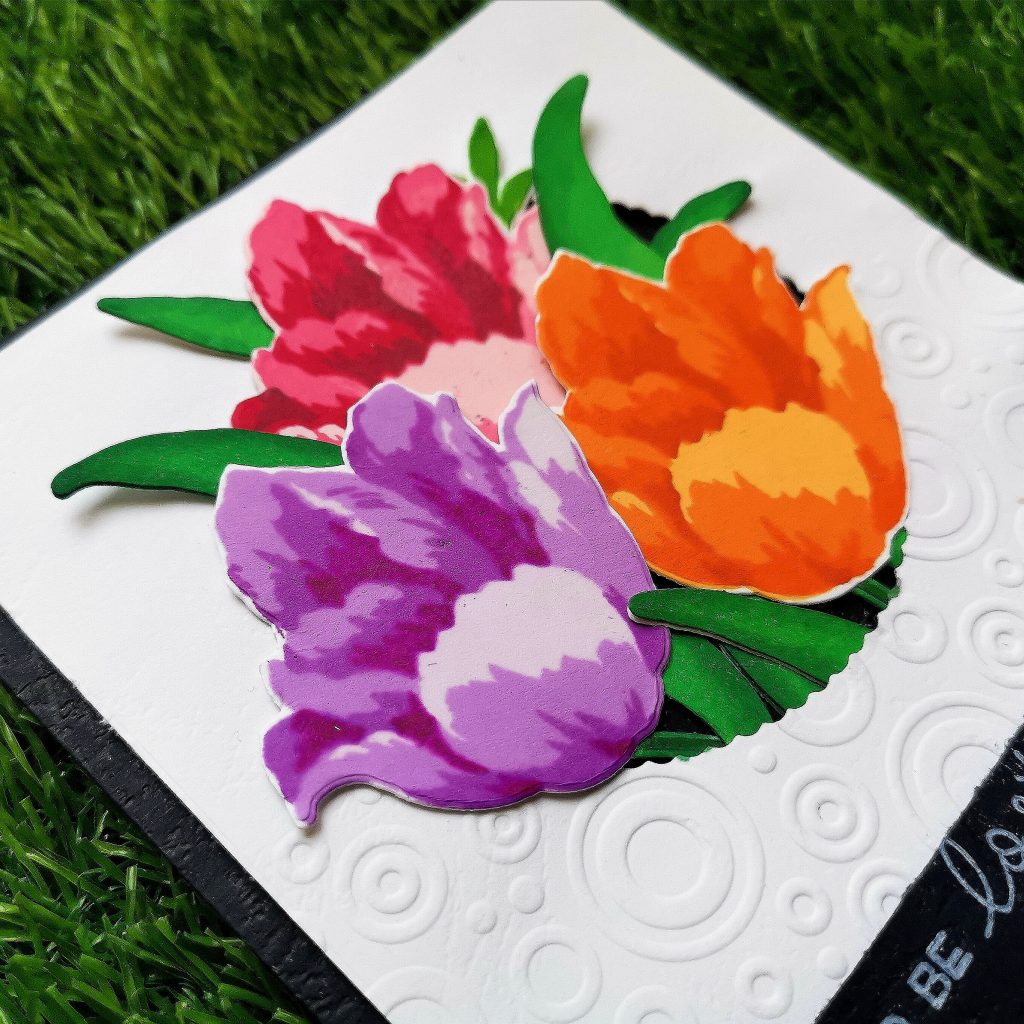
For adding a different look to my background, I decided to use an embossing folder. The one I used here was from Rungao. Its circle dimensions create a 3d effect to the card. Placing it halfway along the through the card, I ran it through my die cutting machine.Then using a circle die, I decided to cut down a circle window through the center of the panel.Then I played a bit with the card deciding where to place the flowers and sorted it out where to go. I stamped some more extra leaves as per my requirement for the card.
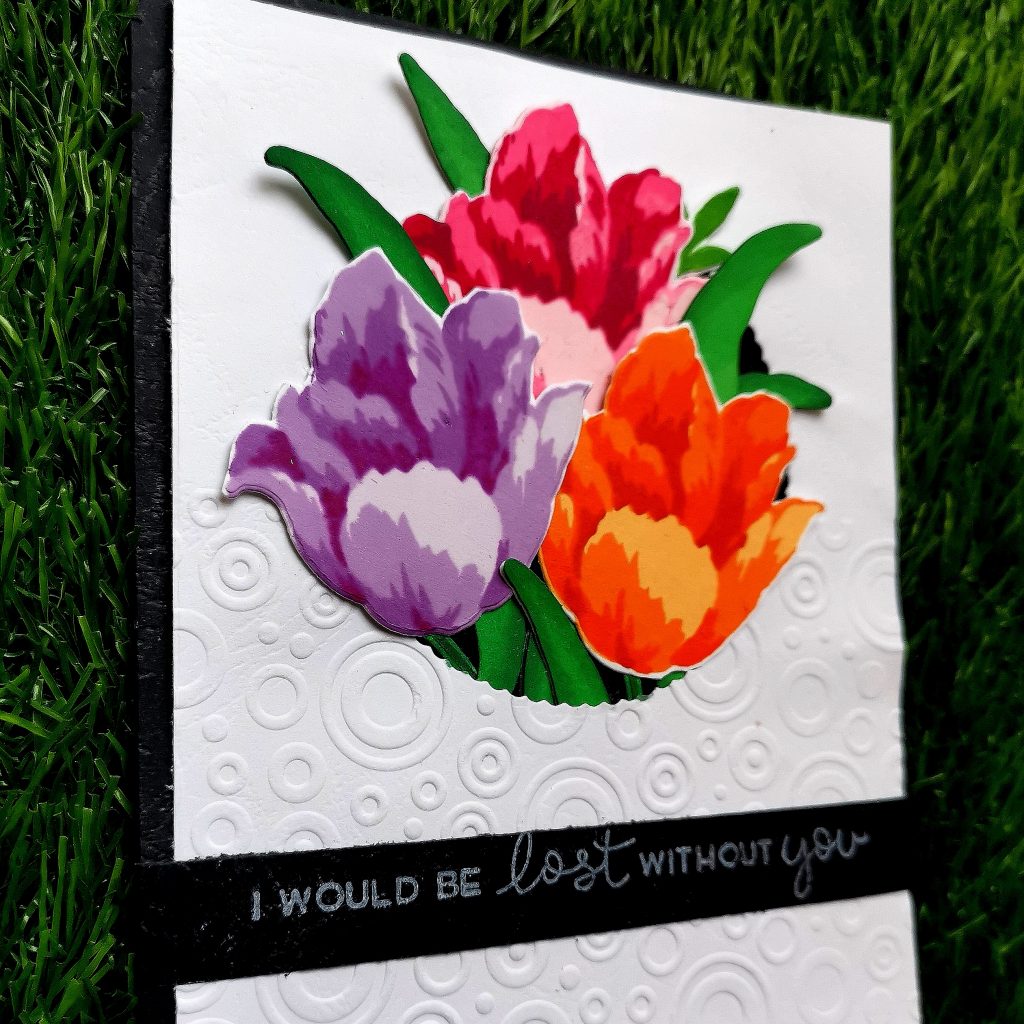
A black banner was added below the circle and with a stamped sentiment from loads of fun stamp set with unicorn white pigment ink(hero arts). I trimmed 1/2 inches from all the four sides of my cardstock and stuck some foam tape at the back of my cardstock. I finished it off by placing a black cardstock below the white one. It gave a raised look to the overall beauty of the finished card. Hope to see you at my next post. Until then happy stamping and thanks for stopping by!
-Shahi
 CASE your fellow AECP Crafter
  Clean & Simple Boutique Cards
  Easy Die Cutting Techniques
  Graduation card
  Let it shine
Recent Comments