Month: May 2021
Altenew : Masking Unleashed
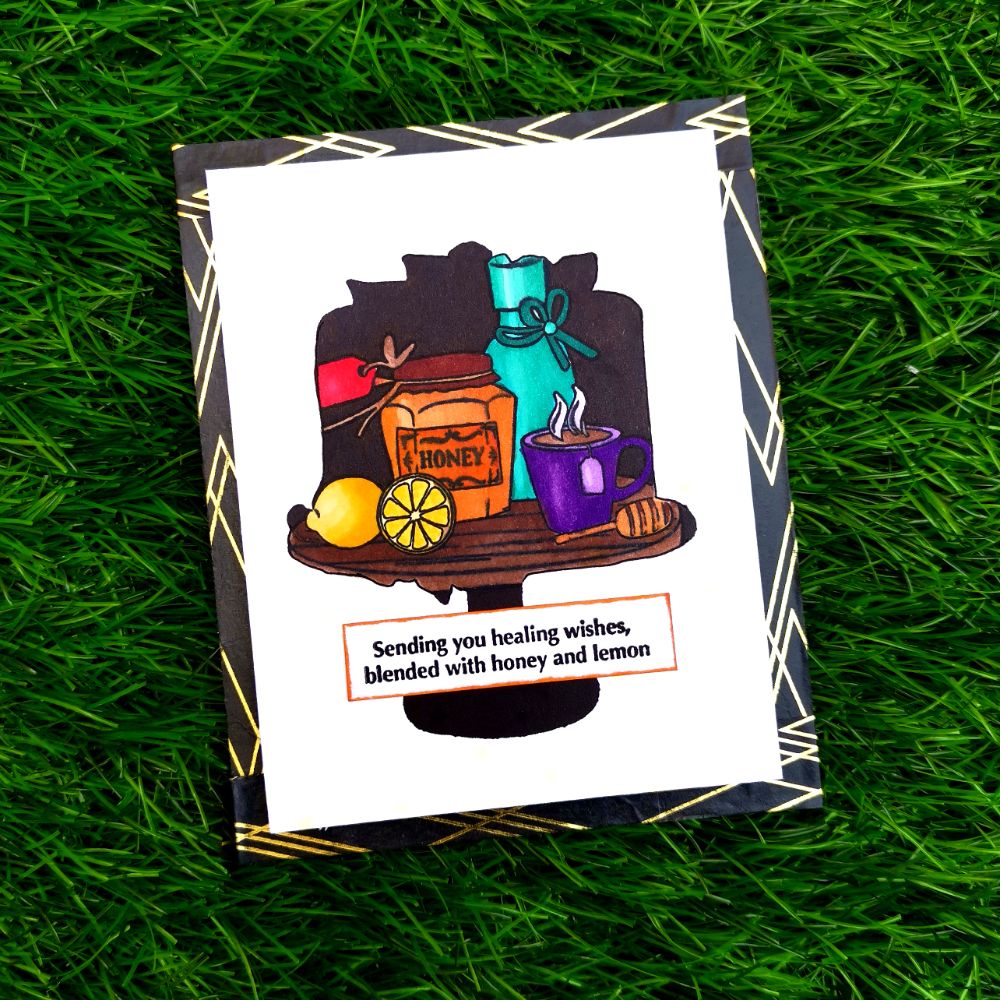
Masking requires a certain level of patience and forethought. The class, Masking Unleashed, helps to explain how to think ahead and plan a project so you get all of the masking in place when you need it. There’s lots of fantastic ideas on using masks creatively, as well as how to use different materials for various masks. If masking is something you want to get better at, or if you want a helping hand in exploring this technique and all the results you can achieve, this class is definitely for you!
INSTRUCTIONS
- Create a “4 1/4 x 5 1/2 ” card base from Classic Crest Solar White Cardstock.
- Stick washi tape and all the 4 sides.
- Take a masking sheet and place the layering gift tag die on it and die cut it.
- Take out the die cut and mask the negative
- Stick it on the cardstock
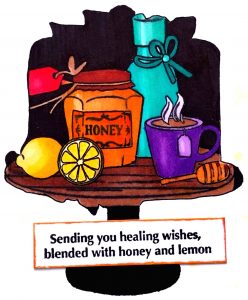
- Stamp the picture from get well soon stamp set
- Color it with artistic markers
- Fill in the remaining parts with black artistic marker
- Remove the masking sheet
- Draw the border of the picture using a black pen
- Trim the sides of the cardstock
- Stamp the sentiment using versa fine onyx black pigment ink on a strip of cardstock and shade the borders with orange cream artistic marker and stick it on the cardstock
- Stick this cardstock with double sided foam tape on to the card with washi tape on the borders.
TIPS
- Before stamping, use an Anti-Static Pouch tool to remove static from your paper so the powder doesn’t stick where you don’t want it.
- Plan ahead the order in which you want to have the elements of your scene. Stamp and mask in this order.
- When you form a shape by stamping through the negative mask you want to cross the edges of your shape with stamping as much as possible. This will define those edges and your shape will be recognizable.
- You may draw an outline of your negative image to give a perfect look to the picture
SUPPLIES
- Sizzix Bigshot die cutting Machine
- Neenah Paper 4456 Neenah 110lb Classic Crest Cardstock
- Misti stamping tool
- Get well soon Stamp Set
- Layering gift Tag cake die set
- Deco lines washi tape
- Versa fine onyx black pigment ink
- Jet Black Artist Marker
- Mango Smoothie Artist Marker
- Buttercream Artist Marker
- Warm Sunshine Artist Marker
- Mountain Mist Artist Marker
- Volcano Lake Artist Marker
- Lagoon Artist Marker
- Emerald Artist Marker
- Lavender Fields Artist Marker
- Deep Iris Artist Marker
- Rocky Shore Artist Marker
- Dark Chocolate Artist Marker
- Mocha Artist Marker
- Caramel Toffee Artist Marker
- Orange Cream Artist Marker
- Autumn Blaze Artist Marker
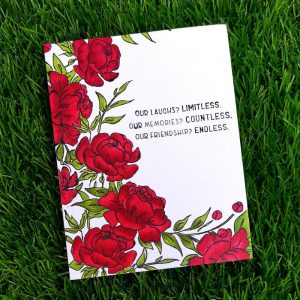
Another project I have done on this technique is this floral card.
INSTRUCTIONS
- Create a “4 1/4 x 5 1/2 ” card base from Classic Crest Solar White Cardstock.
- Stamp flowers and leaves from Precious Peony Stamp Set
- Stamp the same design on a masking sheet too and stick it over the flowers on the base card
- Repeat the process until u get the desired look
- color the flowers and leaf with Artistic markers
- Stamp the sentiment towards the center right side of the card with versa fine onyx black pigment ink
SUPPLIES
- Sizzix Bigshot die cutting Machine
- Neenah Paper 4456 Neenah 110lb Classic Crest Cardstock
- Misti stamping tool
- Precious Peony Stamp Set
- Friends Forever Stamp Set
- Velvet Artist Alcohol Markers
- Ruby red Artist Alcohol Markers
- Forest glades Artist Alcohol Markers
- Versa fine onyx black pigment ink

Thank You!
Hope you liked my card. Have a wonderful day and I hope to see you all soon with another project from AECP. Until then happy stamping and thanks for stopping by! If you like what you’ve seen from me, please give me a follow over on my Instagram (@shahicreationz) and/or subscribing to my vlog and YouTube if you haven’t already.
-shahi
Altenew: Color Your Day
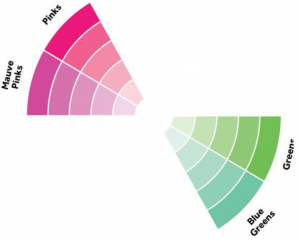
Hello Crafty Friends! Today I have a card I made for the Altenew Color Your Day class. This class is taught by Therese Calvird and is a must take class. A bit of color can brighten up anyone’s day! She presented how to add splash of colors to our projects with this fun class filled with fresh inspirations, tips, and techniques perfectly. It really made me think about composition more when creating. Combining colors together can be daunting so it’s time to take the guess work out of it and one of the easiest ways to do that is to use a Color Wheel. These handy little tools can take your color combinations to the next level!
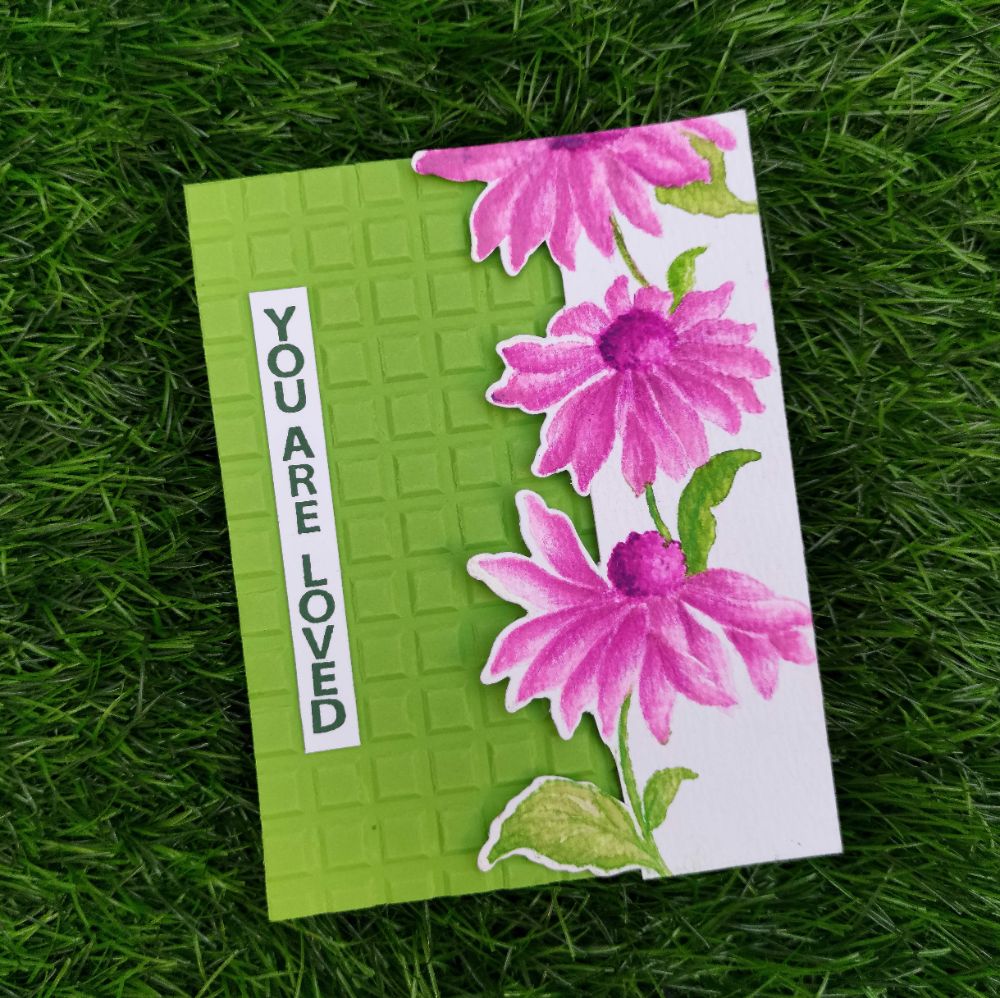
To begin with, I selected the color pink from the color wheel, and choose it’s complementary color green.
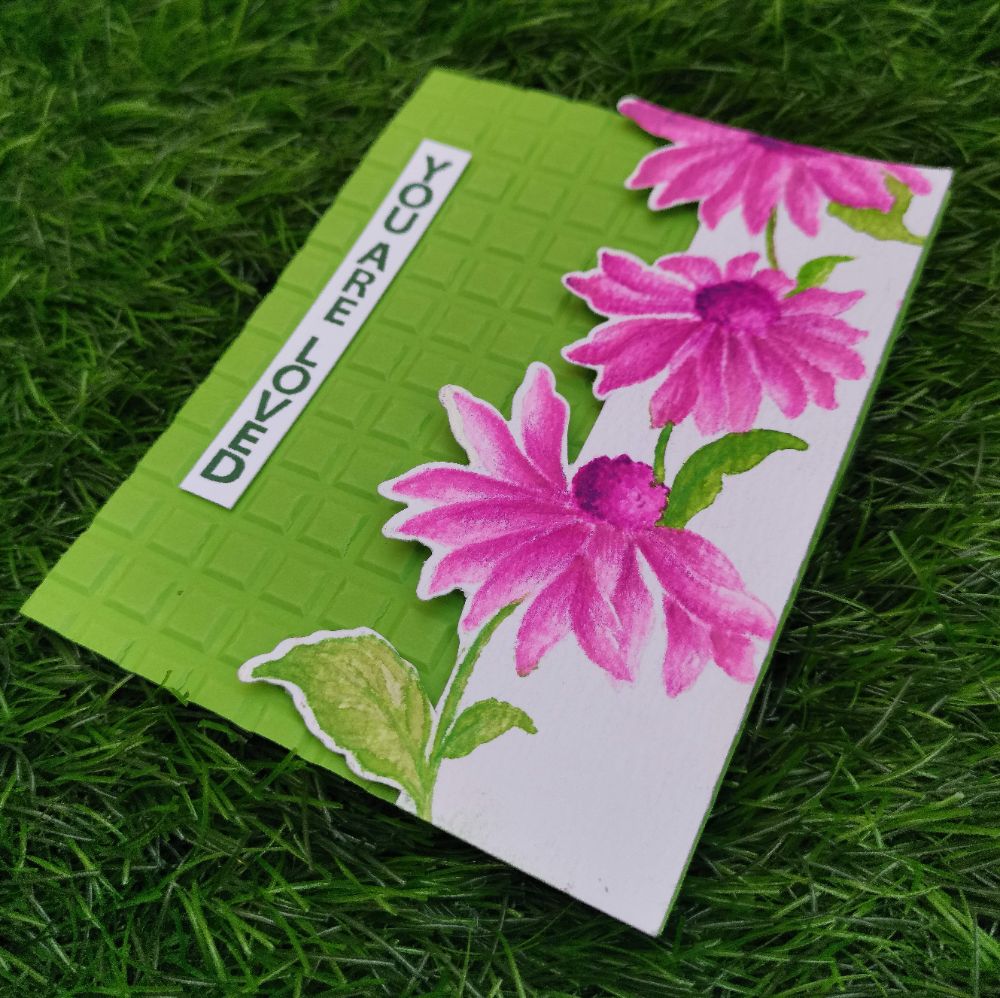
INSTRUCTIONS
- Take a White watercolor Cardstock measuring “4 1/4 x 5 1/2 ”
- Stamp the flower from Build a flower- Coneflower stamp set on it with antique linen distress ink.
- Mask and stamp other flowers and leaves according to your design
- Put your ink pads on a watercolor palate and use a water color brush to color your flowers and leaves.
- Position the coordinating dies over the flowers and do partial die cut.
- Take a lime green 4 1/4 x 5 1/2 cardstock and place it in between the embossing folder
- Keep the paper on one side and Spray the opposite side of the folder with water and close the folder and run it through the die cutting machine.
- Stick the painted floral cardstock over green cardstock paper with double sided tape
- Stamp the sentiment on a white strip of cardstock and stick it over the green cardstock
TIPS
- Put your inkpads to another use by using them as paints! This is a great way to color in stamped images, creating perfectly matched colors
- Before stamping, use an Anti-Static Pouch tool to remove static from your paper so the powder doesn’t stick where you don’t want it.
- A water brush (with an empty barrel) or a fine-tip paint brush both work beautifully for this technique.
- If you don’t have a water color palette, you may use a craft sheet as a palette for your inkpads. If you don’t have one, a plastic page protector can also do the trick
SUPPLIES
- Antique linen distress Ink
- Rose quartz Crisp Dye Ink
- Pluffy heart Crisp Dye Ink
- Purple wine Crisp Dye Ink
- Cosmic berry Crisp Dye Ink
- Firefly Crisp Dye Ink
- Grass field Crisp Dye Ink
- Shadow creek Crisp Dye Ink
- Mountain pine Crisp Dye Ink
- Build a flower- Coneflower stamp and die set
- Hello hydrangea stamp set
- Rows of squares 3d embossing folder
This was one of my favorite class from AECP. I always find it difficult to choose my color combination. And taking this class made me more excited. So I choose this class for our AECP Instagram hope. I came out of our comfort zone and made my first video tutorial with it.
Thank You!
Hope you liked my cards. Have a wonderful day and I hope to see you all soon with another project from AECP. Until then happy stamping and thanks for stopping by! If you like what you’ve seen from me, please give me a follow over on my Instagram (@shahicreationz) and/or subscribing to my vlog and YouTube if you haven’t already.
-shahi
 CASE your fellow AECP Crafter
  Clean & Simple Boutique Cards
  Easy Die Cutting Techniques
  Graduation card
  Let it shine
Recent Comments