Masking requires a certain level of patience and forethought. The class, Masking Unleashed, helps to explain how to think ahead and plan a project so you get all of the masking in place when you need it. There’s lots of fantastic ideas on using masks creatively, as well as how to use different materials for various masks. If masking is something you want to get better at, or if you want a helping hand in exploring this technique and all the results you can achieve, this class is definitely for you!
INSTRUCTIONS
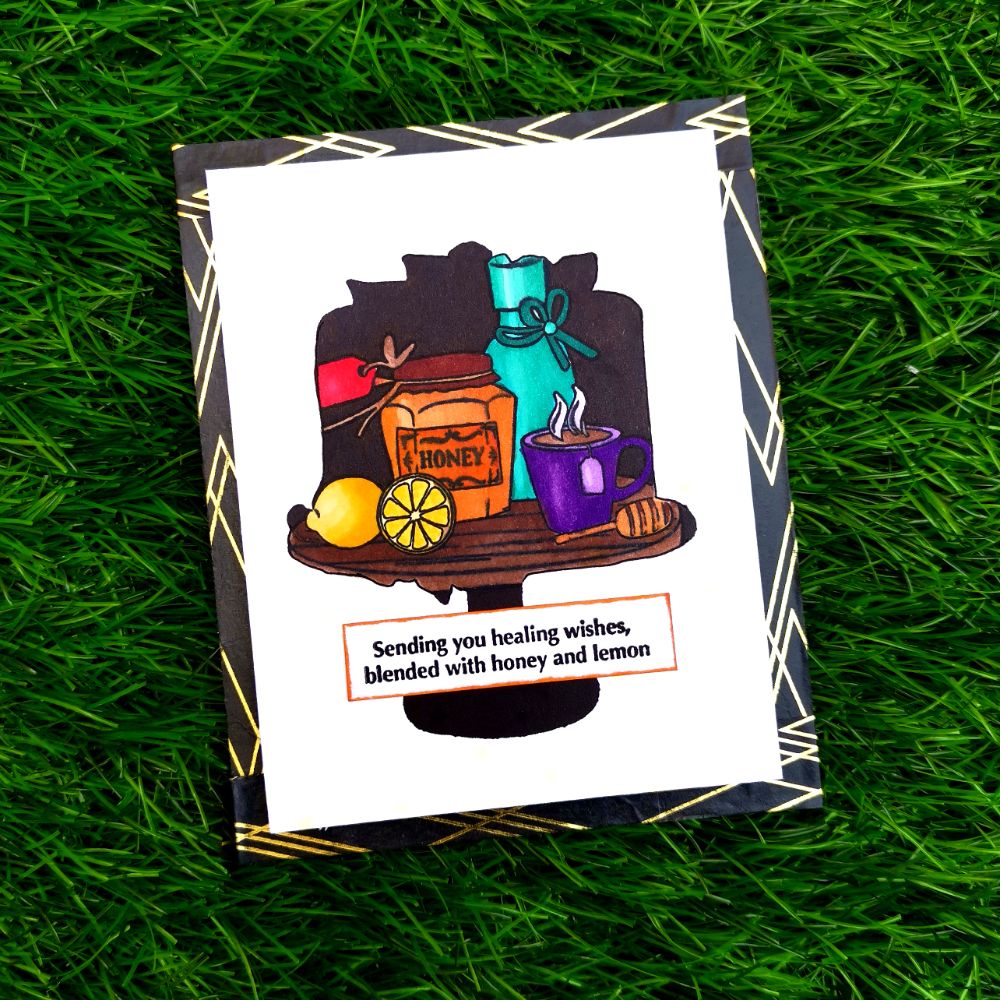
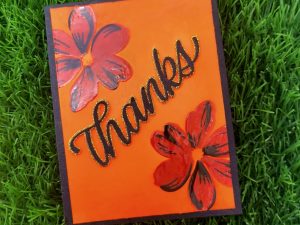
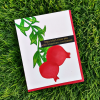
- Create a “4 1/4 x 5 1/2 ” card base from Classic Crest Solar White Cardstock.
- Stick washi tape and all the 4 sides.
- Take a masking sheet and place the layering gift tag die on it and die cut it.
- Take out the die cut and mask the negative
- Stick it on the cardstock
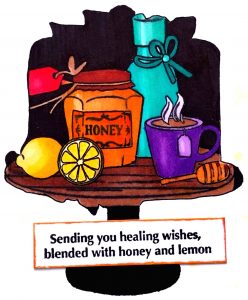
- Stamp the picture from get well soon stamp set
- Color it with artistic markers
- Fill in the remaining parts with black artistic marker
- Remove the masking sheet
- Draw the border of the picture using a black pen
- Trim the sides of the cardstock
- Stamp the sentiment using versa fine onyx black pigment ink on a strip of cardstock and shade the borders with orange cream artistic marker and stick it on the cardstock
- Stick this cardstock with double sided foam tape on to the card with washi tape on the borders.
TIPS
- Before stamping, use an Anti-Static Pouch tool to remove static from your paper so the powder doesn’t stick where you don’t want it.
- Plan ahead the order in which you want to have the elements of your scene. Stamp and mask in this order.
- When you form a shape by stamping through the negative mask you want to cross the edges of your shape with stamping as much as possible. This will define those edges and your shape will be recognizable.
- You may draw an outline of your negative image to give a perfect look to the picture
SUPPLIES
- Sizzix Bigshot die cutting Machine
- Neenah Paper 4456 Neenah 110lb Classic Crest Cardstock
- Misti stamping tool
- Get well soon Stamp Set
- Layering gift Tag cake die set
- Deco lines washi tape
- Versa fine onyx black pigment ink
- Jet Black Artist Marker
- Mango Smoothie Artist Marker
- Buttercream Artist Marker
- Warm Sunshine Artist Marker
- Mountain Mist Artist Marker
- Volcano Lake Artist Marker
- Lagoon Artist Marker
- Emerald Artist Marker
- Lavender Fields Artist Marker
- Deep Iris Artist Marker
- Rocky Shore Artist Marker
- Dark Chocolate Artist Marker
- Mocha Artist Marker
- Caramel Toffee Artist Marker
- Orange Cream Artist Marker
- Autumn Blaze Artist Marker
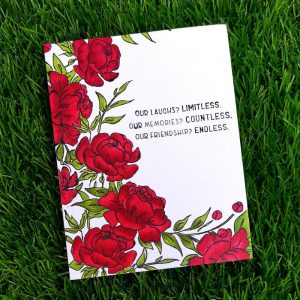
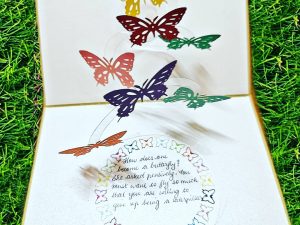
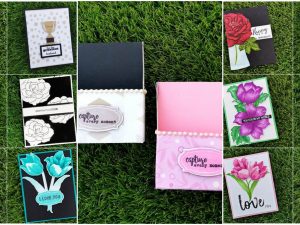
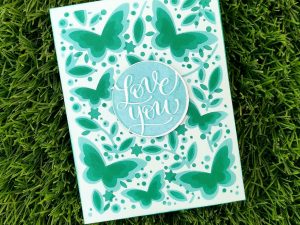
Another project I have done on this technique is this floral card.
INSTRUCTIONS
- Create a “4 1/4 x 5 1/2 ” card base from Classic Crest Solar White Cardstock.
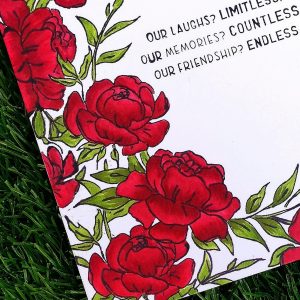
- Stamp flowers and leaves from Precious Peony Stamp Set
- Stamp the same design on a masking sheet too and stick it over the flowers on the base card
- Repeat the process until u get the desired look
- color the flowers and leaf with Artistic markers
- Stamp the sentiment towards the center right side of the card with versa fine onyx black pigment ink
SUPPLIES
- Sizzix Bigshot die cutting Machine
- Neenah Paper 4456 Neenah 110lb Classic Crest Cardstock
- Misti stamping tool
- Precious Peony Stamp Set
- Friends Forever Stamp Set
- Velvet Artist Alcohol Markers
- Ruby red Artist Alcohol Markers
- Forest glades Artist Alcohol Markers
- Versa fine onyx black pigment ink
Thank You!
Hope you liked my card. Have a wonderful day and I hope to see you all soon with another project from AECP. Until then happy stamping and thanks for stopping by! If you like what you’ve seen from me, please give me a follow over on my Instagram (@shahicreationz) and/or subscribing to my vlog and YouTube if you haven’t already.
-shahi


Absolutely brilliant work!! Keep up the excellent work! Thank you for submitting your work to the AECP assignment gallery!