Month: February 2021
CASE your fellow AECP Crafter
Hello and welcome to Case your fellow Crafter Blog Hop!
You must be here from Sandhya Iyer ‘s blog
We fellow crafters at AECP are here with our first AECP Participant/Educator Hop! We thought it would be really fun to do a CASE your fellow crafter hop, which is an awesome way to get to know each other! All the credit goes to Natasha. she is the one who helped us the most in making this happen today.
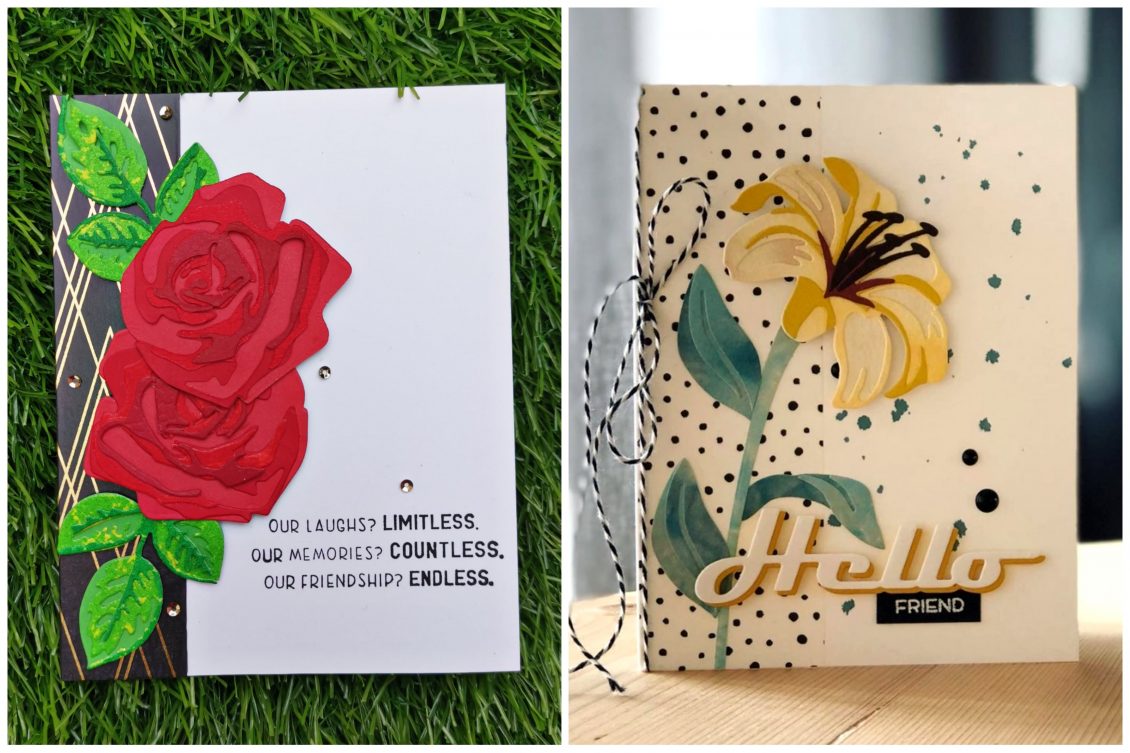
Today I’m going to CASE Berit Kyllo-Steinmoen . She is such a talented artist. A fellow AECP participant who has got real talent of playing with colors. The card I chose to CASE is
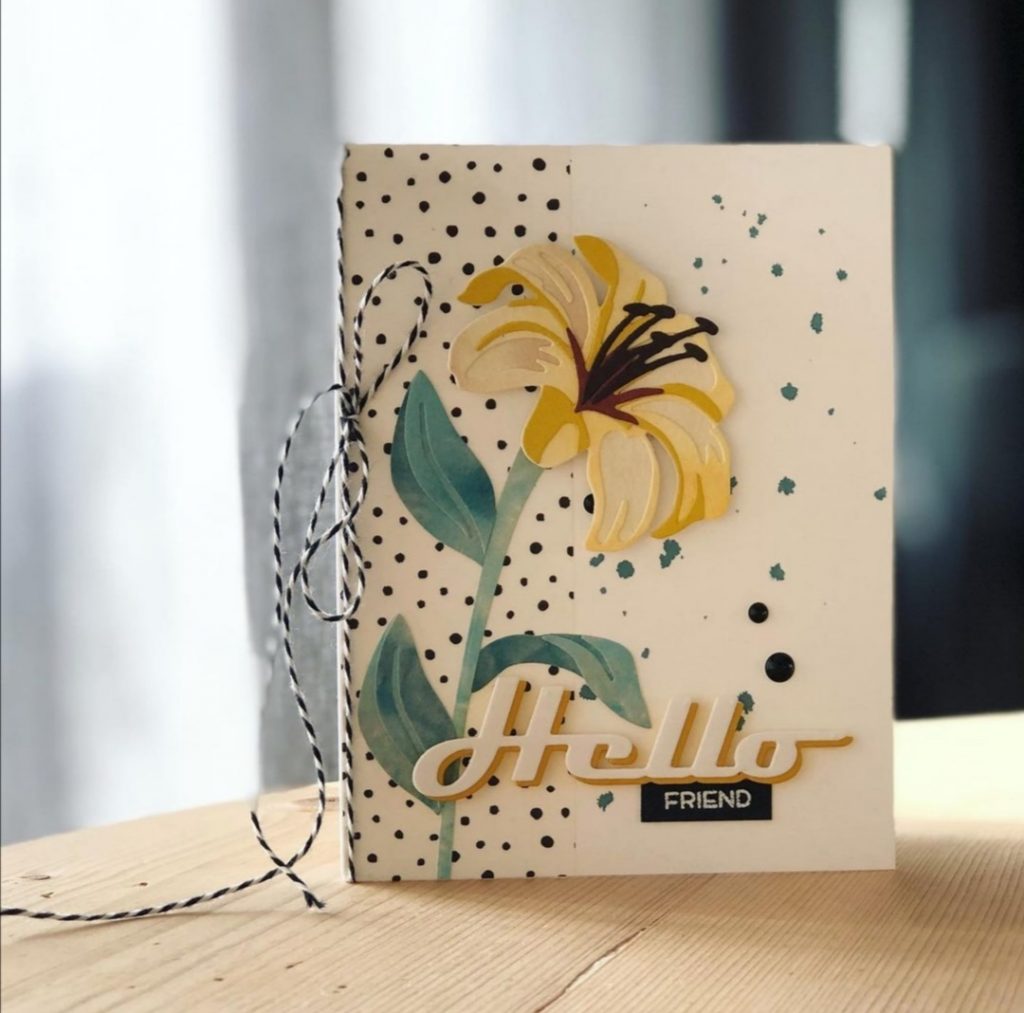
As I was scrolling through her IG ,I noticed that this was her first trial on layering dies. That when I realized that I haven’t given it a try yet. Switching from layered stamping to layered dies was something really new to me. But I’m totally loving it. So here is my version of her card.
Coming to the details, CASE means Copy And Share Everything. but it can be interpreted in many ways. Basically, we would each choose one of the AECP/Educator creations someone has shared that inspires us. Then we would create something ourselves; it could be a recreation of the exact card, we could take certain parts of the design and make it our own. It could be that a specific technique or color choice inspires you. The possibilities are endless! Today I have focused on the techniques and the layout used by her. She has given a vertical border at the left side of the card with the layering flower covering part of it. The sentiment is placed on the right bottom of the card. As add-ons she has also used some sequences near the sentiment.
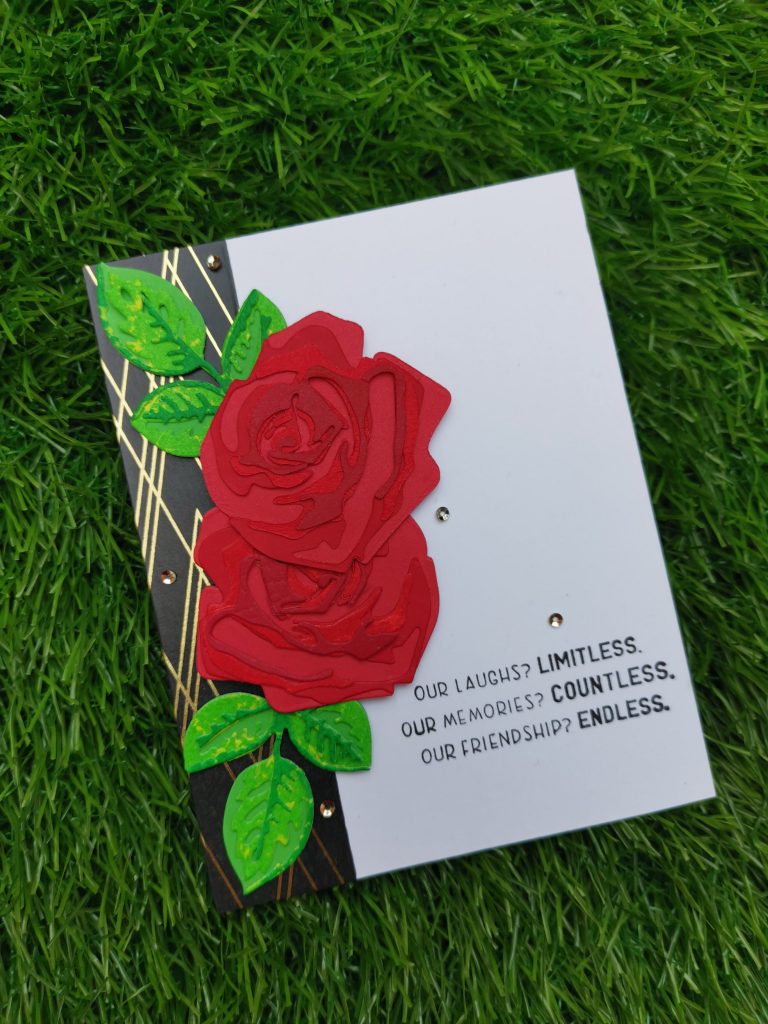
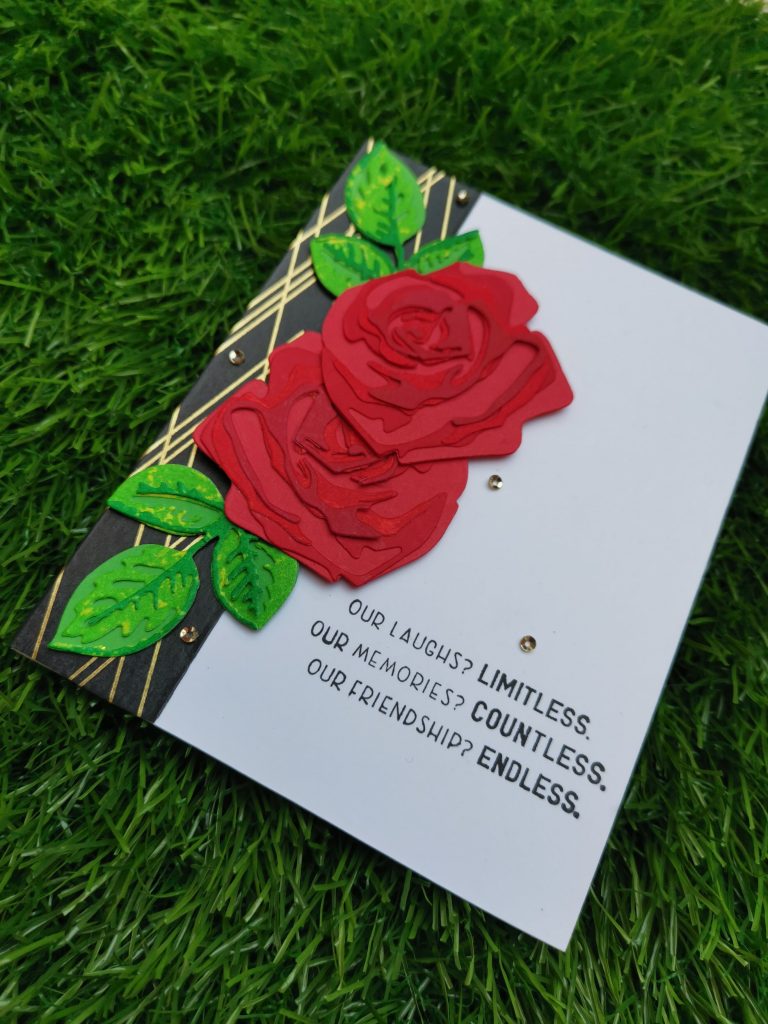
To begin with I trimmed a 5 1/4 * 4 1/2 Neenah classic crest cardstock. Then stuck altenew’s deco lines washi tape on the left side. Then I die cut Craft a Flower Rose layering die set from Altenew. I used 4 different gradients of red for the flower and green for the leaf. To give a unique look I splashed some yellow paint on the green leaves. The sentiment I used was from friends forever stamp set from Altenew. To have a extra look .I used some Antique gold sequins from Altenew. Here are some detail look to my card. Hope you liked it.
Thank You!
I really appreciate you stopping by. If you like what you’ve seen from me, please comment your feedbacks and do give me a follow over on my Instagram (@shahicreationz) and/or subscribing to my vlog and YouTube if you haven’t already.
Your Next Stop is Nandini Karmarkar ‘s Blog!
Setting up my passion
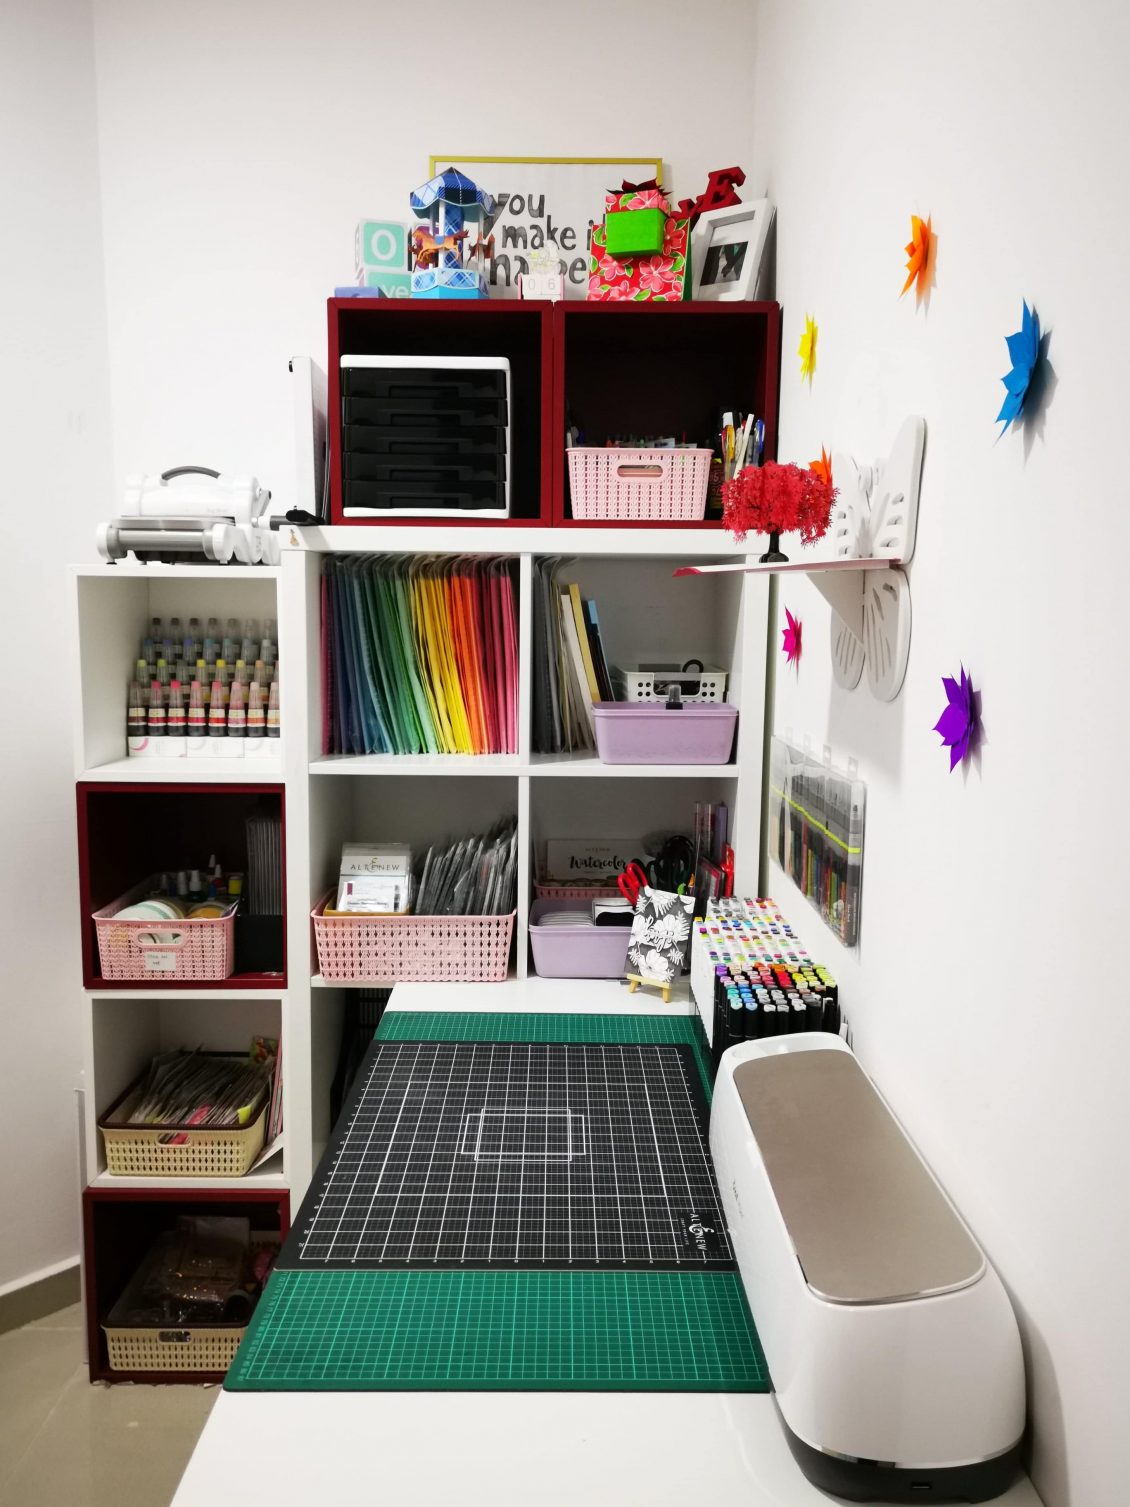
Setting up a space where I can call it a craft room was always a dream for me. I’m someone who thinks that, “For a craft room to look good, it should be organized well” . Organizing your craft room is essential to your creativity and sanity. A craft room can truly get messy once you’re in the works of creating something truly beautiful or practical.That’s why keeping it organized is very important. There is nothing better than feeling inspired in a place where you feel safe.And the organization can give you a sense of safety!
Today I’d love to share some of my craft room organization ideas that will keep you organized and hopefully inspired. First one is pretty simple but absolutely essential to keeping your room organized. Get tall shelves, the taller the better. The more shelving you have, the more space there is for all the supplies. The more supplies, the bigger the inspiration to get things done every day.
The truth is, you can get your craft room organized with a very small budget. All you need to do is go to the Dollar Store, get whatever seems proper for storage, and arrange something of your own.
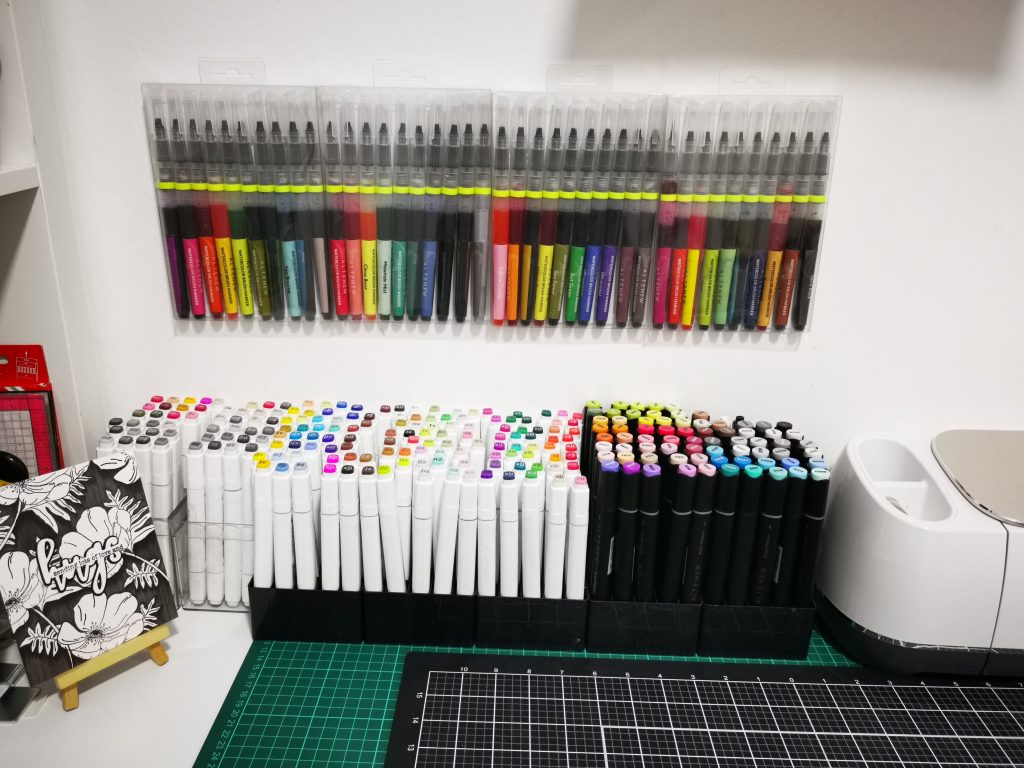
If you love to display your supplies on the table, get a display rack stand. These are great for threads, nail polish, paint, glitter, etc. Every inch of your space is precious. So, you might want to use the space on your table to keep some of the supplies. Obviously, make sure it doesn’t get too messy. You know how easy it is sometimes to just throw everything on your desk! If you just want to display your inks You may arrange them on a pen holder and then assemble them according to your taste. I would always want my artistic markers in hand. So I have arranged them in front on the top of the table. Lately I’m obsessed about water color brush markers. So I have arranged them on the wall.
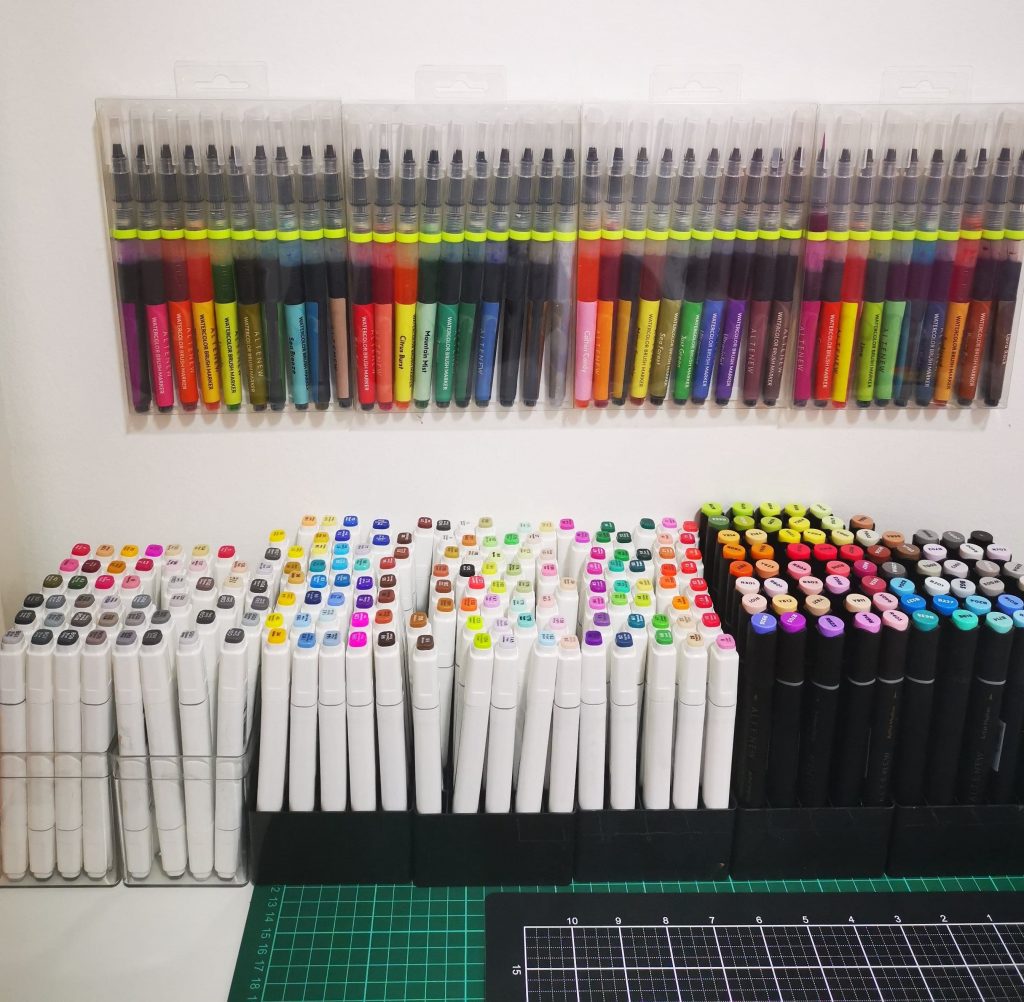
You can choose various methods for hanging them vertically. 1) using a pegboard 2) hang them on a clip or nail or a holder 3) stick it on the wall using a magic tape. I am someone who keep changing my stuffs according to the project I’m working on. So I never wanted to create a mess on my wall. So I always rely on magic tape. It comes out very easily. It’s really easy to reuse or stick it back on place. You’ll have everything in one place and you’ll finally start using some of the vertical space. All of it will come in super handy especially if your craft room is very small.
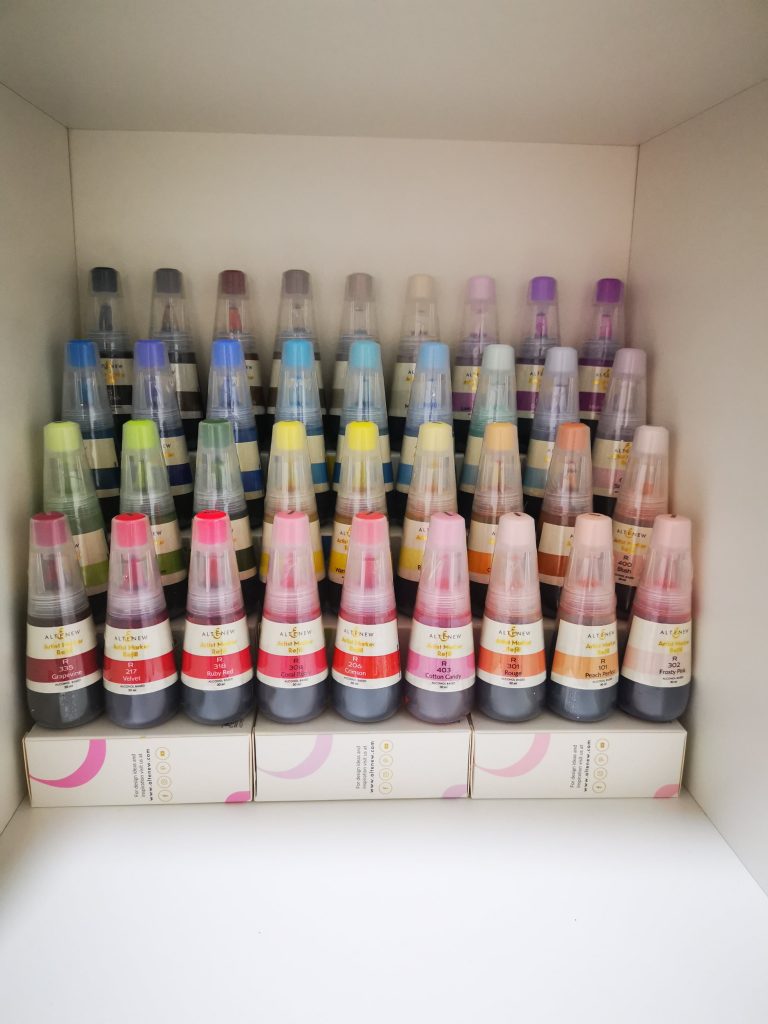
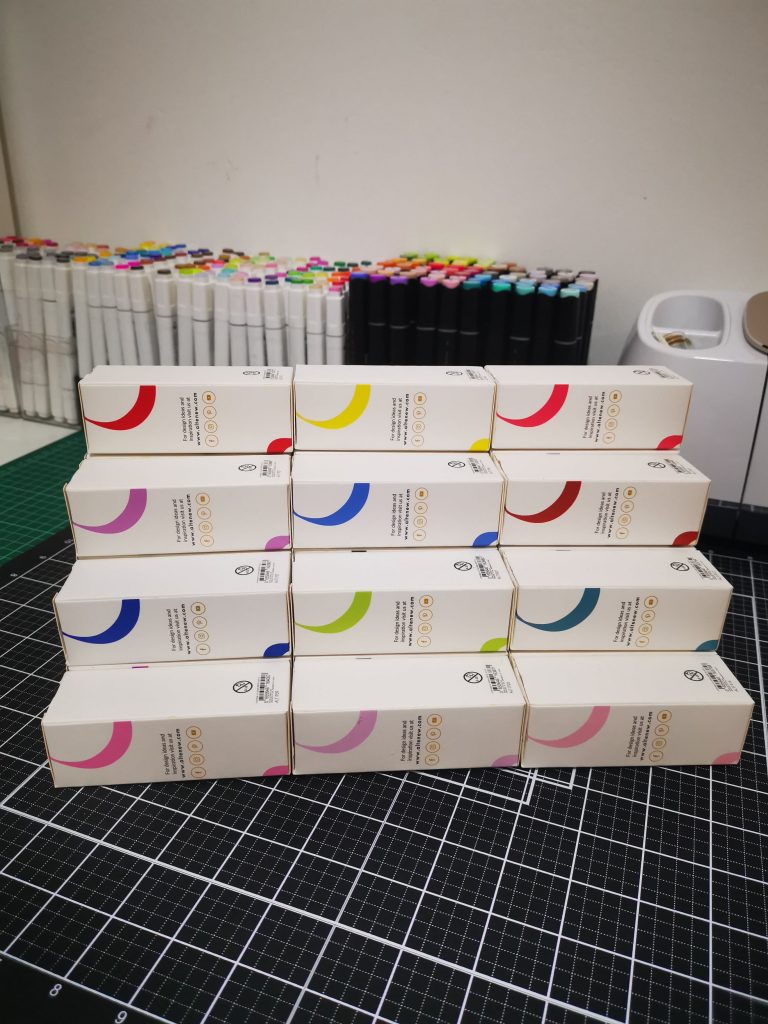
Coming to watercolor brush markers refills. It’s something that you should definitely catch hold of. But organizing them was kind of tricky for me. I wanted to see all the colours in a single sight. It helpes me to choose the right one. That’s why I choose to create my own stand for that. Altenew is always best for its products. Buy it once, you can never stop buying things from them. It’s not just their products, their packaging is also always on my favorite list. So I decided to create a stand for my refills, using their own boxes. And it definitely came out great. Do give a try for yourself.
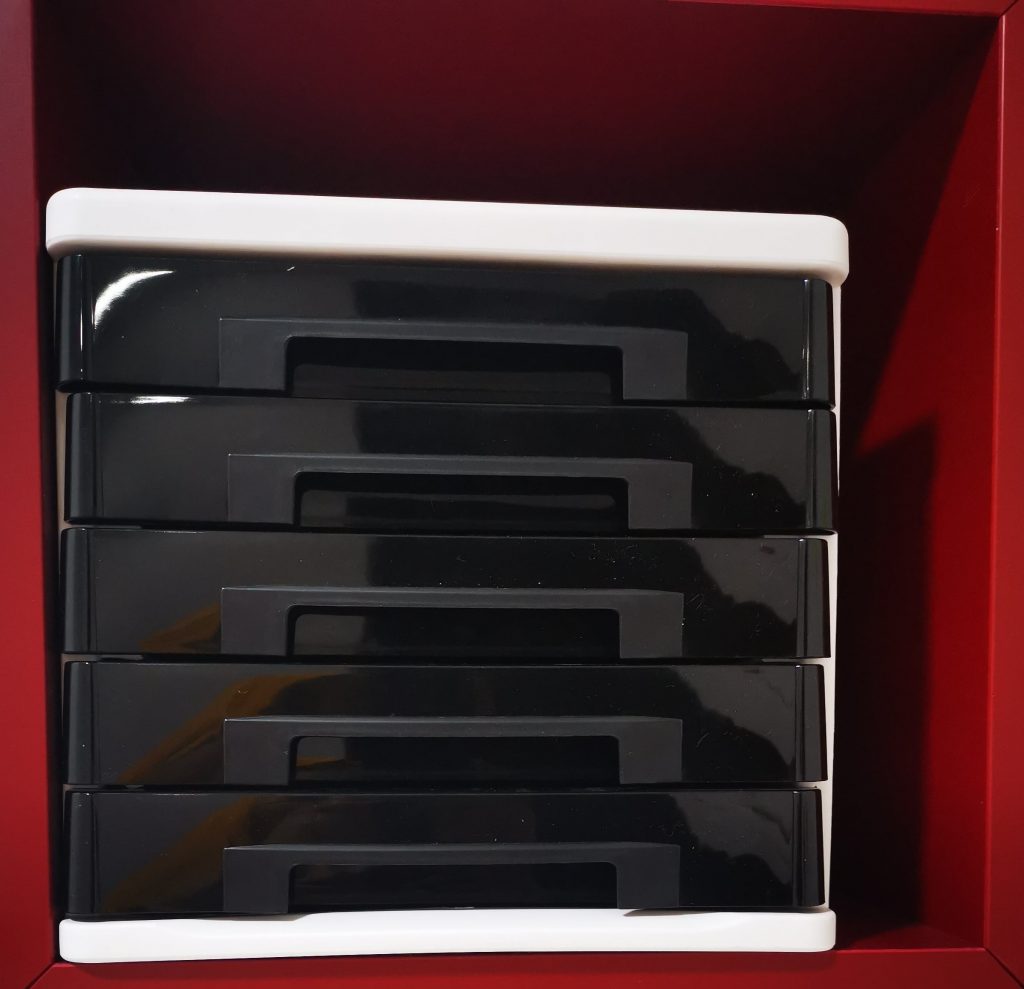
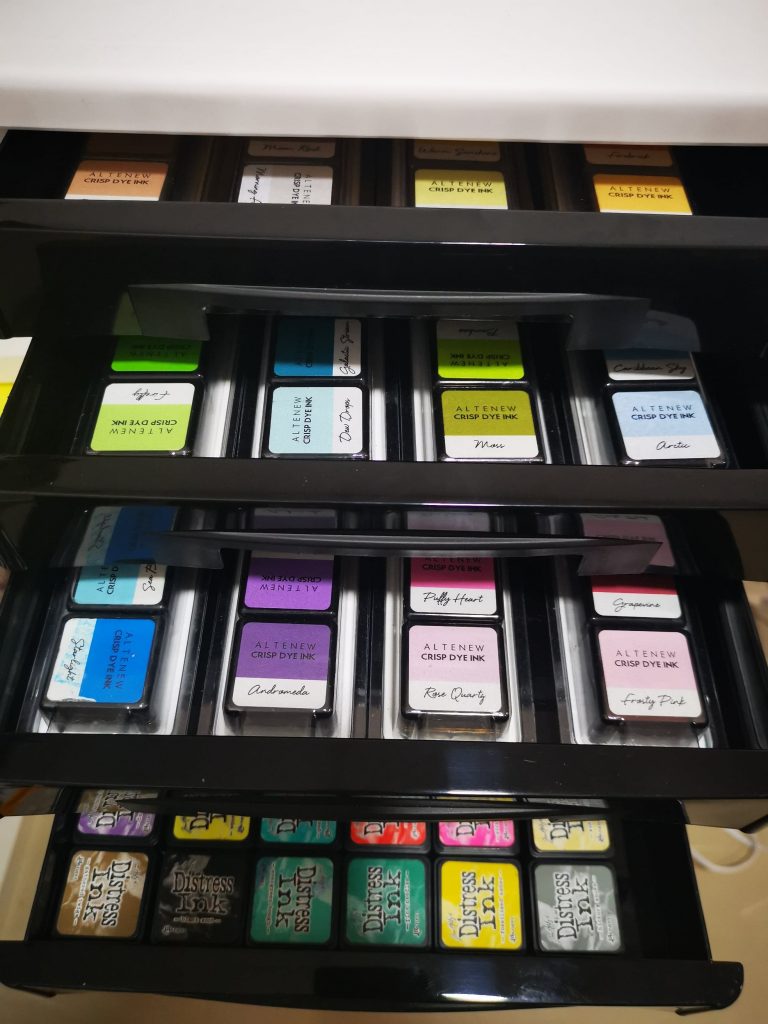
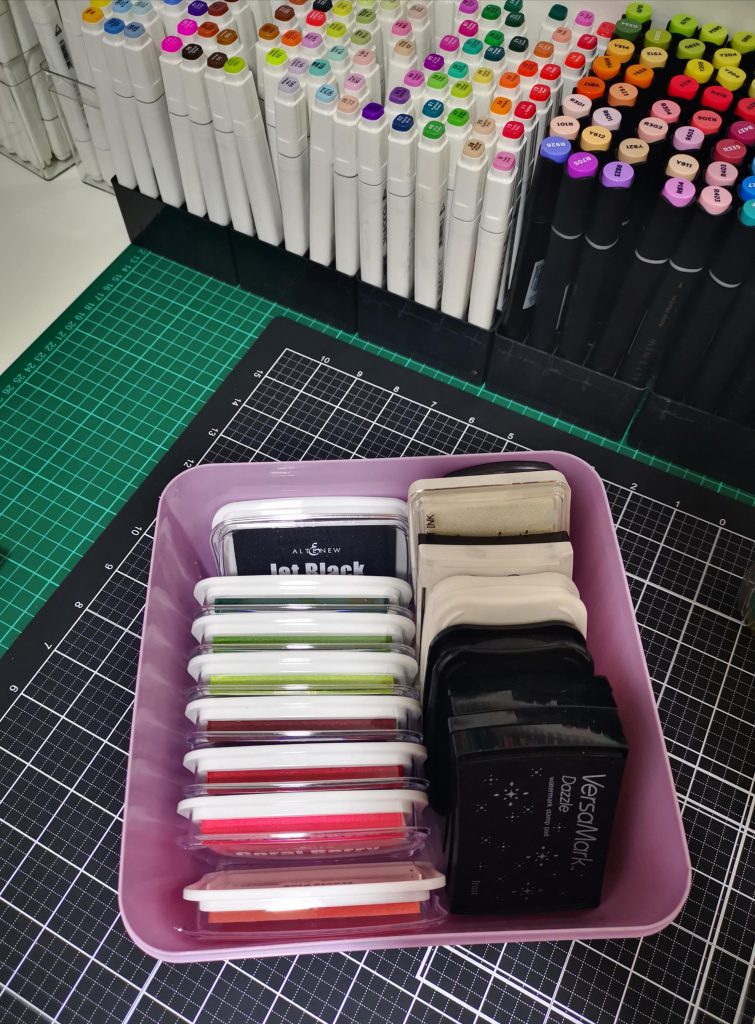
Next having a craft cabinet with smaller sized drawers can get very handy. If you have a bunch of buttons, needles, small decorations lying around, it might be a good idea to organize them. But I have used to set up my mini ink pads. I have a collection of mini distress ink and Altenew crisp die ink. I have loosely arranged my distress ink pads on one shelf. While altenew has a collection of various bundles. I have set them as it is. It helps me to choose color especially while using layering stamps. This plastic container is just for that.
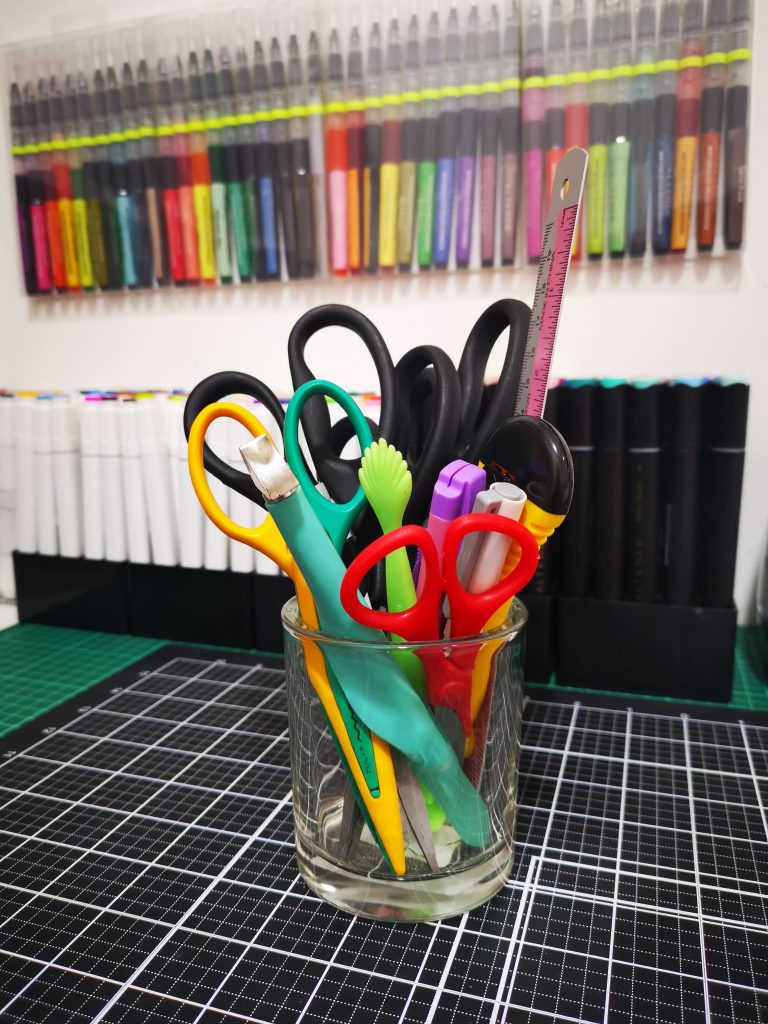
Pencil holders are great for not just pencils. Use them to store brushes, markers, sticks, or anything else that would get lost otherwise. I have used it to hold my scissors and blade. Get creative, introduce a few colorful objects here and there, and make the whole room livelier. Small details like that do matter.
The truth is, you can get your craft room organized with a very small budget. All you need to do is go to the Dollar Store, get whatever seems proper for storage, and arrange something of your own. This little organizer is a perfect example of a cheap way to get things organized. Keep it on your table or on shelves.
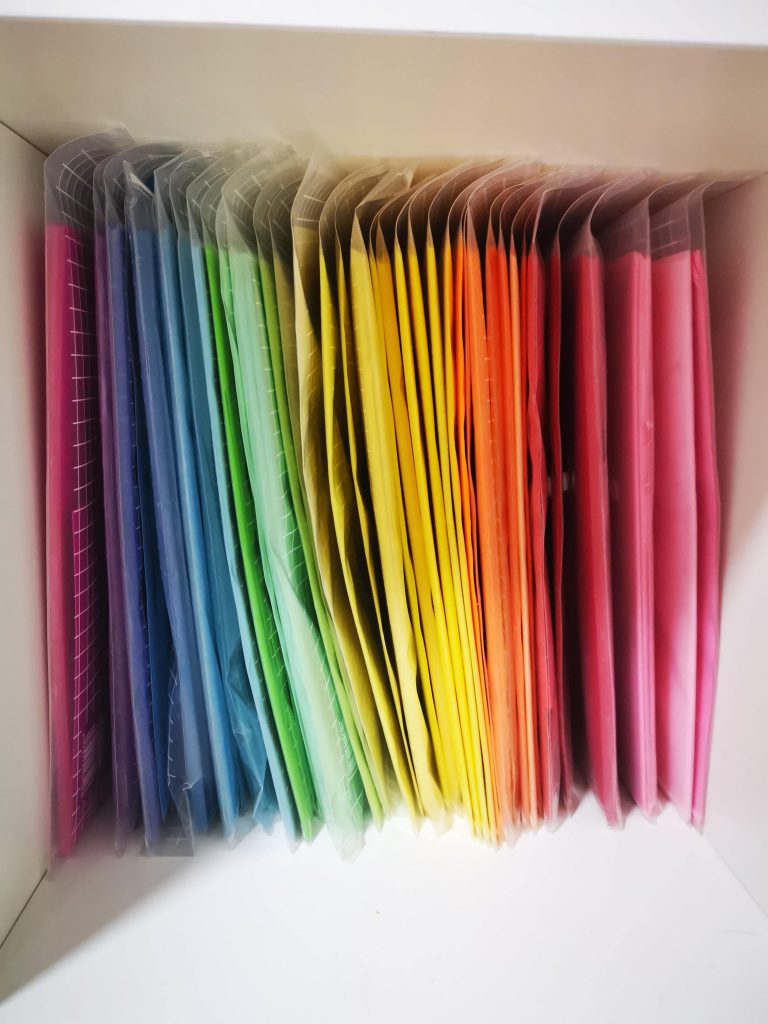
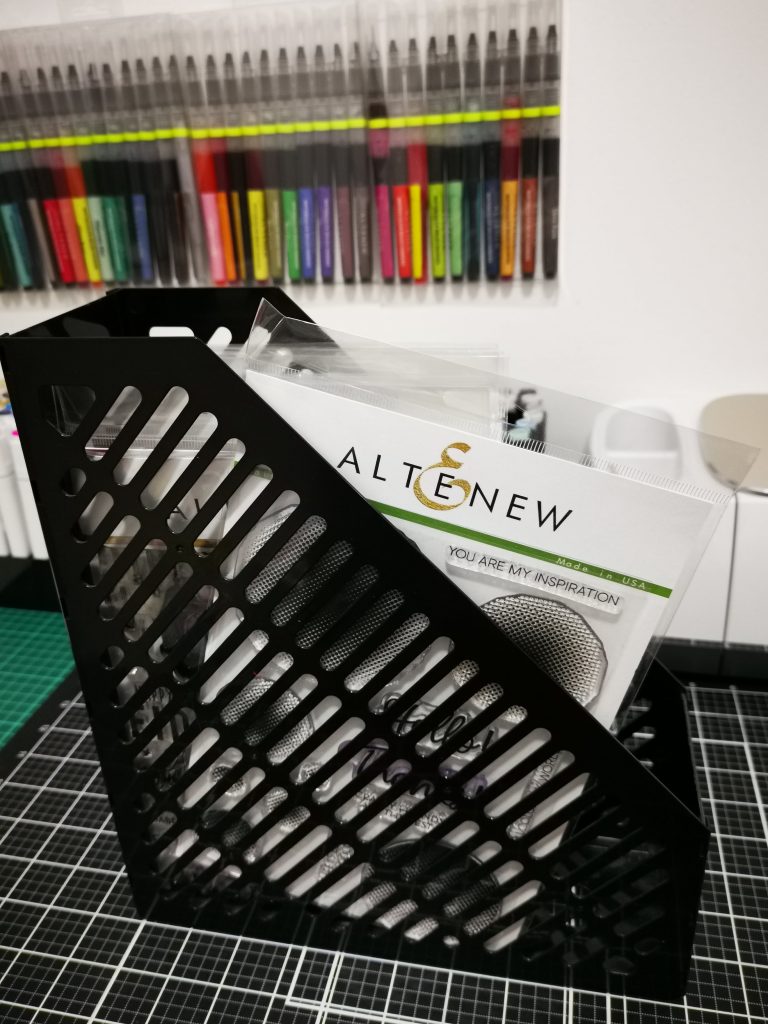
Organizing papers is a hectic task for many. I choose to keep them in clear bag. Sorting them in color helps us to choose the correct one needed for our project. For a crafter there is no piece called waste piece. So I sort the extra cut pieces and place them in the same clear bag . So that they can be used for future use
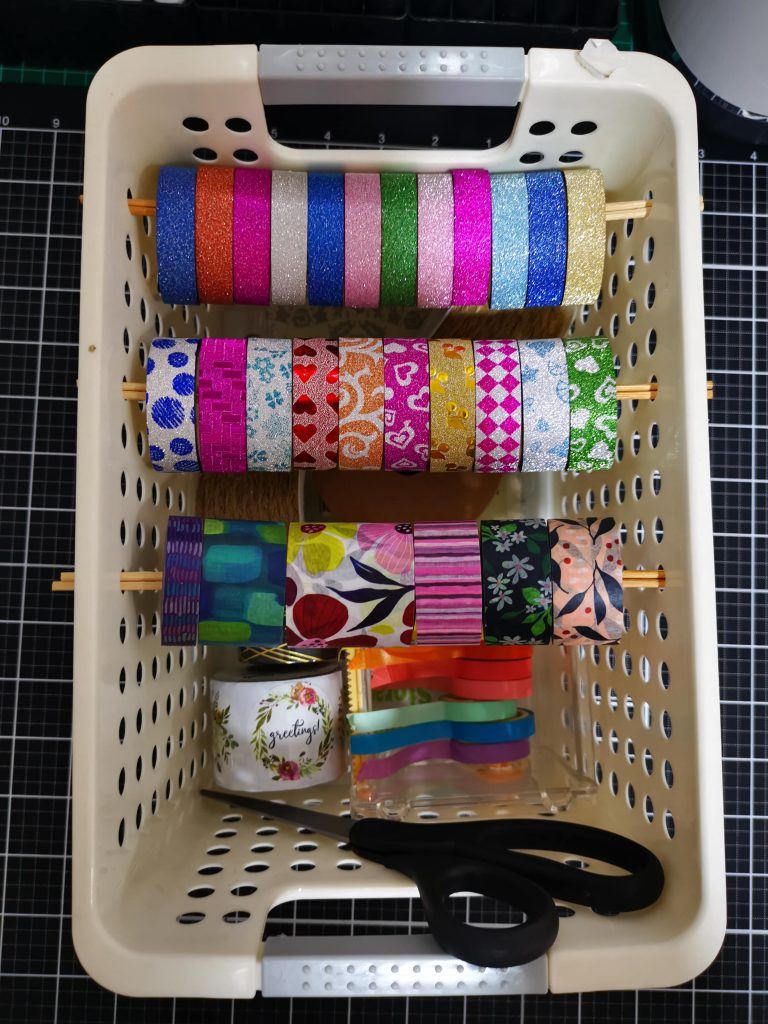

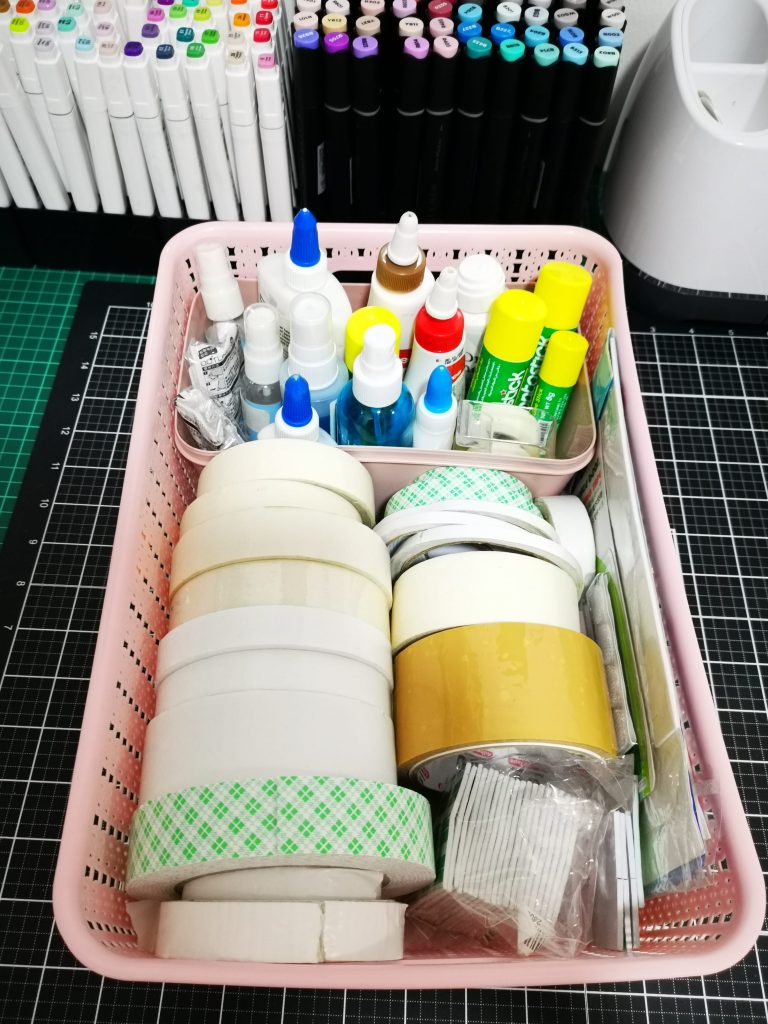
Coming to washi tapes, Organizing them can be done in various ways. I choose to hold them in 2 ways. 1) storing in it’s own containers. Altenew has some awesome containers for its washi tape bundles. try them. 2) Grab a container with holes on the sides from a dollar store. I have inserted them on a stick and placed it in-between the holes. I have also placed a washi tape organizer inside the same basket. along with a pair of scissors.
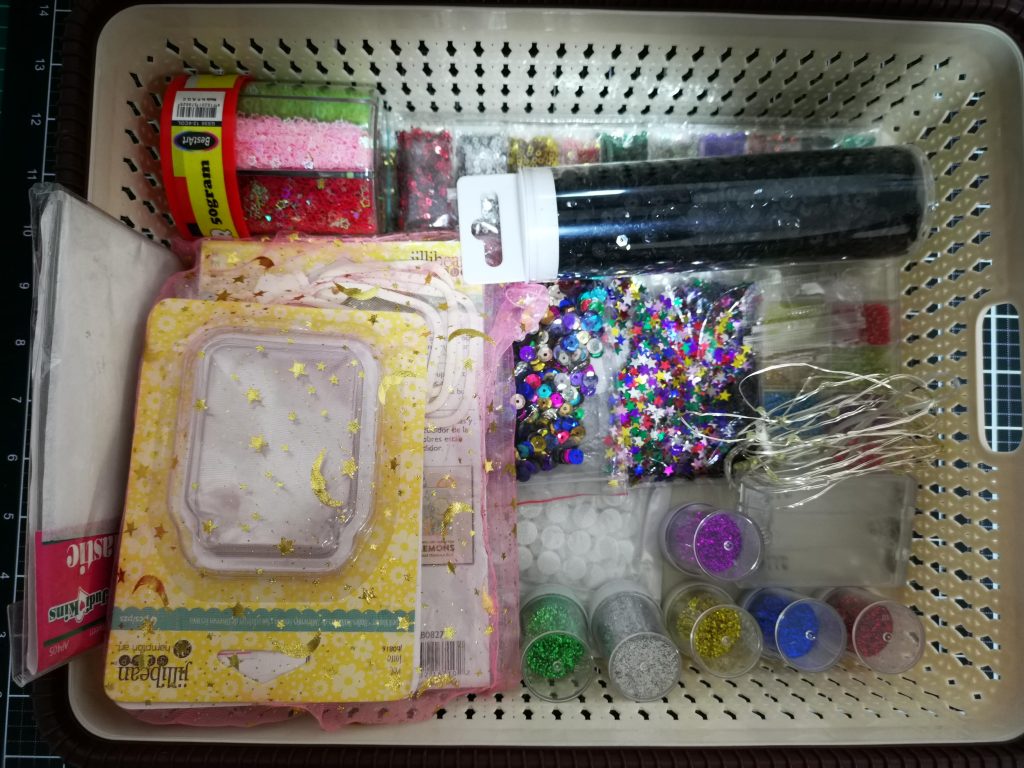
Another way of classifying your items is to grab a basket and sorting them according your criteria. I have kept all my interactive card accessories in one basket. while watercolor items are being kept in other. Thus it make things more easy and helpful for us while making a card.

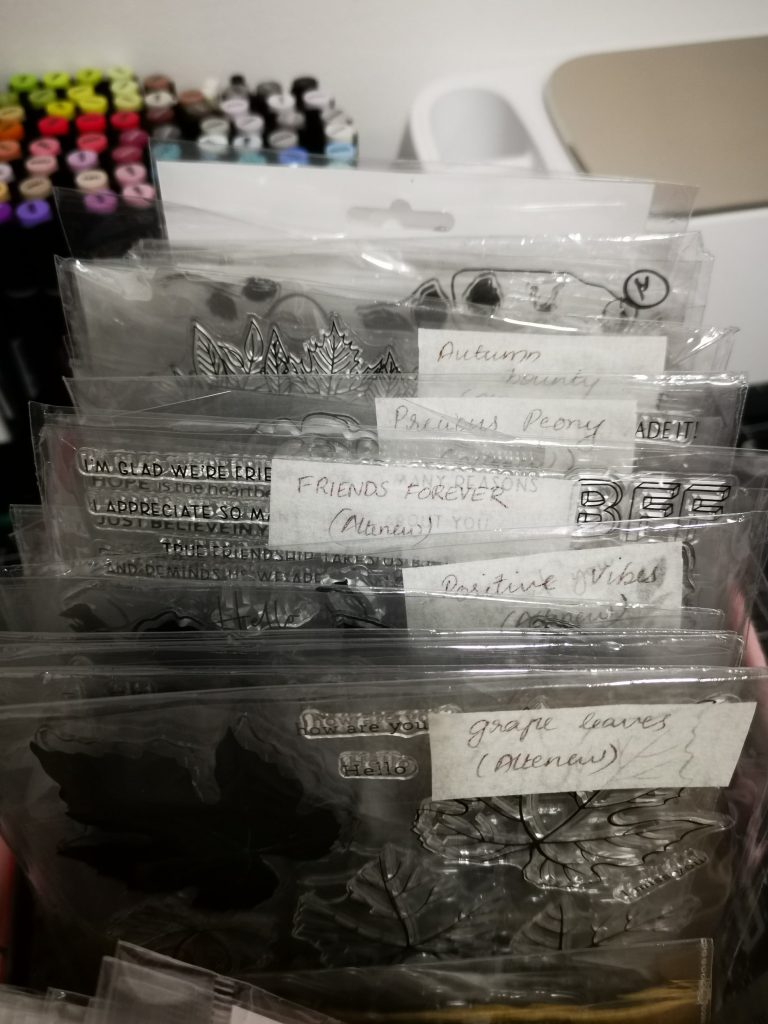
Stamps can also be stored in containers or baskets. I have divided into two and stored the smaller ones in a smaller card box. While bigger stamps where put in clear acetate bags got from the dollar tree. a piece of white tape was stuck on the top of it and the name of the stamp set and its corresponding brand name was written on it. I have also placed the coordinating die set in the same bag.
Stamps can also be kept in table holders like this. Here I have kept the stamps as it is. All of the above stamps are from altenew so they have same package sizes. which makes things easier to organize.
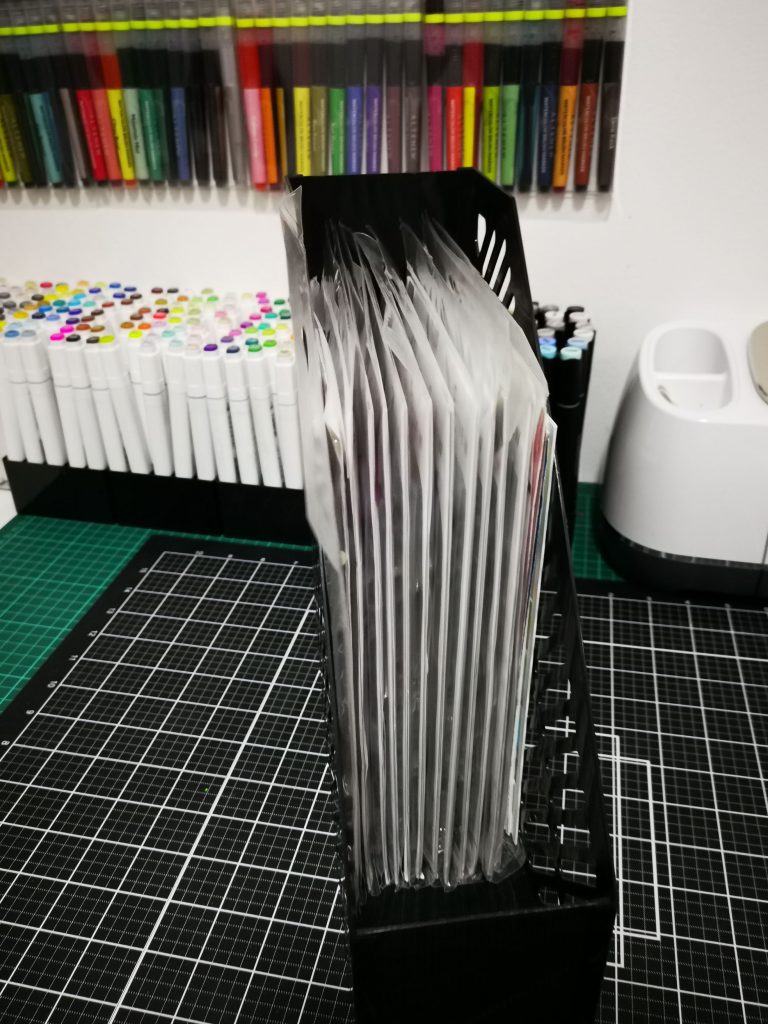
I have used similar holders to keep my nesting or stand alone dies . My stencils are also being organized the same way. Another way to organize dies are using magnetic sheets. Unfortunately my shipment got delayed, so cant feature it in the blog.

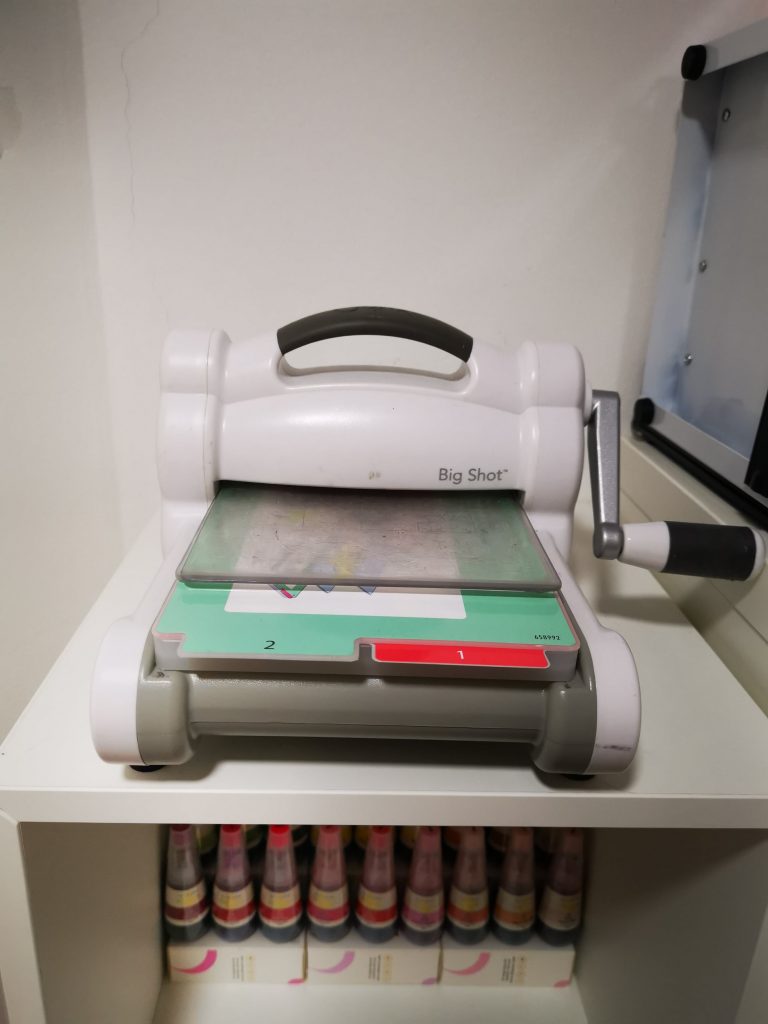
Keeping your machine handy is another tip while organizing your stuffs. I have kept my cricut Maker on the table, while my sizzix Big shot is being placed on the top of my shelf.
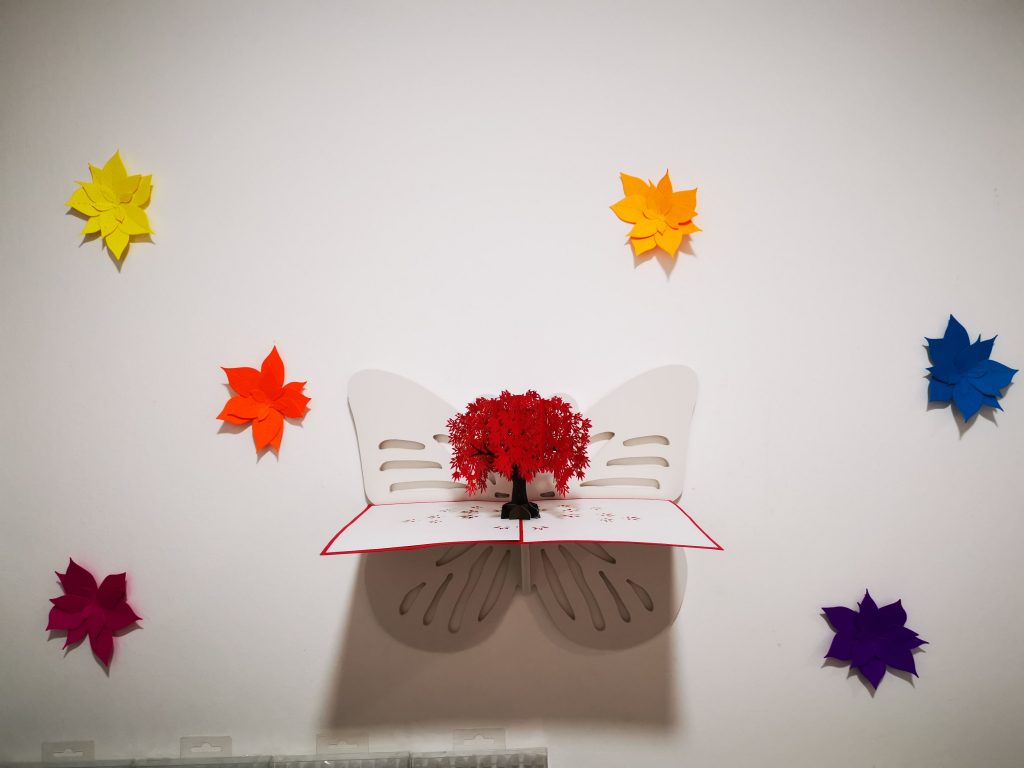
I have also put up a floating shelf on the wall, where I usually place my latest or most favorite works. It in fact ,motivates you to do much better. So what are you waiting for, Start crafting, let your creative juices flow, and create a space that encourages you to feel more like yourself.
I would like to use this opportunity to thank Karo Tries ( craftsy hacks) for being such an inspiration. And Yess … I’m participating in the Creativity Inspired: Simply Organized Craft Room Makeover Contest! by Altenew.
Go give it a try. No matter how small your craftroom is. I know that definitely going to be your HAPPY PLACE.

 CASE your fellow AECP Crafter
  Clean & Simple Boutique Cards
  Easy Die Cutting Techniques
  Graduation card
  Let it shine
Recent Comments