Month: May 2020
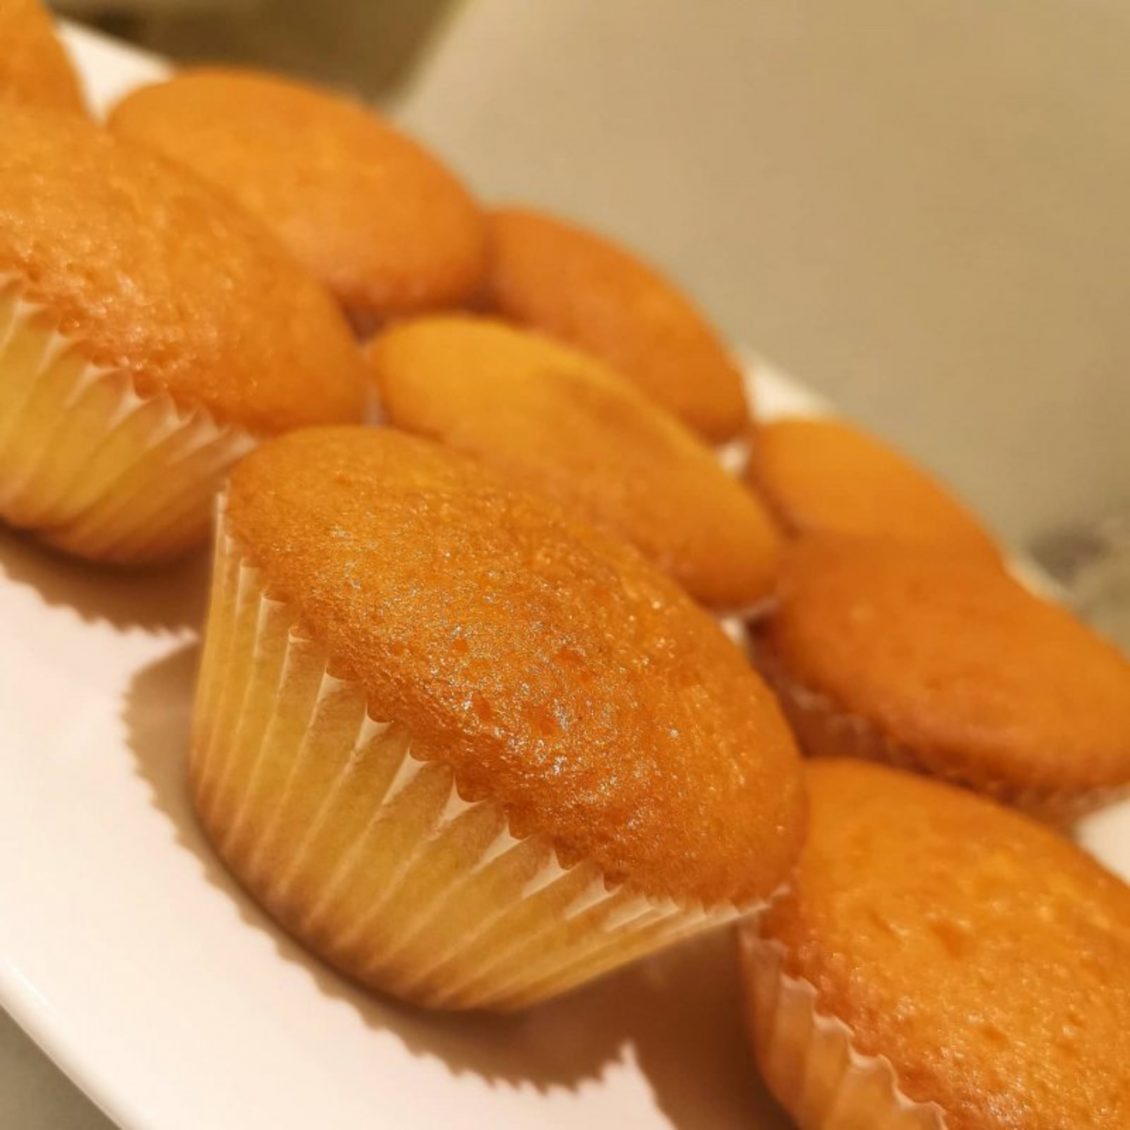
Lemon cupcakes
Ingredients
- 1/2 cup unsalted butter (softened to room temperature)
- 1 cup granulated sugar
- 2 large eggs (kept at room temperature)
- 1 and 1/2 teaspoons pure vanilla extract
- 1 and 1/2 cups all-purpose flour (spoon & leveled)
- 2 teaspoons baking powder
- 1/2 teaspoon salt
- 1/2 cup whole milk
- 1 and 1/2 Tablespoons lemon zest
- 1/3 cup fresh lemon juice
Instructions
- Preheat the oven to 177°C. Line a 12-cup muffin pan with cupcake liners.
- Using a stand mixer fitted with a paddle attachment, beat the butter and sugar together on medium-high speed in a large bowl until creamed, about 2 minutes. Scrape down the sides and bottom of the bowl as needed. Add eggs and vanilla extract, then beat on medium-high speed until combined, about 1 minute. Scrape down the sides and bottom of the bowl as needed. Set aside.
- Whisk the flour, baking powder, and salt together in a medium bowl. Pour the dry ingredients into the wet ingredients, start the mixer on low speed, then slowly add the milk, lemon juice, and lemon zest. Once combined, stop the mixer. Do not overmix this batter.
- Spoon batter evenly into 12 cupcake liners, filling them about 2/3 full. Bake for about 18-22 minutes. A toothpick inserted in the middle will come out clean when they’re done. For around 30 mini cupcakes, bake for about 11-13 minutes, same oven temperature. Remove from the oven and allow to cool completely before frosting. I usually let them cool completely in the muffin pan.
- You may frost the cupcake as per your taste. (optional)
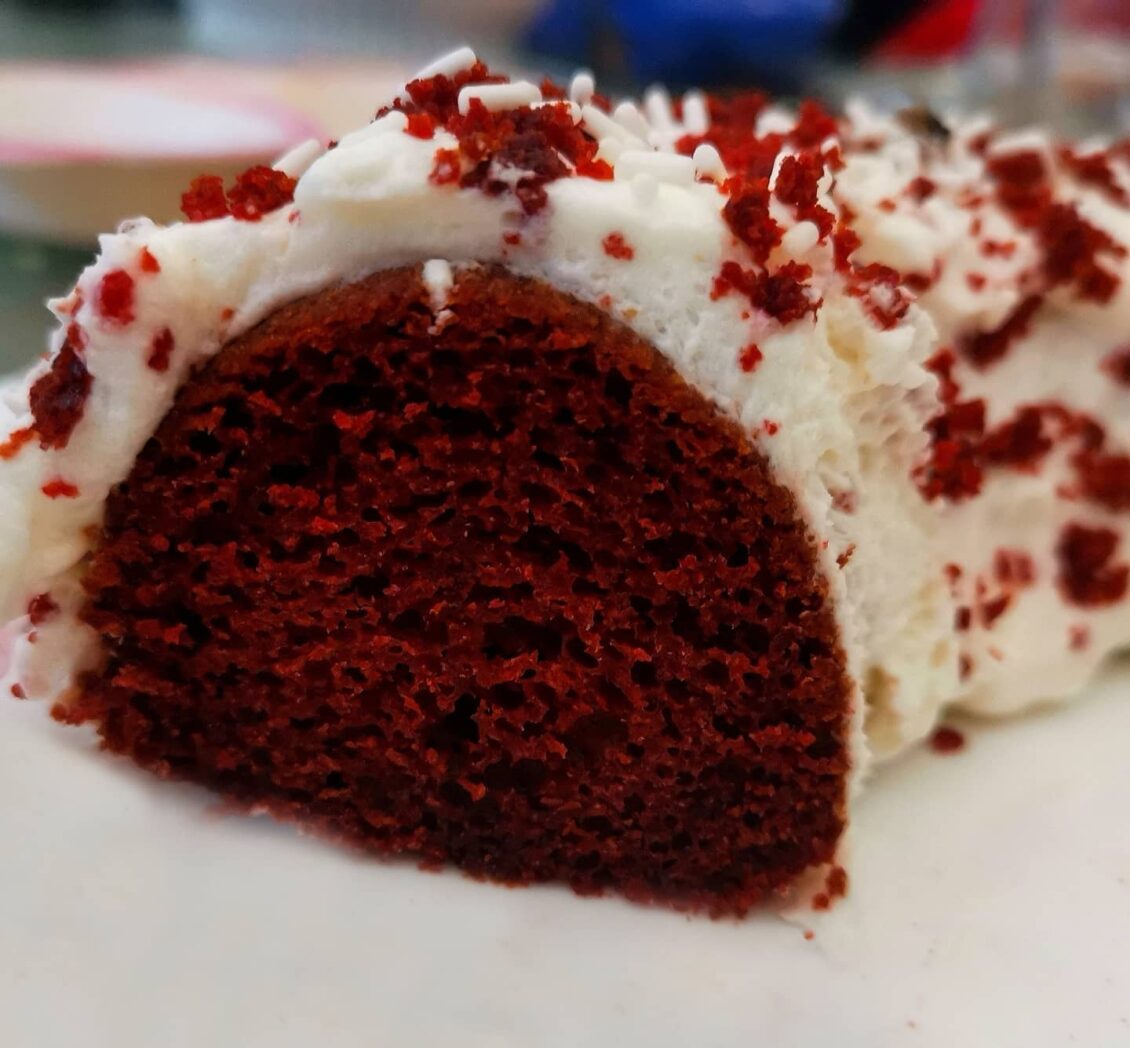
Red Velvet cake
Ingredients
Cake
- 3 cups cake flour
- 1 teaspoon baking soda
- 2 Tablespoons unsweetened natural cocoa powder
- 1/2 teaspoon salt
- 1/2 cup unsalted butter( softened to room temperature)
- 2 cups granulated sugar
- 1 cup vegetable oil
- 4 large eggs( room temperature and separated)
- 1 Tablespoon pure vanilla extract
- 1 teaspoon distilled white vinegar
- liquid or gel red food coloring
- 1 cup buttermilk (at room temperature)
Cream Cheese Frosting
- 450g full-fat block cream cheese (softened to room temperature)
- 1/2 cup unsalted butter (softened to room temperature)
- 4 and 1/2 cups confectioners’ sugar
- 1 Tablespoon heavy cream or milk
- 1 and 1/2 teaspoons pure vanilla extract
- pinch of salt, to taste
Instructions
- Preheat the oven to 177°C. Grease two 9-inch cake pans, line with parchment paper, then grease the parchment paper. (Parchment paper helps the cakes seamlessly release from the pans.)
- Whisk the flour, baking soda, cocoa powder, and salt together in a large bowl. Set aside.
- Using a handheld or stand mixer fitted with a paddle attachment, beat the butter and sugar together on medium-high speed until combined, about 1 minute. Scrape down the sides and up the bottom of the bowl with a rubber spatula as needed. Add the oil, egg yolks, vanilla extract, and vinegar and beat on high for 2 minutes. (Set the egg whites aside.) Scrape down the sides and up the bottom of the bowl with a rubber spatula as needed.
- With the mixer on low speed, add the dry ingredients in 2-3 additions alternating with the buttermilk. Beat in your desired amount of food coloring just until combined. I use 1-2 teaspoons gel food coloring. Vigorously whisk or beat the 4 egg whites on high speed until fluffy peaks form as pictured above, about 3 minutes. Gently fold into cake batter. The batter will be silky and slightly thick.
- Divide batter between cake pans. Bake for 30-32 minutes or until the tops of the cakes spring back when gently touched and a toothpick inserted in the center comes out clean. If the cakes need a little longer as determined by wet crumbs on the toothpick, bake for longer. However, careful not to overbake as the cakes may dry out. Remove cakes from the oven and cool completely in the pans set on a wire rack. The cakes must be completely cool before frosting and assembling.
- To make the frosting, In a large bowl using a handheld or stand mixer fitted with a whisk or paddle attachment, beat the cream cheese and butter together on medium-high speed until smooth, about 2 minutes. Add the confectioners’ sugar, cream/milk, vanilla extract, and a pinch of salt. Beat on low speed for 30 seconds, then increase to high speed and beat for 3 minutes until completely combined and creamy. Add more confectioners’ sugar if frosting is too thin, more milk if frosting is too thick, or an extra pinch of salt if frosting is too sweet. Frosting should be soft, but not runny.
- Using a large serrated knife, slice a thin layer off the tops of the cakes to create a flat surface. Discard or crumble over finished cake. Place 1 cake layer on your cake stand or serving plate. Evenly cover the top with frosting. Top with 2nd layer and spread remaining frosting all over the top and sides.
- Refrigerate cake for at least 30-60 minutes before slicing. This helps the cake hold its shape when cutting.
- Cover leftover cake tightly and store in the refrigerator for 5 days. Frosted cake or unfrosted cake layers can be frozen up to 2-3 months. Thaw overnight in the refrigerator and bring to room temperature before decorating/serving
All about Layering 2
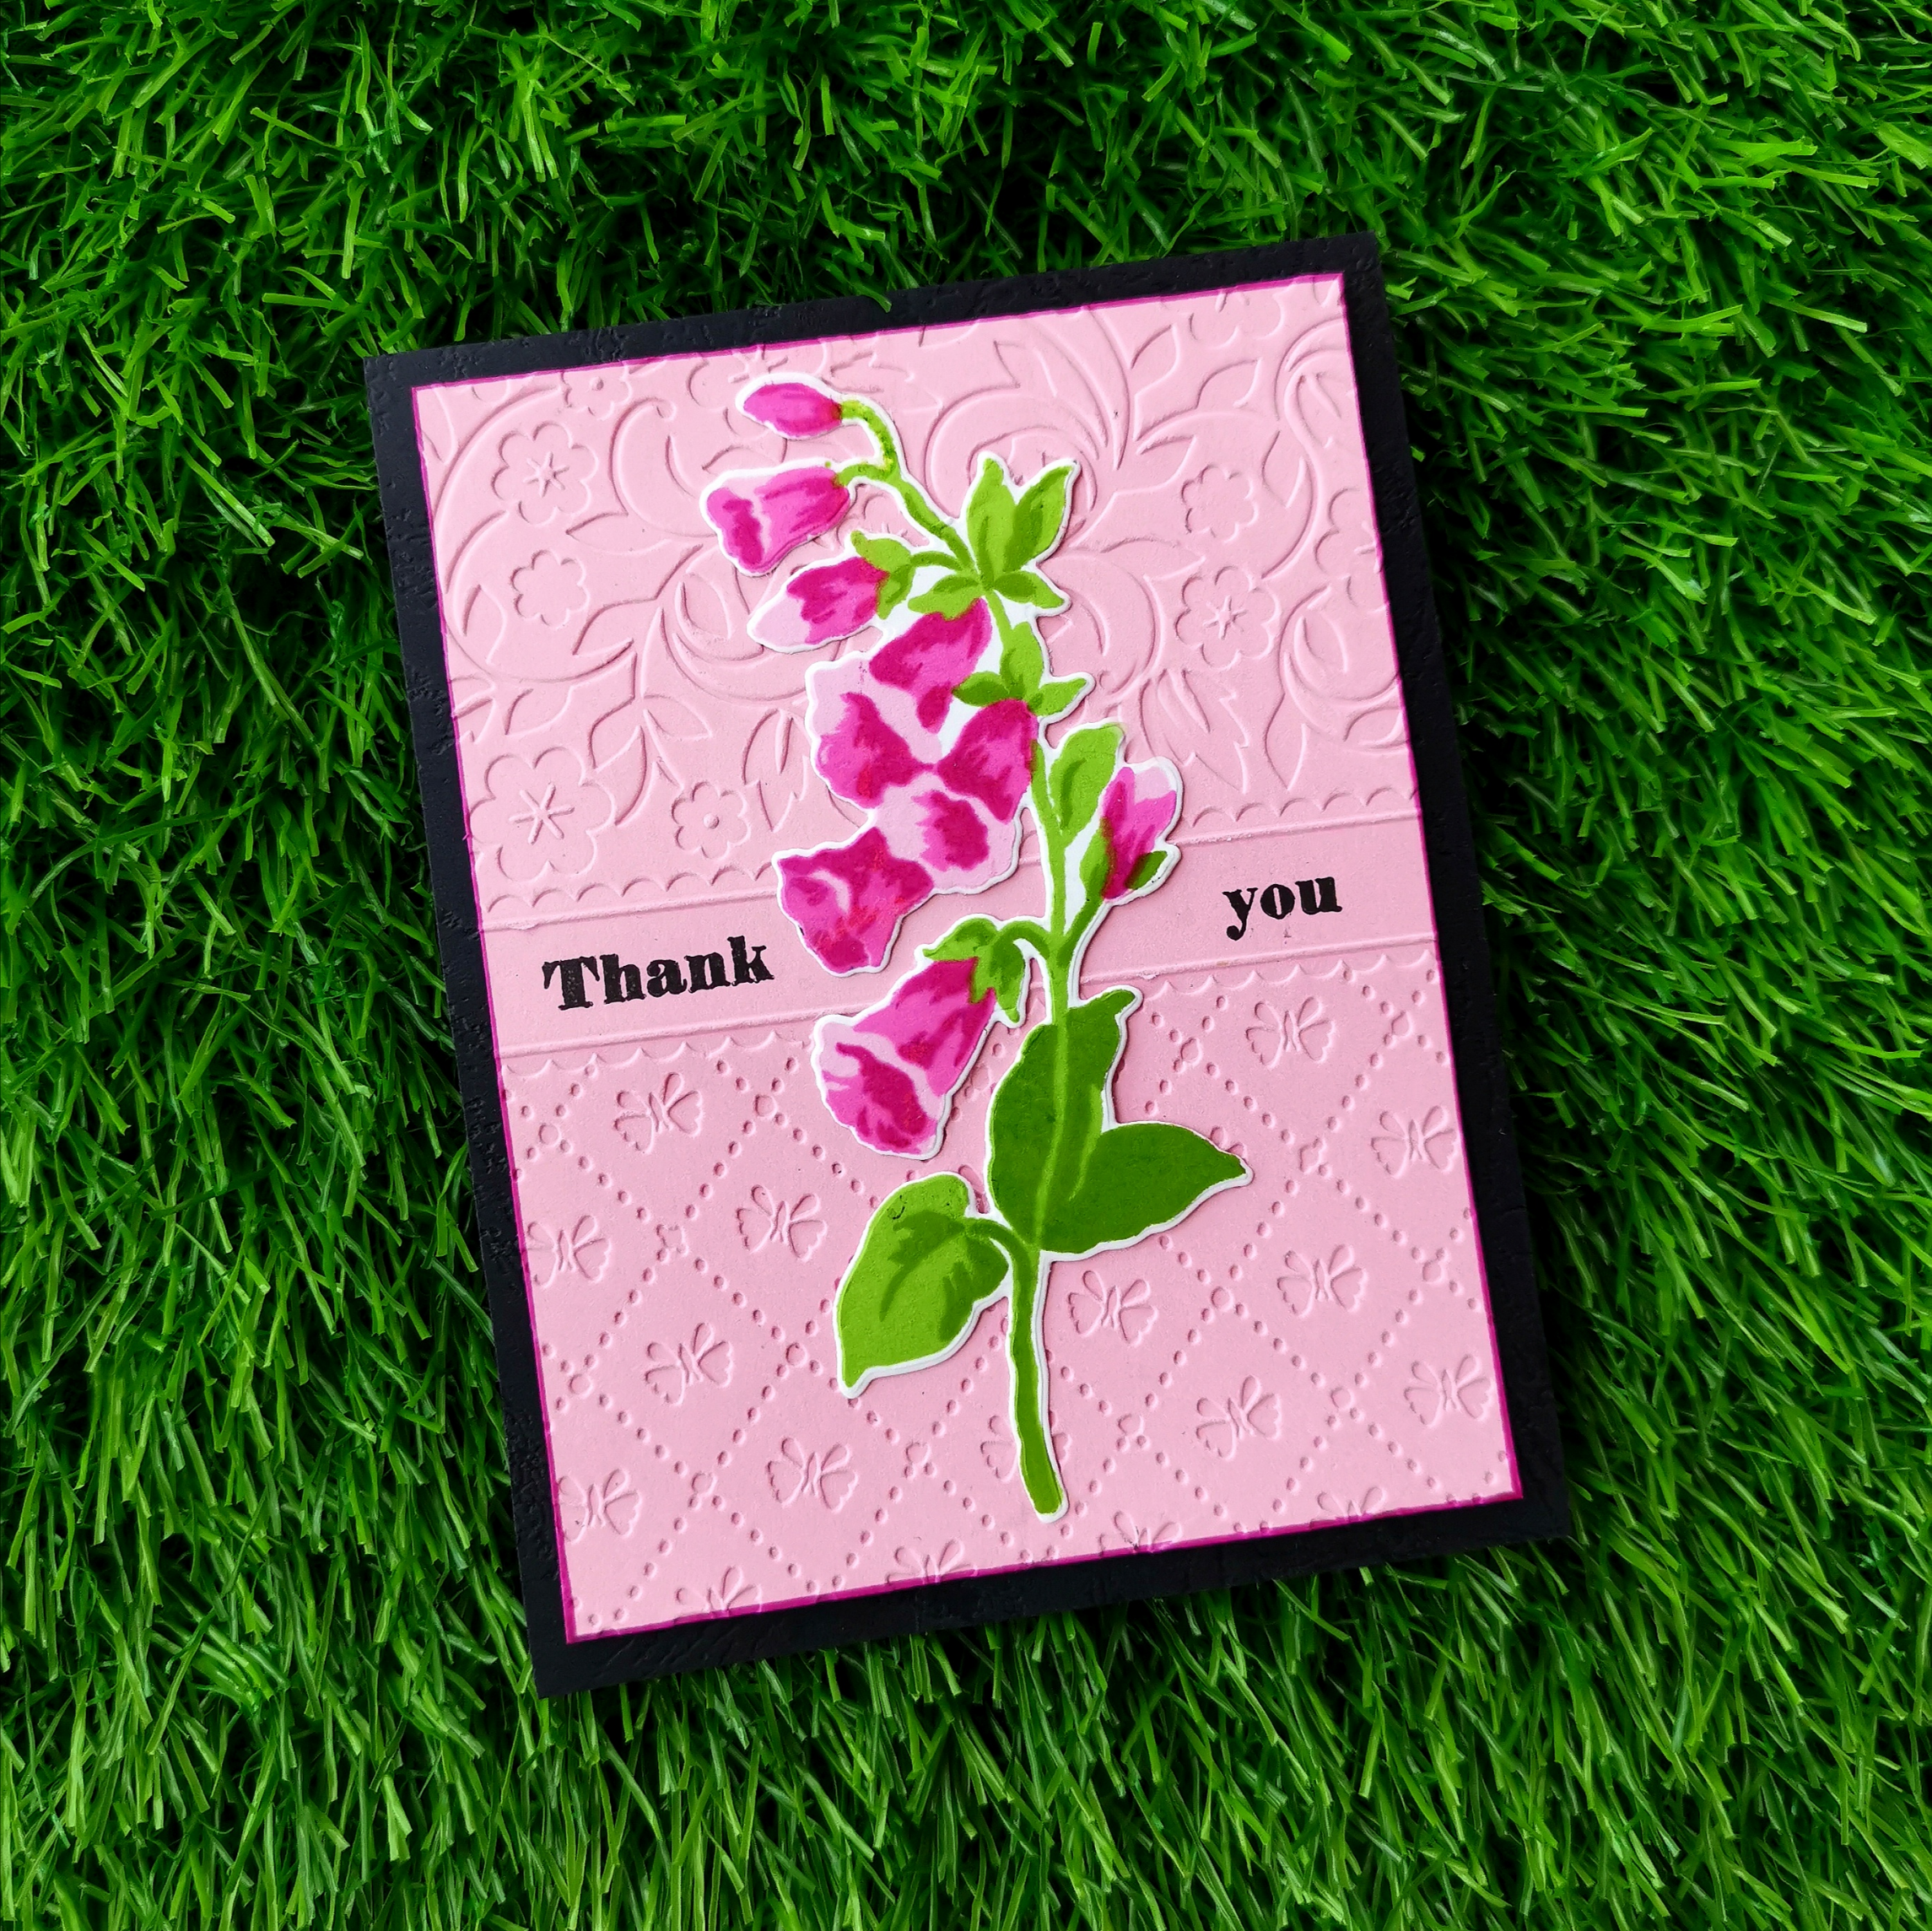
My today’s project mainly focuses on The Build-A-Flower: Canterbury Bells from Altenew. This stamp set contains a beautiful assortment of hanging bell-shaped flowers. Unlike many other Build-A-Flower stamp sets, this set contains the entire flower: stem, leaves, and all.
To create today’s project I initially decided to make a stencil for my stamp set. Take out a black rectangle heavy cardstock which is slightly bigger than my stamp set. Die-cut it through my sizzix big shot die cutting machine. Take out the die-cut piece from it, leaving the inner space empty. The coordinating stencil is right in front of u.
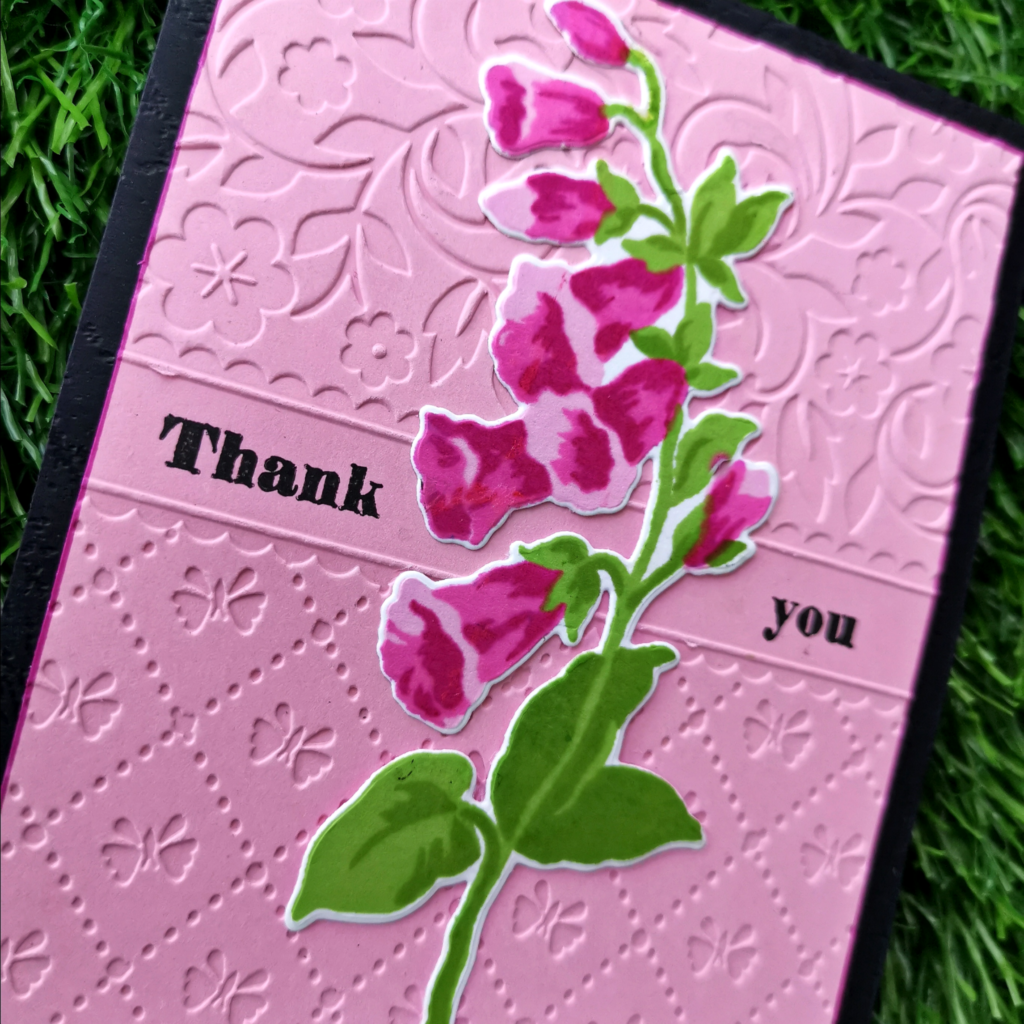
Here for my current project, I die cut a piece of Neenah classic crest solar white cardstock and placed it on the stencil. I decided to use the Mini Misti today, which can help me stamp the flower and leaf several times. That’s the main advantage of using a stamp positioner while stamping layering cards. multiple cards can be stamped out very quickly and easily with it. Then I placed my stencil and the diecut in the Misti stamping tool and placed the base layer of the flower on the door with the misti and then stamped it with altenew Baby Pink crisp die ink from the Spring Bouquet collection.
I did this layer twice to get a better dark impression . while learning about stamping the layering cards, I understood that the trick when stamping multiple layers of the image is that each layer stamp is to be placed in the correct position each time. while making multiple cards it is always better to tuck the card into the corner of the misti and make sure that you do that each time you stamp. It’s much easier if you use it with our DIY stencil because it helps us place the next layer stamps on its accurate position.
You can even cut the cards from the brochures which come along with the altenew stamp set. They can be used as a guide for stamping. If you are someone who struggles with aligning your stamps, then this saves a lot of time for you. Take the stamp and line it up on the stamped image on the guide. You can close the door on the misti and start doing the stamp layering on the cardstock. Before stamping the next layer I made sure that my first layer is good and dry as I think this gives the crisper impression if each layer is dry before stamping the next. Ultimately it’s very easy to align the layers and stamp layering set as on the back of the packaging, as altenew has a guide showing which areas of the two layers to watch out for when we are lining them. Then I stamped the other two layers on stamps accordingly. I used fuchsia for the second layer and magenta for the final one. The leaves were stamped by Deep Iris and Lime.
I wanted to give an embossed look to my card. So I took a pink cardstock and ran it through my sizzix big shot along with an embossing folder which I bought long back from an online store. It had a ribbon-like space in the middle where I stamped a thank you sentiment with the versa fine black ink. Later on, I stuck my Canterbury Bells in the middle of the card. The sentiment was split into two sides for placing my diecut in the middle of the card. I gave a slight border to the card by drawing the corners of the cardstock with a pink sharpie marker. In the end, I gave a black base to my main cardstock. I feel like this enhances the total look of the card. I hope this method will turn out to be an inspiration for you too.
Do give it a try to learn this course at https://altenew.com/collections/altenew-academy-classes/products/all-about-layering-2
I hope to see you all soon with another project from AECP. Until then happy stamping and thanks for stopping by!
-shahi
 CASE your fellow AECP Crafter
  Clean & Simple Boutique Cards
  Easy Die Cutting Techniques
  Graduation card
  Let it shine
Recent Comments