Tag: Altenew inspiration challenge
Seasonal Scene Building
Hi Today, as I got to do a project on creating a Seasonal Scene Building, I was really confused as I didn’t have much stamps on my shelf to help me build a scene. That’s when I decided to take this as a challenge and make a card with the supplies I already have at my craft room.
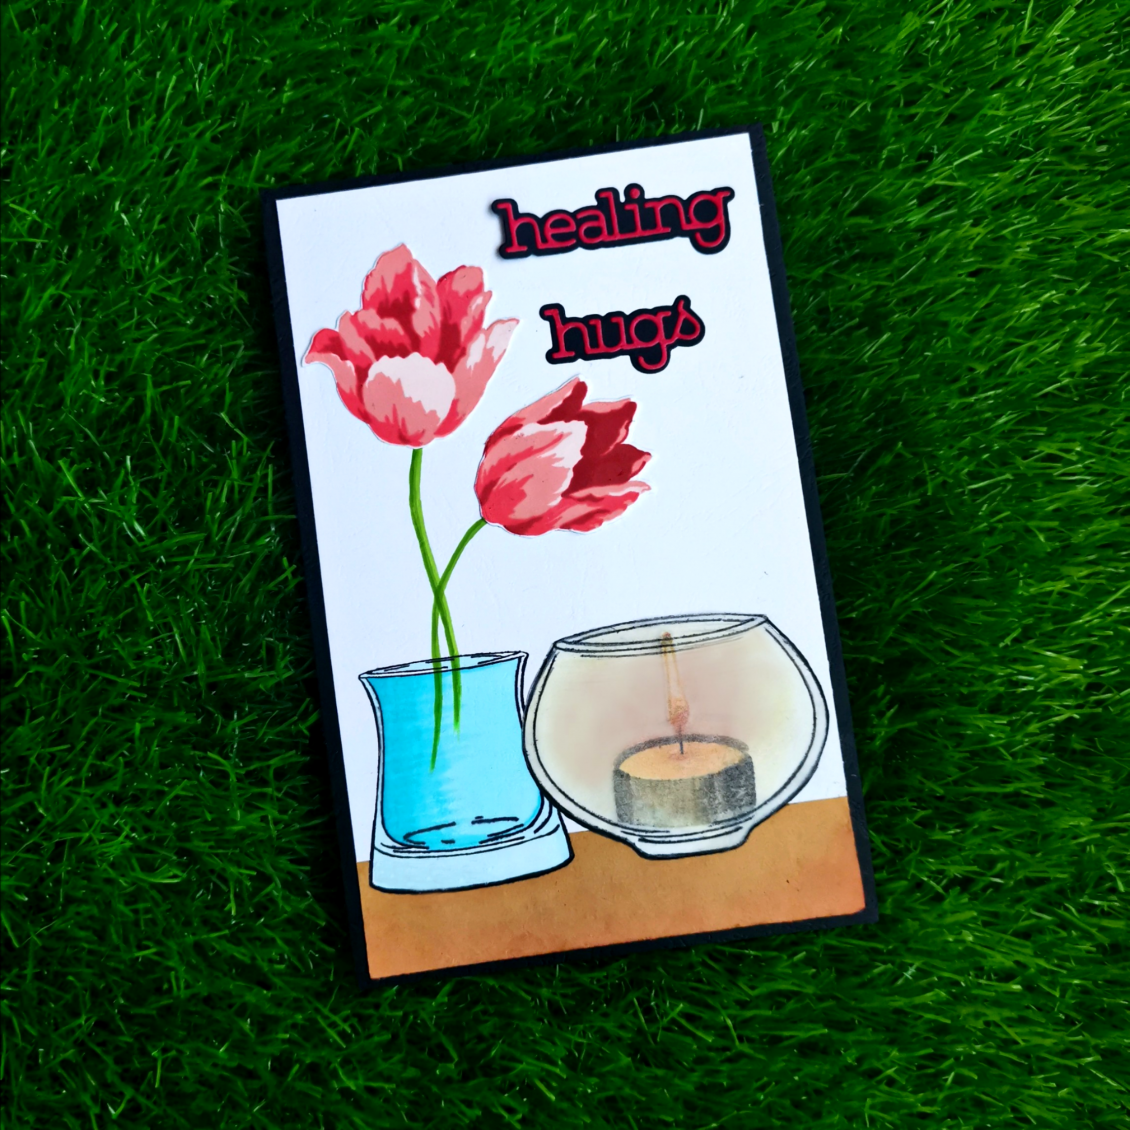
Alhamdulilah, within no time my eyes got stuck with the versatile vases stamp set from Altenew. But how to create a seasonal background with it was my next thought. I didn’t want to create a simple bouquet of flowers in a vase. I wanted to make something creative. The weather was so cold outside and I really loved to lit up a small scented Candle in my craft room. Thinking about it, an idea struck my mind and that’s how I actually ended up making this project.For this project, I used an 8*5 card. I was sure that I should use a longer card because I will have to find space for my vases, flower bouquet, and sentiments.
My first task was to create a base to place my vases in the image. I randomly chose a brown copy paper that was lying down in my cabin. Made it my base. Then I stamped a bowl vase from the versatile vases stamp set. Masking it, towards the left side I stamped a glass vase for my flowers.

I stamped and cropped 2 tulips using the Triumph Tulip- Build a flower stamp set from Altenew. I varied the colors for the tulip using the Red Cosmos Crisp Ink collection from Altenew. (Frosty Pink, Coral Berry, Ruby Red, Grapevine). After drawing the stem using the Frayed Leaf and Forest Glades with the altenew artistic markers, I stuck those tulips to the end of those stems. Then I stamped the candle using the candlelight stamp set from Altenew with their crisp inks ( morning frost, evening Gray, moon rock, lava rock was given for the base and buttercream, honey drizzle, autumn blaze, sunkissed was used for the top part of the light.) inside the bowl vase.
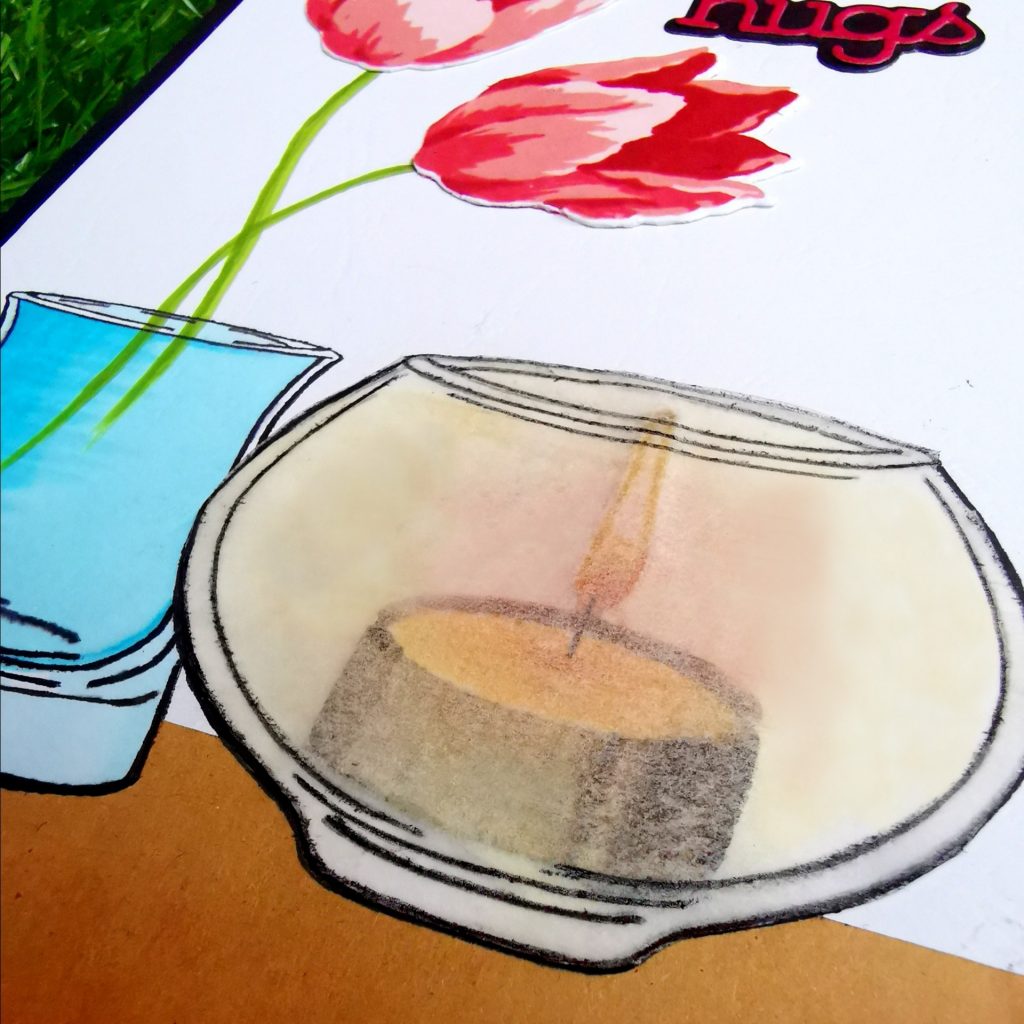
I wanted to have a variation of light rays from the candlelight, so I decided to stamp the bowl vase on vellum. After cropping it through its edges I blended a small shade of orange and red distress ink on it. Placing it on the candlelight and the vase I decided to crop the bottom part of the vases which was stamped on the brown copy paper. Using the same blending brush used on the vellum, I made small blends at the edges of the brown copy paper. Then I colored the glass vase with a blue artistic marker(Ocean Waves). And blended it with a light blue touch five marker.I die-cut my sentiment in a red and black cardstock using the healing hugs wafer dies from Simon says stamp. I stuck it towards the right corner of my cardstock. Adding a 1/4 inch to the card I placed a black cardstock to the base of my white card. It adds to the total gaze of the card.
After doing this course I am confident to face things that are out of my comfort zone in card making. As I said, in the beginning, I was really stuck. But later own I could figure out things in a better way. Such situations make me thank God for making me choose AECP. The tutors at altenew are really such an inspiration ❤
Thanks and I hope to see you at my next post. Until then happy stamping and thanks for stopping by!
-Shahi
Easy Die Cutting Techniques
Hi there,
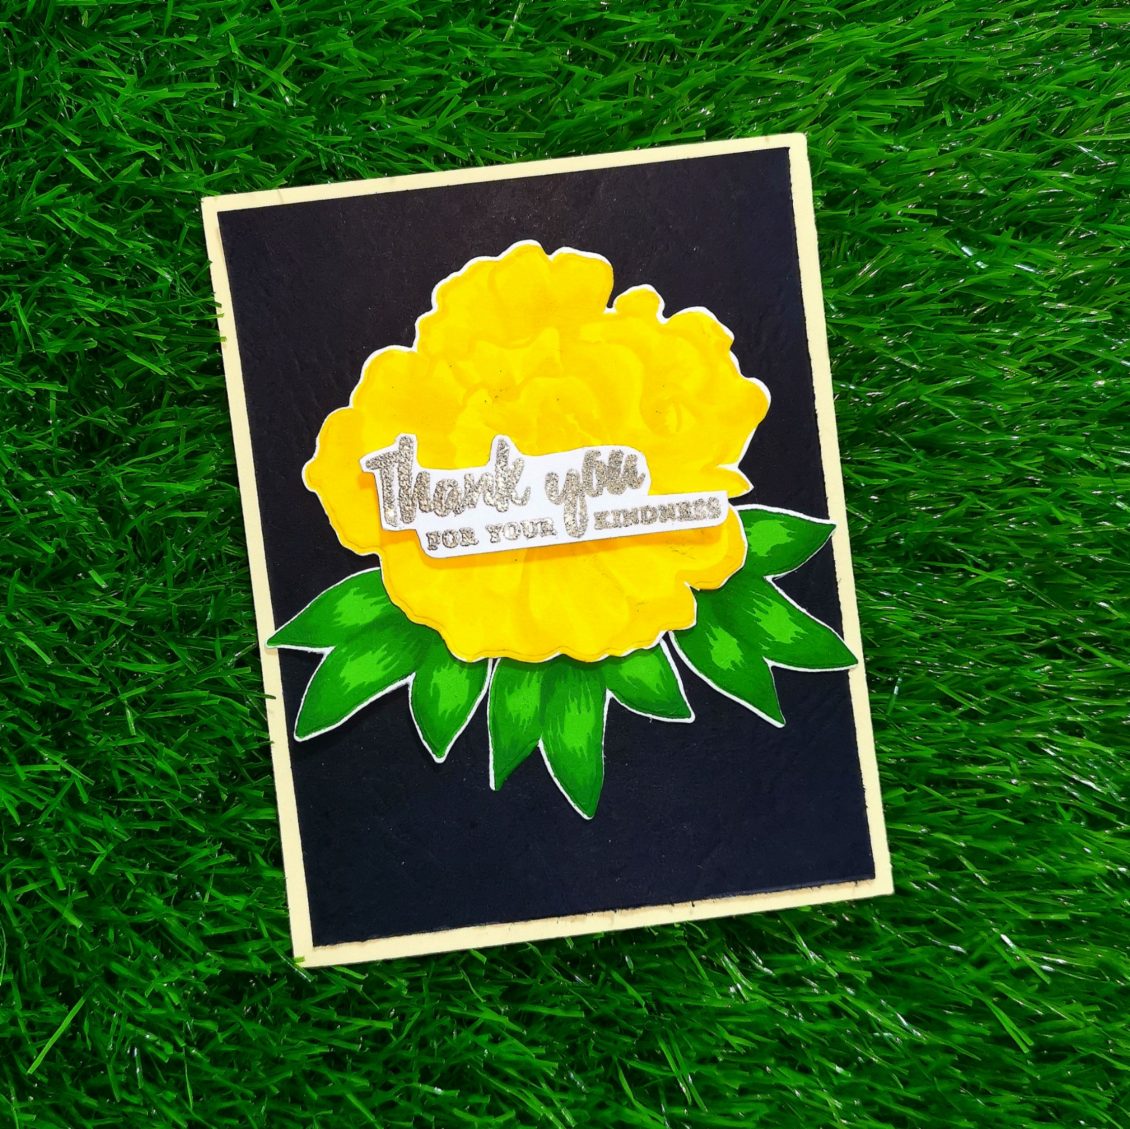
I hope you all are doing great. This post is on behalf of my lesson on Easy die Cutting Techniques learned at Altenew’s Educator certification program. Today’s card features Altenew’s Build-A-Flower: Camellia. Camellia–Queens of the winter flowers are highly prized for the beauty of their exquisite Blooms. The colors of the flowers vary, from white through pink colors to red; truly yellow flowers are found only in South China and Vietnam. Yellow Camellias are known as My Golden Dream. So here I’m planning to make a cute and simple card using My Golden Dream. I’m glad that this can suit the theme of the altenew inspiration challenge for the month of February too.
Check out their inspiration challenge at http://altenewblog.com/February-2020-Inspiration-Challenge

As I began my card, I stamped my camellias with Pocketful of Sunshine collection from the Altenew crisp die ink on Neenah classic crest solar white cardstock. I stamped my base layer with Fresh Lemon ink. The second one with Maple Yellow ink and the final layer with Honey Drizzle ink. Altenew’s crisp die inks are fast-drying dye inks which gives uniform coverage and a crisp impression every single time we use it. I made sure that each ink dries before stamping the next layer, this gives the crisper impression if each layer is dry before stamping the next.
Similarly, I stamped the leaves too. i used Green Valley collection from Altenew crisp die inks. The first layer was stamped with Grass Field ink . The second one and third one with Shadow Creek ink and Mountain Pine ink respectively. I decided to stamp 3 of them for my card, which will help to give a greenery to the base of my flower. Once I completed my stamping, I ran them through my sizzix bigshot machine to die cut them.
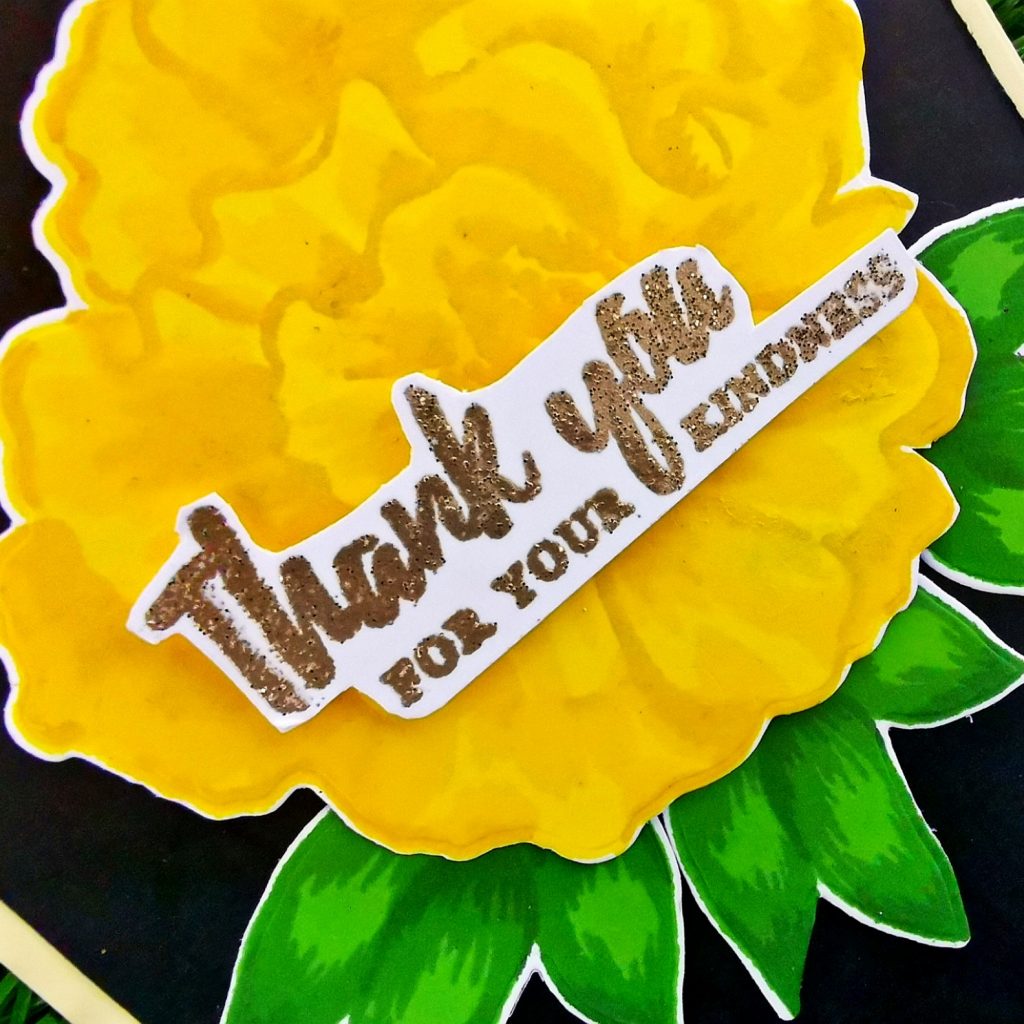
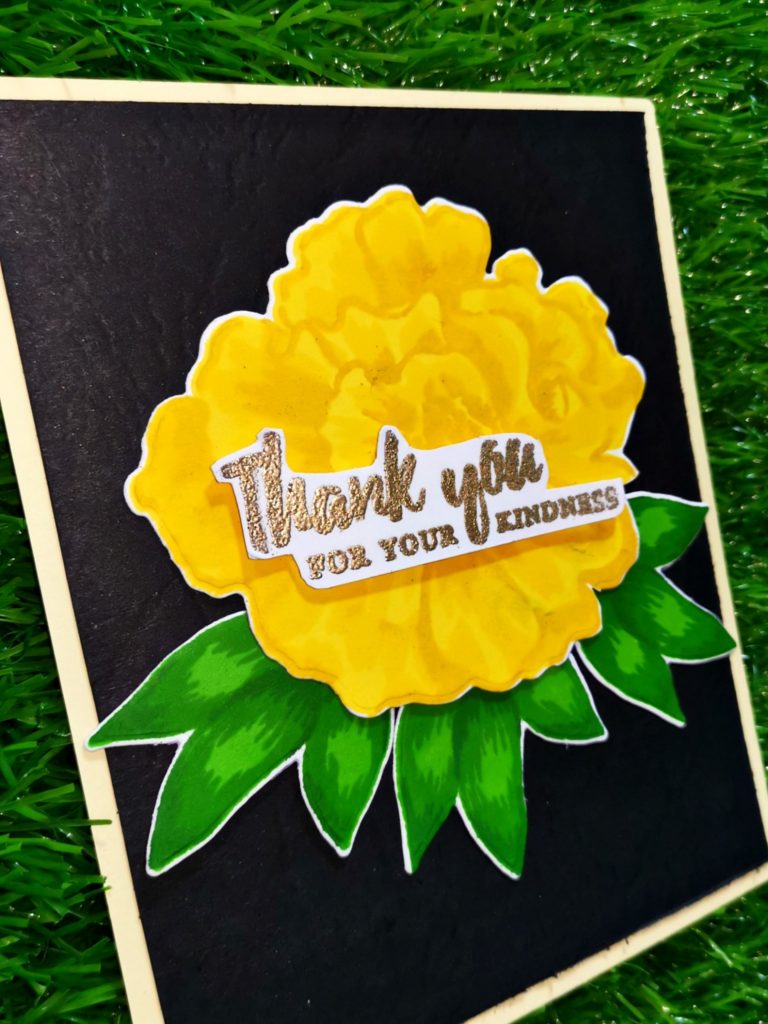
I then decided to stamp one of the sentiments from the set on white cardstock with gold embossing powder from the ranger. I took my stamp and dipped it in the versa mark stamp pad and stamped it on the paper. I dumped the embossing powder on its top and gave rid of the excess. Later on, heat it up with my heat gun. I then trimmed the cardstock with scissors along the edges of the sentiment. To add the dimensional look of the card, I stuck a piece of foam tape under the sentiment. A black leather paper measured 4* 5 1/4 was used as my card base. I stuck the flower with 3 leaves on the bottom. The sentiment was stuck in the middle of the card on top of the flower. To give a finishing touch I stuck a yellow craft cardstock brought from the local store below the black card base. which ended up giving a thin yellow border at its first look over the completed card. Thus creating a 4 1/4*5 1/2 card.
I hope to see you all soon with another project from AECP. Until then happy stamping and thanks for stopping by!
-shahi
 CASE your fellow AECP Crafter
  Clean & Simple Boutique Cards
  Easy Die Cutting Techniques
  Graduation card
  Let it shine
Recent Comments