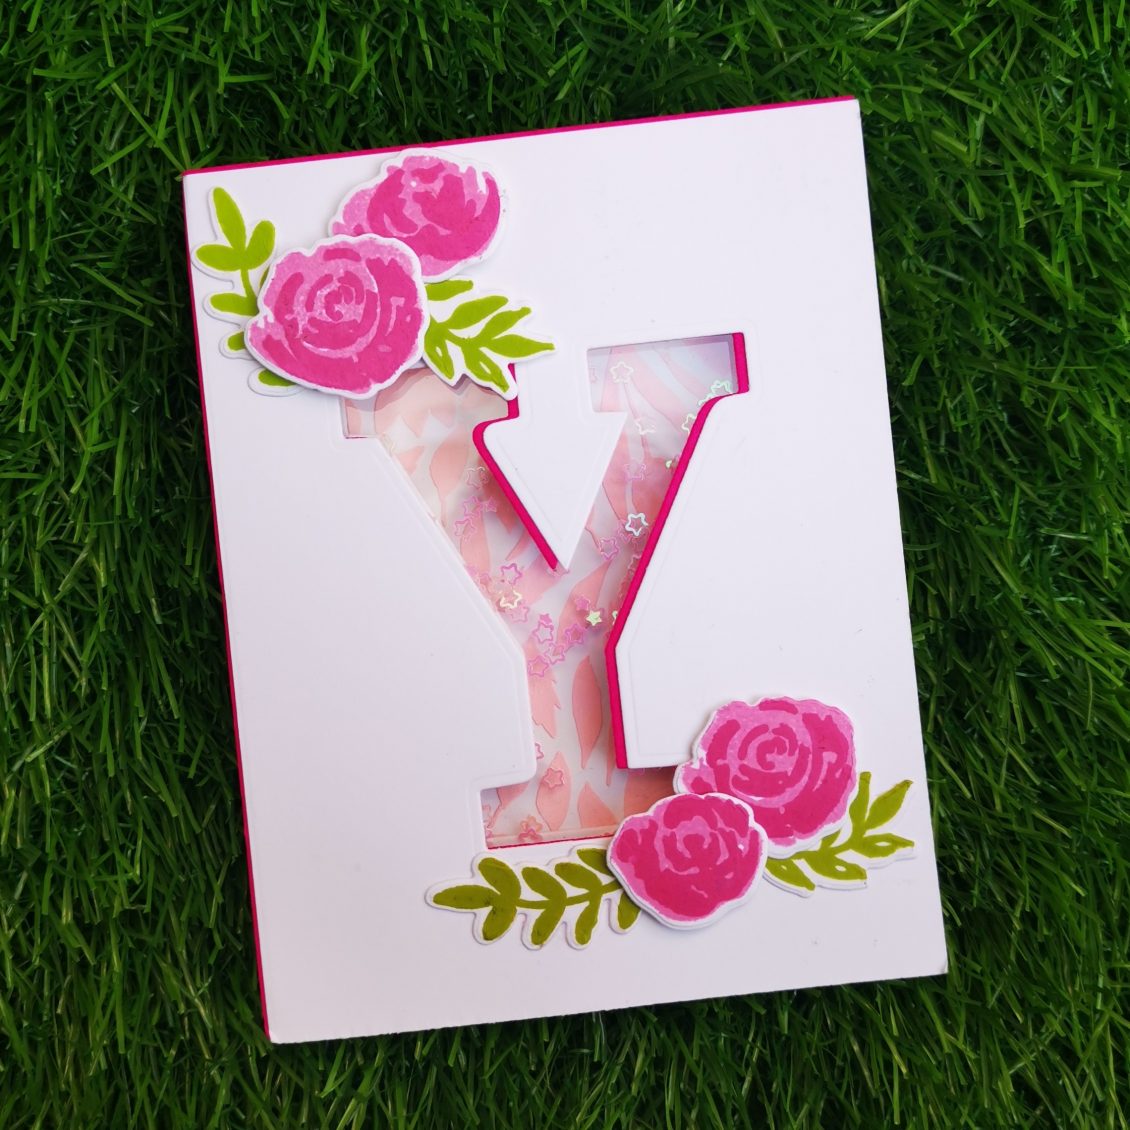
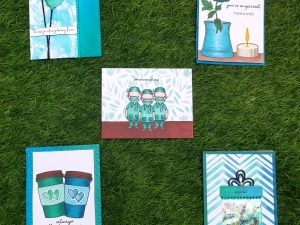
Hi, my dear crafty friends, and welcome to my blog. I made today’s card for the With a twist Course by Altenew Academy. I’m someone who is in love with interactive card. We all love a bit of acetate on our cards and there are so many wonderful ways that we can use this fabulous product to create some WOW. Shaker card is just one among it. I truly loved making this card. If you are someone like me who is passionate about various new methods to use on your card, then don’t hesitate . This course is definitely for you. Therese Calvird has really done a great job by explaining us the things in detail. Here she is taking us one step further and shaking it right through to the inside of the card.
INSTRUCTIONS
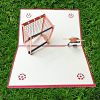
- Create a “4 1/4 x 5 1/2 ” card base from Classic Crest Solar White Cardstock (layer 1) and a pink cardstock (layer 2)
- Place the mega alphabet die over both the cards and die-cut it
- Hold the die in place with washi tape and die cut it.
- Create a “4 1/4 x 5 1/2 ” top folding card base from Classic Crest Solar White Cardstock (layer 3)
- Trace out the previous die cut image into this card stock.
- Place the die on this panel and die cut the shape.
- Open the card right up and place it on the die cutting machine so that it only cuts the front side.
- Slightly trim down the front panel of the white cardstock (layer 1) from 2 adjacent sides
- Place and stick the pink cardstock paper below the front panel of the Classic Crest Solar White Cardstock (layer 1)
- Position the White cardstock towards the right corner over the pink .
- Stamp watercolor flowers and leaves on another Classic Crest Solar White Cardstock and die cut them out.
- Using double sided tape stick them on the corner of the alphabet.
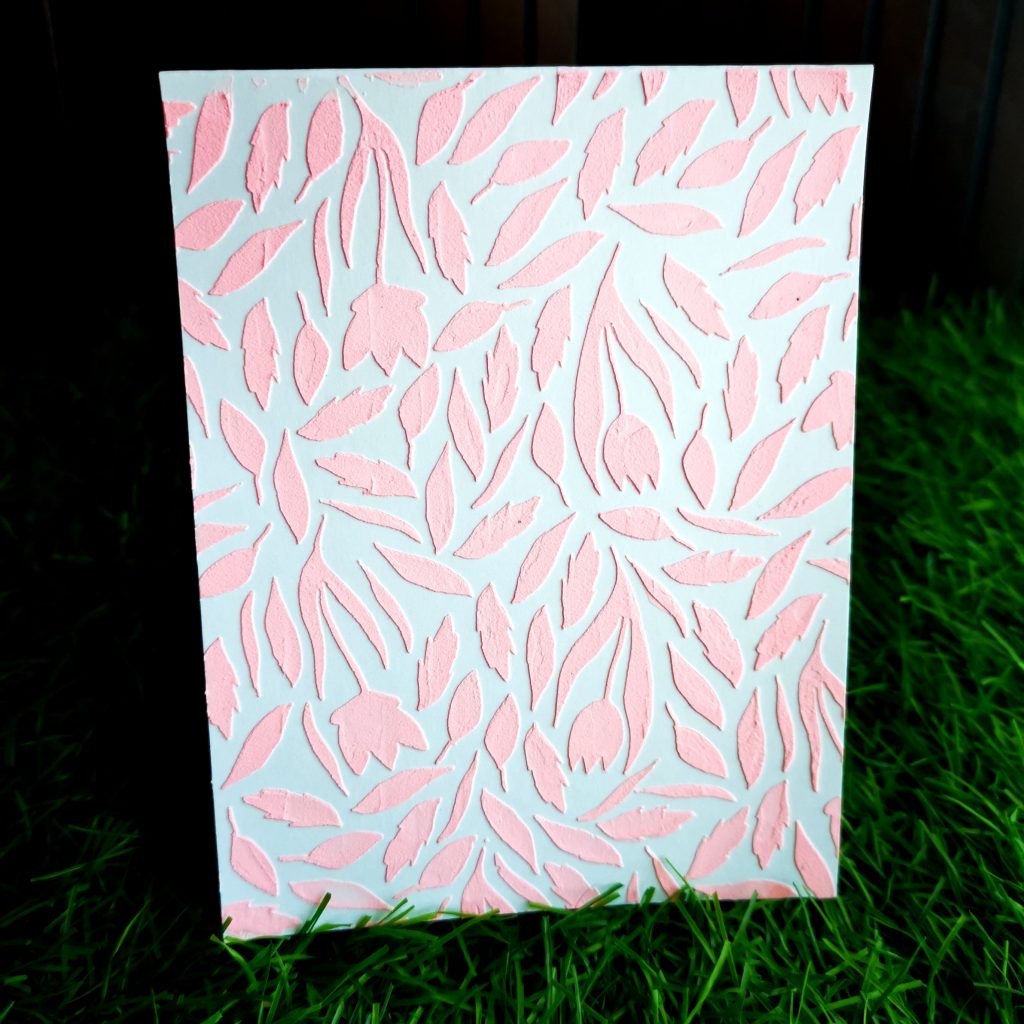
- The inside part of the Main card (layer 3) can be used for our custom design or background.
- Place Spring Garden Stencil over card base and mask outlines with masking tape.
- Take some embossing paste on the watercolor palette and add few drops of Cotton candy Alcohol Ink and blend it well
- Apply the paste on the cardstock over the stencil.
- Wait until the paste dries
- Now Reverse the front card (layer 1) facing the pink card up.
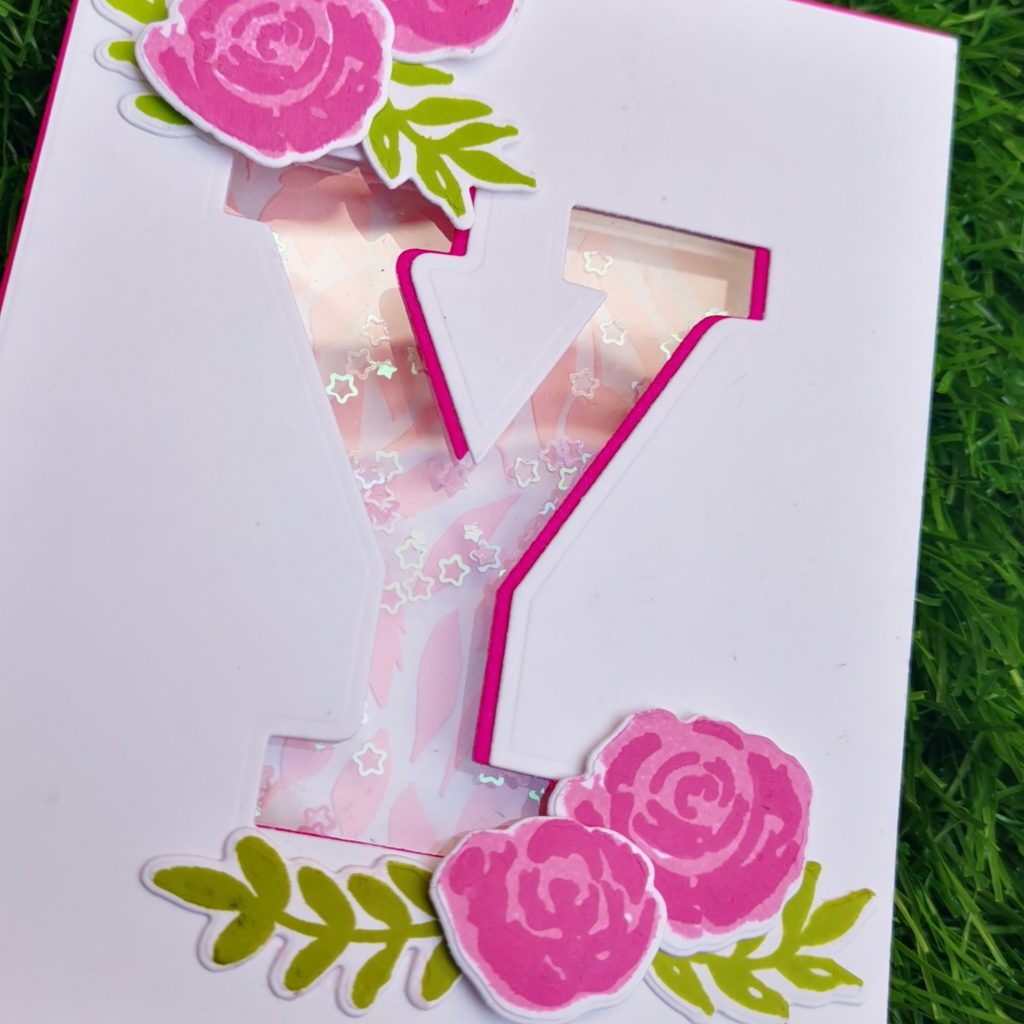
- Take a clear acetate sheet and stick it over the pink cardstock.
- Trim the excess.
- Stick the double sided tape around the border of the mega die cut ,leaving the center space empty.
- Create a well using the double sided foam tape to pour in your shaker elements.
- Make sure that there is no open edges.
- Pour in your fun shaker elements that you have on hand, sequins or even small die cut shapes look fabulous. I have used pink stars here.
- Tape down the acetate sheet over the foam tape.
- Stick this over the Main cardstock.
- Position it according to the die cut.
- Thus the inner background can be visible from the front
TIPS
- Trimming and positioning the front panel card pops up the color panel card . This highlights the alphabet die.
- Tack the stencil down with masking tape on either sides, so that it would keep the stencil intact.
- Before stamping, use an Anti-Static Pouch tool to remove static from your paper so the powder doesn’t stick where you don’t want it.
- The inside part of the card can be used for our custom design or background.
- Stick the flowers in various heights using double sided tape to create a better dimension
- Make sure that there is no open edges. If not sealed properly the pop up elements might go out.
- If you are in a hurry you may use, design paper on the inside of the card to make it easier and faster to create.
- Use any fun shaker elements that you have on hand, sequins or even small die cut shapes look fabulous.
SUPPLIES
- Bamboo Crisp Dye Ink
- Parrot Crisp Dye Ink
- Pinkalicious Crisp Dye Ink
- Rubellite Crisp Dye Ink
- Cotton candy Alcohol Ink (Artistic marker refill)
- Y mega alphabet dies
- Watercolor stamp


This is so pretty Shahina!!! Also, Ramadan mubarak!! Thank you for submitting your beautiful work to the AECP assignment gallery.
Thank you Erum.
Ramadan mubarak to you and your family too ♥️