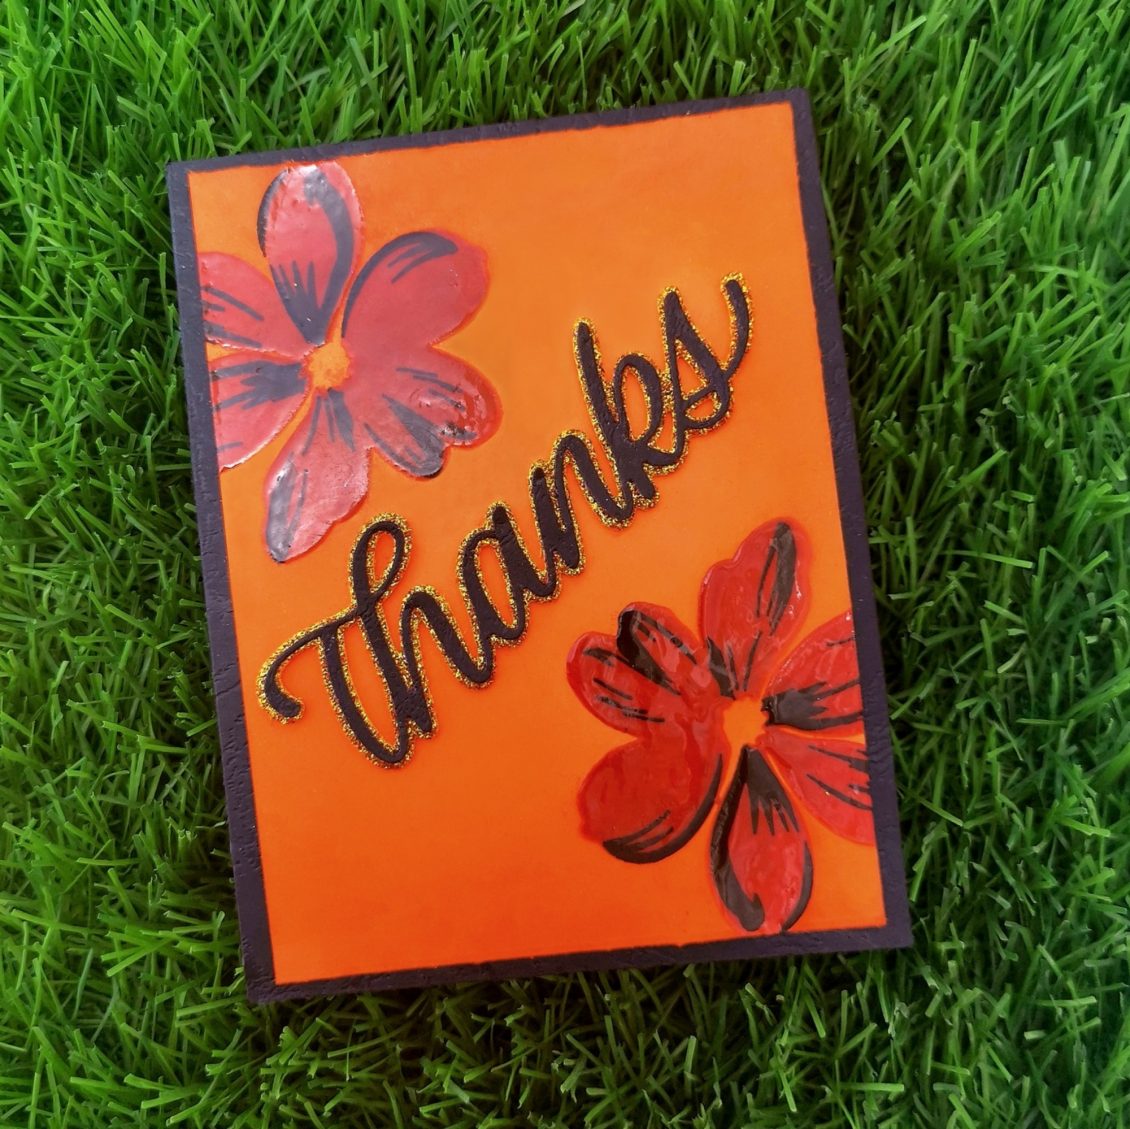
As I complete my projects one by one, of level 1, it’s getting real fun at the Altenew educator certification program. My today’s task is to make a card based on the lesson, Let it shine. This class literally helped me to determine some of the best ways to add shine to my projects and WOW others!
I trimmed a black card stock into 4 1/45 1/2. And placed an orange card stock on it. As it was about the size 3 3/4 *5, there was enough room for the black card stock paper to be seen. I choose the Fabulous Florets Stamp Set from Altenew for this project. So I placed it on my card stock and stamped the top flower with Caramel toffee Altenew crisp die ink and the bottom flower with the Autumn blaze Altenew crisp die ink. The second layer was done with the versafine Onyx black ink.
Then I prepared my card surface with some sort of anti-static powder tool. This fine layer of powder will prevent embossing powder from sticking to areas where you don’t want it to stick. Then I used Versa mark ink. It’s a clear sticky ink that can be used for embossing, or for watermark images. Then I applied some Hero Arts clear embossing powder on my card stock. Embossing powders can make any stamped image shiny and dimensional. And it’s easy to do. There are basic embossing powders, clear and white, that leave a hint of shine.
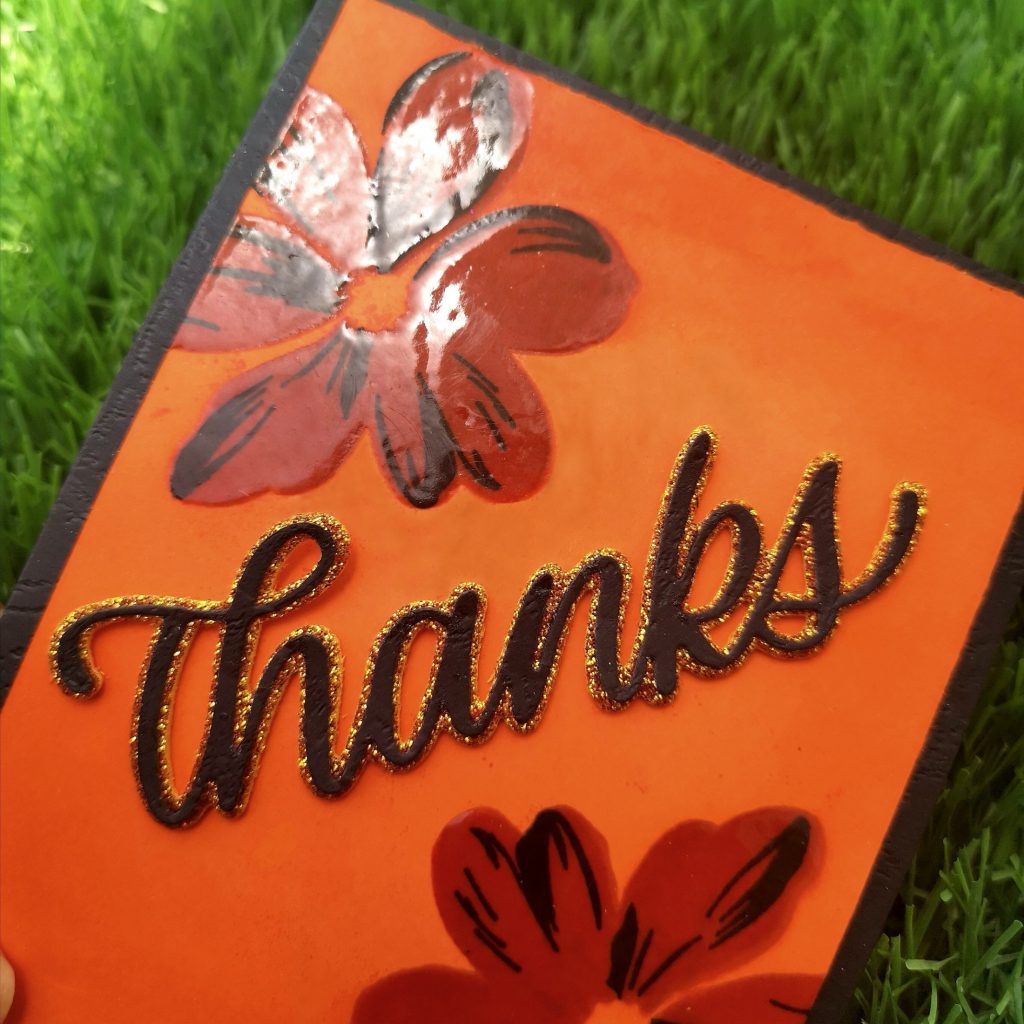
Here, I choose clear embossing powder as I wanted my flowers to shine in its original color which I have stamped. (Orange and black). Before heat setting the embossing powder, I used a dry brush to sweep away any stray pieces of embossing powder. These little specs will expand as they heat and turn into blobs. Quickly brushing away strays will give you great results every time. I allowed my heat gun to heat up to its hottest point before taking it to the paper. This will minimize the amount of time it takes for the powder to melt and will minimize warping. Once the embossing powder is melted, I moved my heat gun. We should not heat it in one place for too long. Once the grainy appearance goes away, and you see a bit of shine, you’re all set to move on.
I had a sudden change in plan while making my card. In fact, in happens most of the time. I never stick on to my planned project. But, isn’t it good? Because you end up making things better. Here I decided to softly blend the corners of the card with the same dieink with which I stamped my flowers at the start of my project.
For the sentiment, I decided to choose the Simon Says Stamp BIG THANKS Shadow Wafer Dies. I die cut the glitter card stock with the base wafer dies using my die cutting machine and the black card stock with the thin front wafer dies. It’s was positioned and stuck in the middle of the card.
Isn’t it so simple. I hope this method will turn out to be an inspiration for you too. Do give it a try to learn this course at https://altenew.com/products/let-it-shine I hope to see you all soon with another project from AECP. Until then, happy stamping and thanks for stopping by!
-shahi





Mashaallah..superb😍😍
Thanks a lot itha
This looks great!! The “thanks” looks so good!
Thank you for entering your work to the AECP assignment gallery.