Hi friends, I hope you all are doing good. Stay home. Stay safe.
Like many others, even I’m stuck out of my country. Wondering when I can go back. I’m definitely missing my craft room and my private crafty space. I just came done to meet my parents and got stuck here. But there is always good about getting stuck in your parents’ house, especially after marriage. I used to miss this place so badly.
Alhamdulilah somehow I could manage to get some of my basic craft items from my apartment. ( It was a real tough job. But I couldn’t stop myself from crafting.)
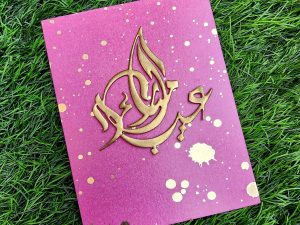
So coming to the point, today’s blog post is exclusively about how I ended up making a stencil of my own to make a beautiful card. Celebration: Stencil Techniques, is something which I learned from my Altenew educators certification program. Laurel Beard has explained things very well.
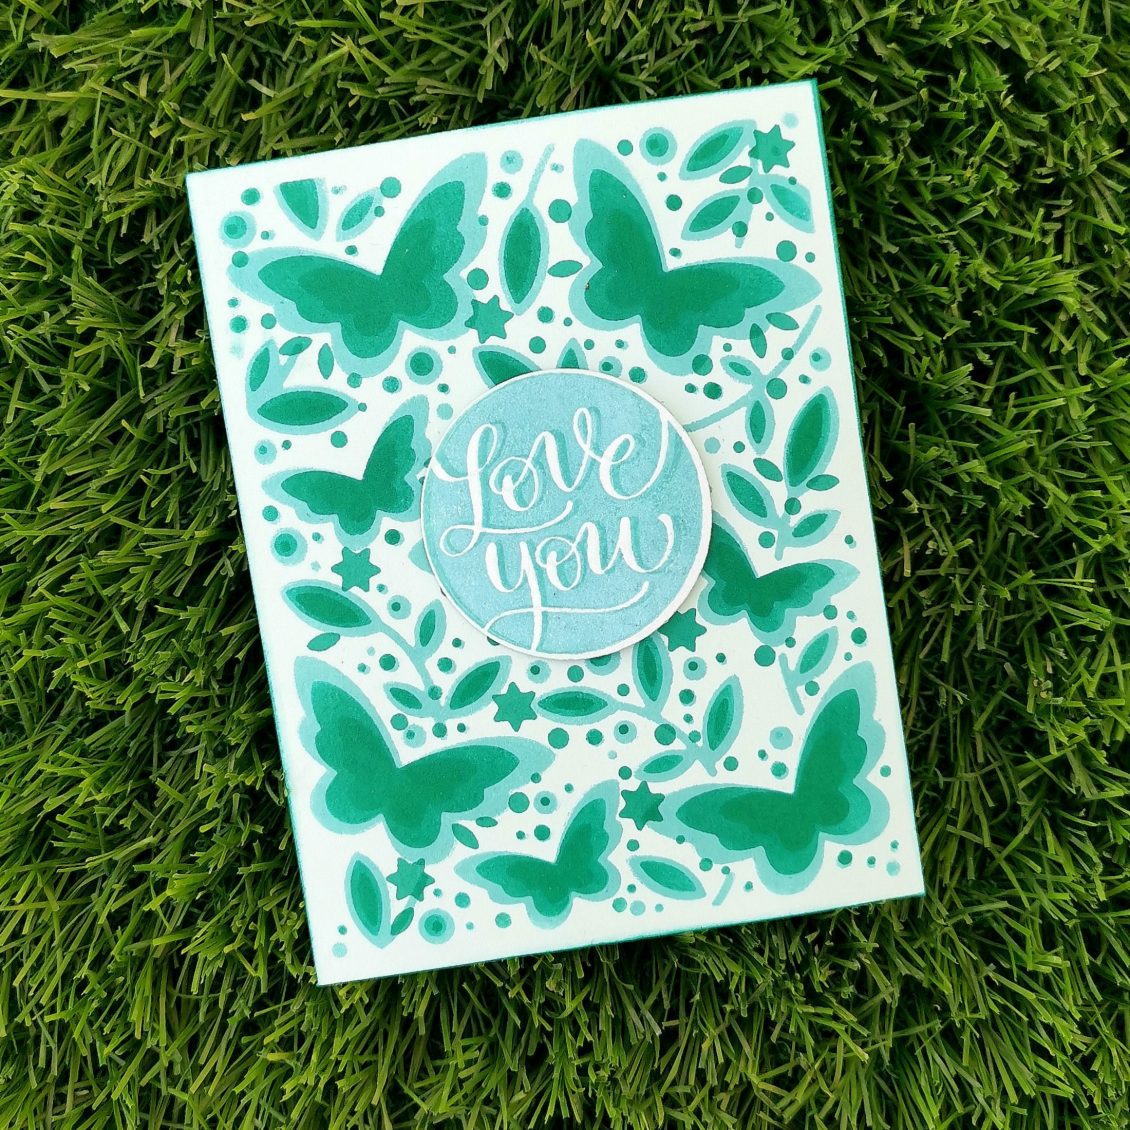
For this project, I decided to make a DIY stencil using Birch press butterfly garden layering dies.
This layering set consists of Layers A, B, and C. I die cut all the 3 layers on different cardstocks and used them as my stencils. I used thicker card stock paper while creating my own stencil so that it could be used multiple times.
After placing each die-cut layer on my cardstock, I did my first layer with Lagoon crisp die ink from Altenew and the second one with emerald. I didn’t want my third layer to stand out much from the other two shades. Instead, I wanted a soft color which is just a bit darker than my second shade. That’s how I ended up with my emerald crisp die ink again for my final layer.
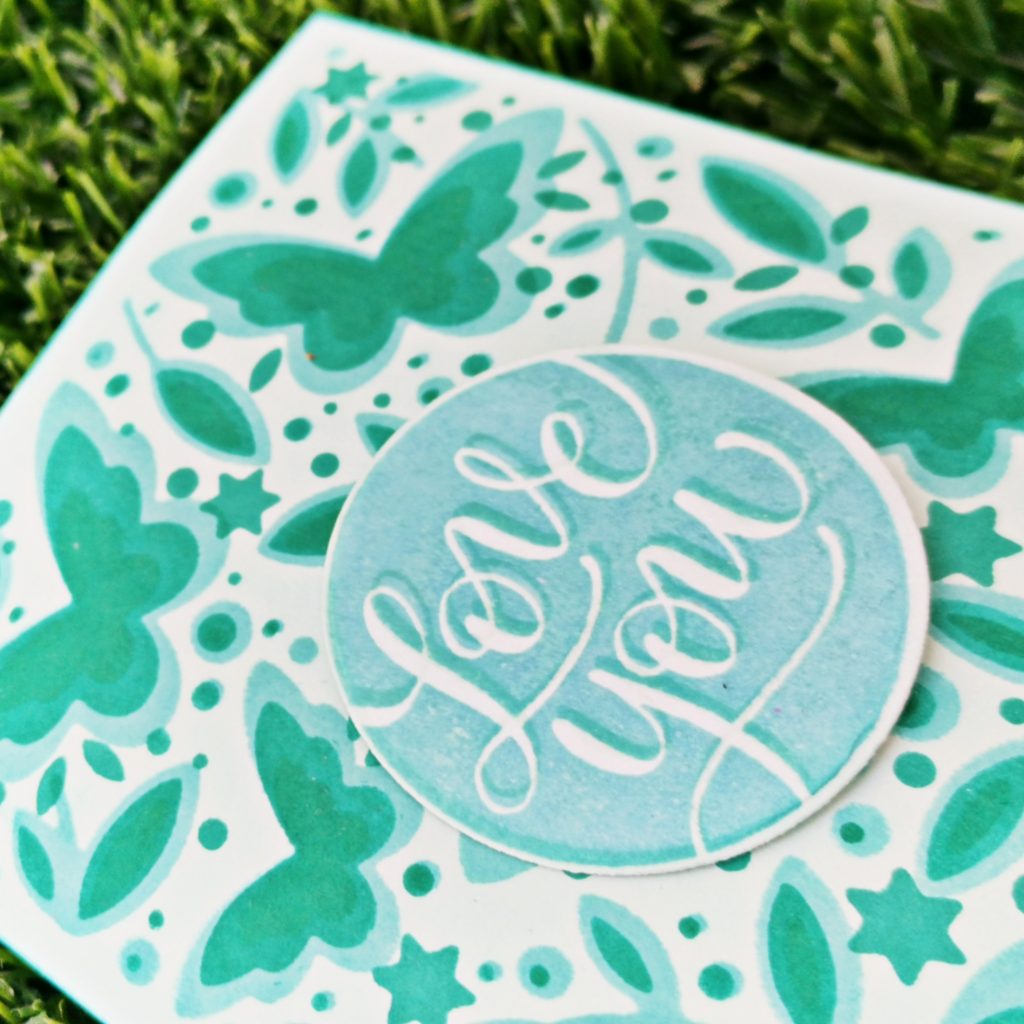
The layers by themselves looked really cool but it makes our card incomplete. So I added a sentiment “Love you” from Simon Says Stamps Love and valentines word mix set. I stamped it with altenew volcano lake crisp die ink and unicorn white pigment ink from hero arts. I just slightly changed the position when I stamped the second layer. Even though it was a small one, it brings a lot of difference to the look of the card. I was wondering if I ended up making a monochromic card. But I am fine. Because it is not something which I do often. I die cut the sentiment with its coordinating dies and stuck it with a piece of foam tape at the center of the card.
And here it goes…
The card is ready. Isn’t it so simple?
I hope this method will turn out to be an inspiration for you too. Do give it a try to learn this course at https://altenew.com/products/celebration-stencil-techniques?_pos=1&_sid=a8928335c&_ss=r
I hope to see you all soon with another project from AECP. Until then happy stamping and thanks for stopping by!
-shahi


This looks wonderful! Love the colours.
Thank you for entering your work to the AECP assignment gallery.