Alhamdulilah.. (Praise be to God)
So this is officially my first blog post and I’m so thrilled and excited to be participating in the Altenew Educator Certification Program!! This is my first submission after completing All About Layering 1 & 2 hosted by Nicole Picadura.
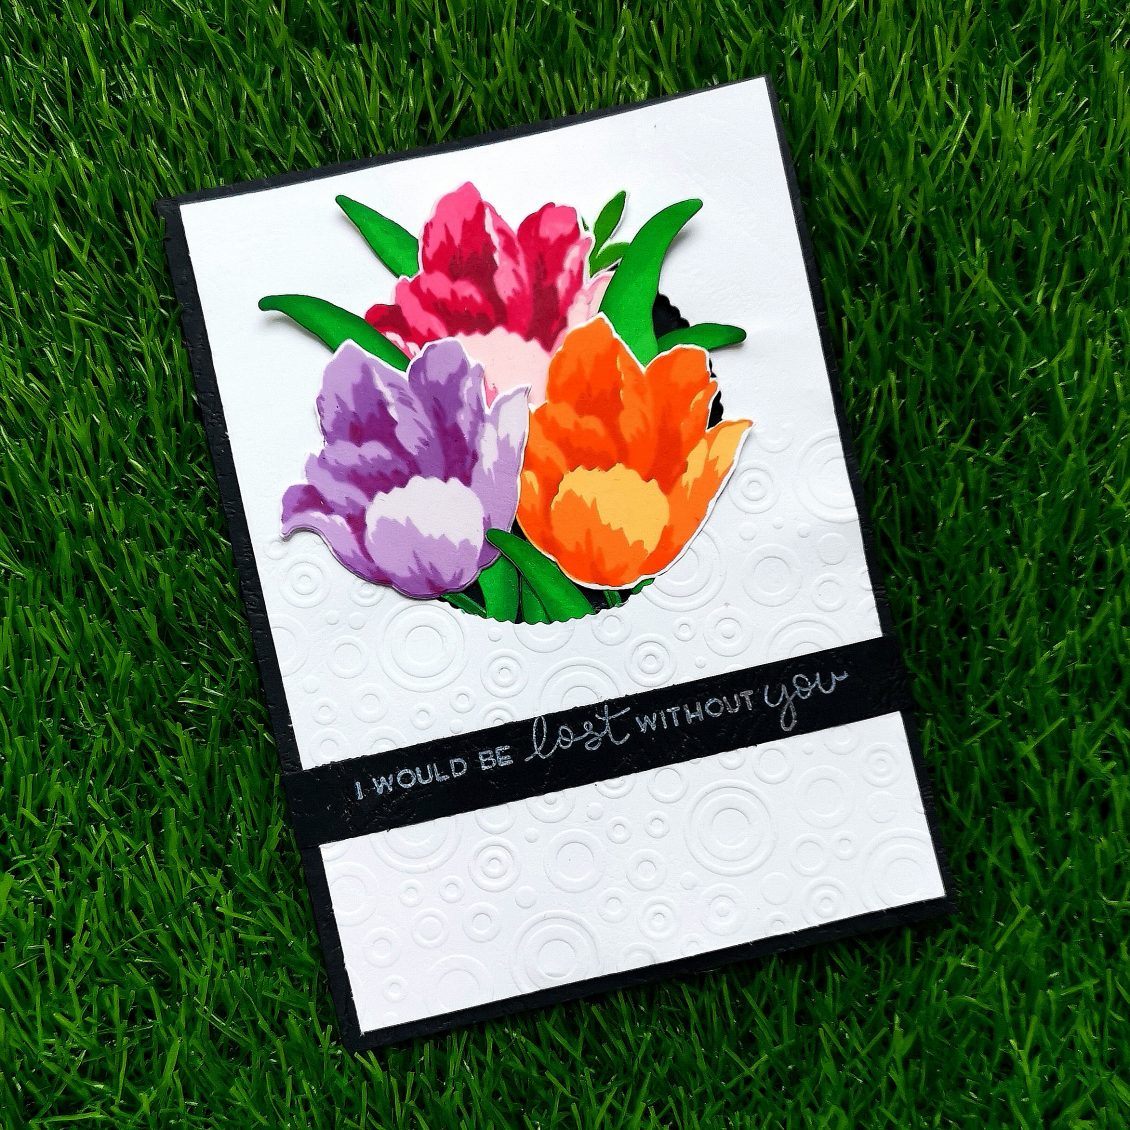
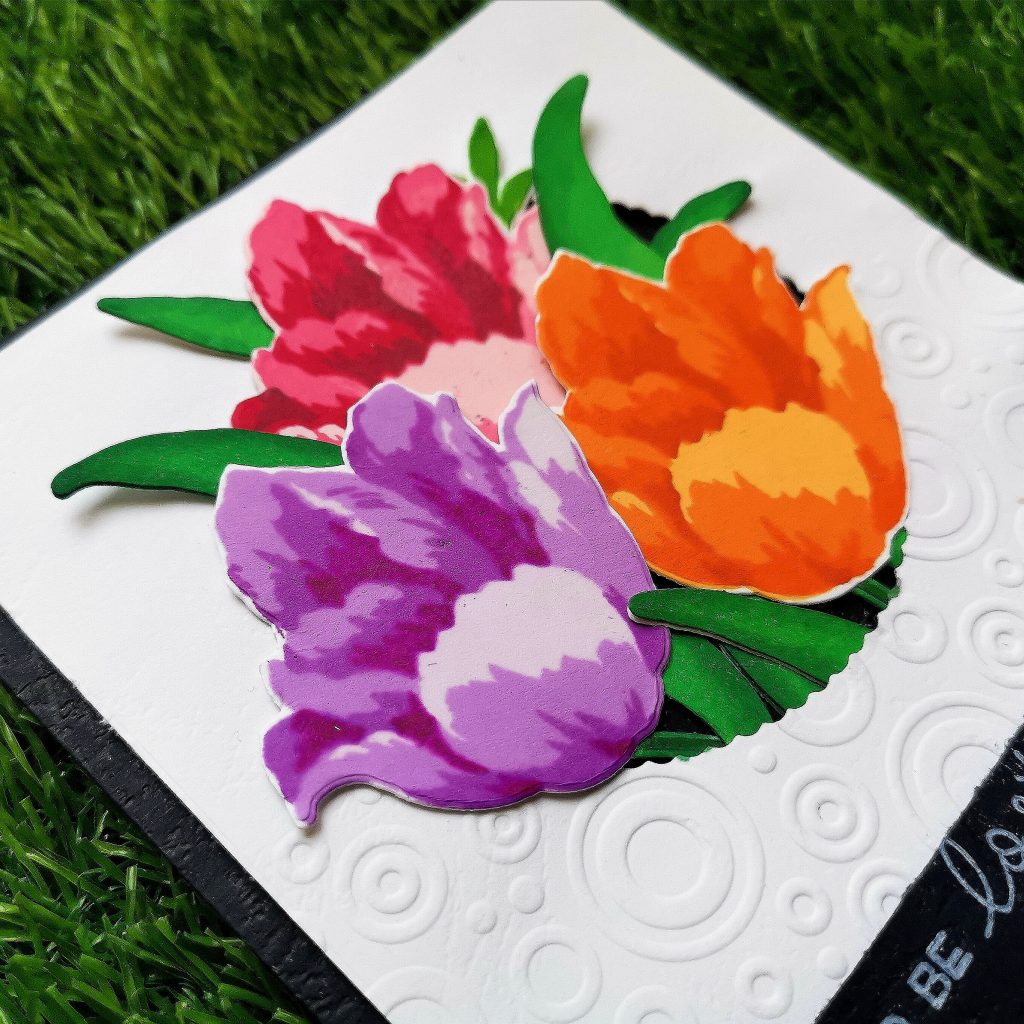
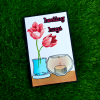
For this project, I have decided to stamp 3 flowers using the Triumph Tulip- Build a flower stamp set from Altenew. I varied the colours for my first tulip using the Red Cosmos Crisp Ink collection from Altenew. (Frosty Pink, Coral Berry, Ruby Red, Grapevine). The second triumph tulip was stamped using Warm & Cozy Crisp Ink collection from Altenew. (Sun-kissed, Orangecream, Autumn Blaze, Firebrick) For my third pair, I choose Shades of Purple Crisp Ink collection from Altenew. (Soft Lilac, Lavender Fields, Deep Iris, Midnight Violet)
Then I stamped my leaves with Grass field from Green Valley Crisp Ink collection from Altenew.I wanted to give my leaves a blended look so I coloured them with touch five green markers, 45, 55 and 59. Then I placed triumph tulip coordinating dies upon the stamped images and ran it through my sizzix big shot machine. I like to have elements popped on my card. So I stuck some foam tape at the back of my die-cut images. I wanted a bigger card as compared to the standard card, so I trimmed my white cardstock to a 5*7 inch card.
For adding a different look to my background, I decided to use an embossing folder. The one I used here was from Rungao. Its circle dimensions create a 3d effect to the card. Placing it halfway along the through the card, I ran it through my die cutting machine.Then using a circle die, I decided to cut down a circle window through the center of the panel.Then I played a bit with the card deciding where to place the flowers and sorted it out where to go. I stamped some more extra leaves as per my requirement for the card.
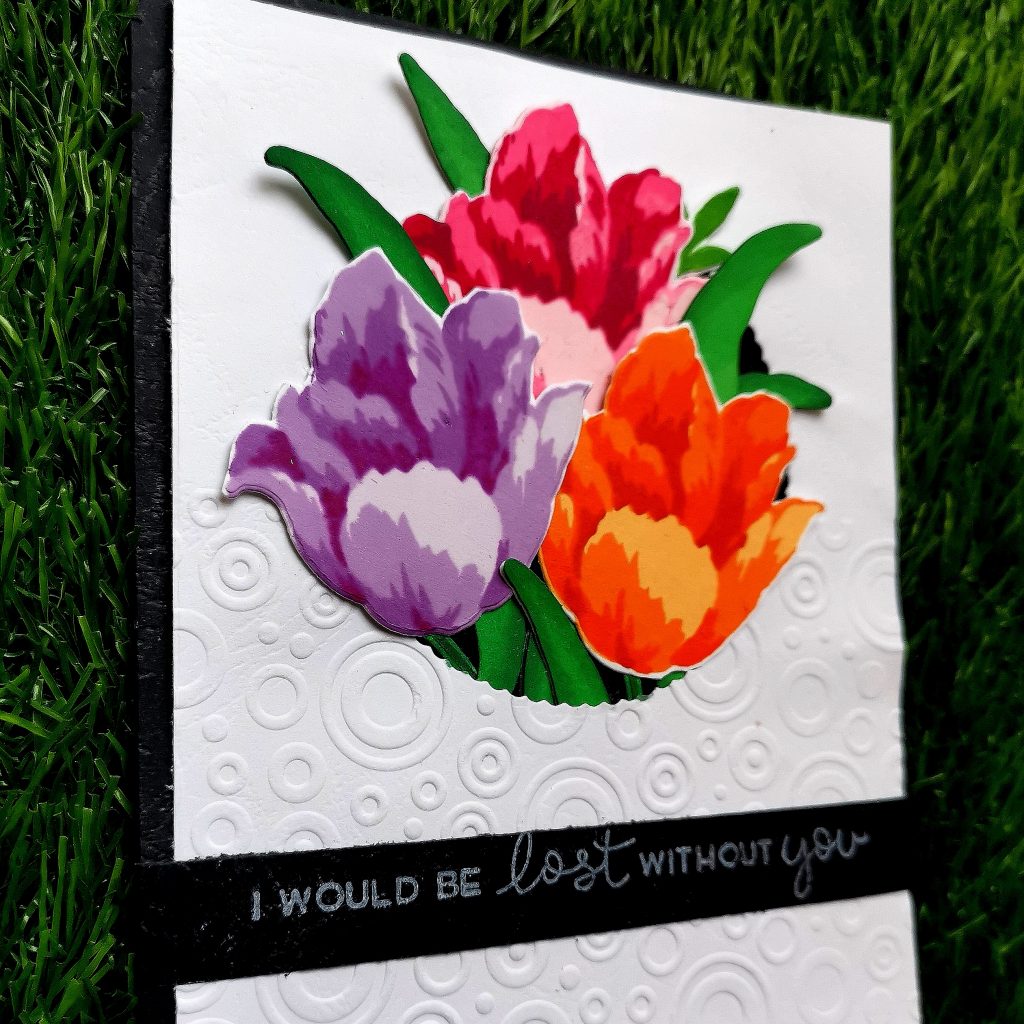
A black banner was added below the circle and with a stamped sentiment from loads of fun stamp set with unicorn white pigment ink(hero arts). I trimmed 1/2 inches from all the four sides of my cardstock and stuck some foam tape at the back of my cardstock. I finished it off by placing a black cardstock below the white one. It gave a raised look to the overall beauty of the finished card. Hope to see you at my next post. Until then happy stamping and thanks for stopping by!
-Shahi



Hi! It is a lovely card and a very clever design. Please email me and let me know if this is for All About Layering 1 or All About Layering 2? Because these are two different courses and you will need to create two separate projects for them 🙂 I will wait for your email as I can’t mark your course as completed unless I know the course name.
Thanks a lot thasneem. ❤️
This is the project on all about Layering 1. In shaa Allah will be posting my project on all about Layering 2 soon.